10 Troubleshooting
Troubleshooting in check mode
SMGB0136 rev.0 - 07/2021
296
10.3 Troubleshooting in check mode
10.3.1 RAS-3HVRC2
10.3.1.1 Check mode display by Unit controller
10.3.1.2 Troubleshooting using the 7 segment display (Outdoor unit)
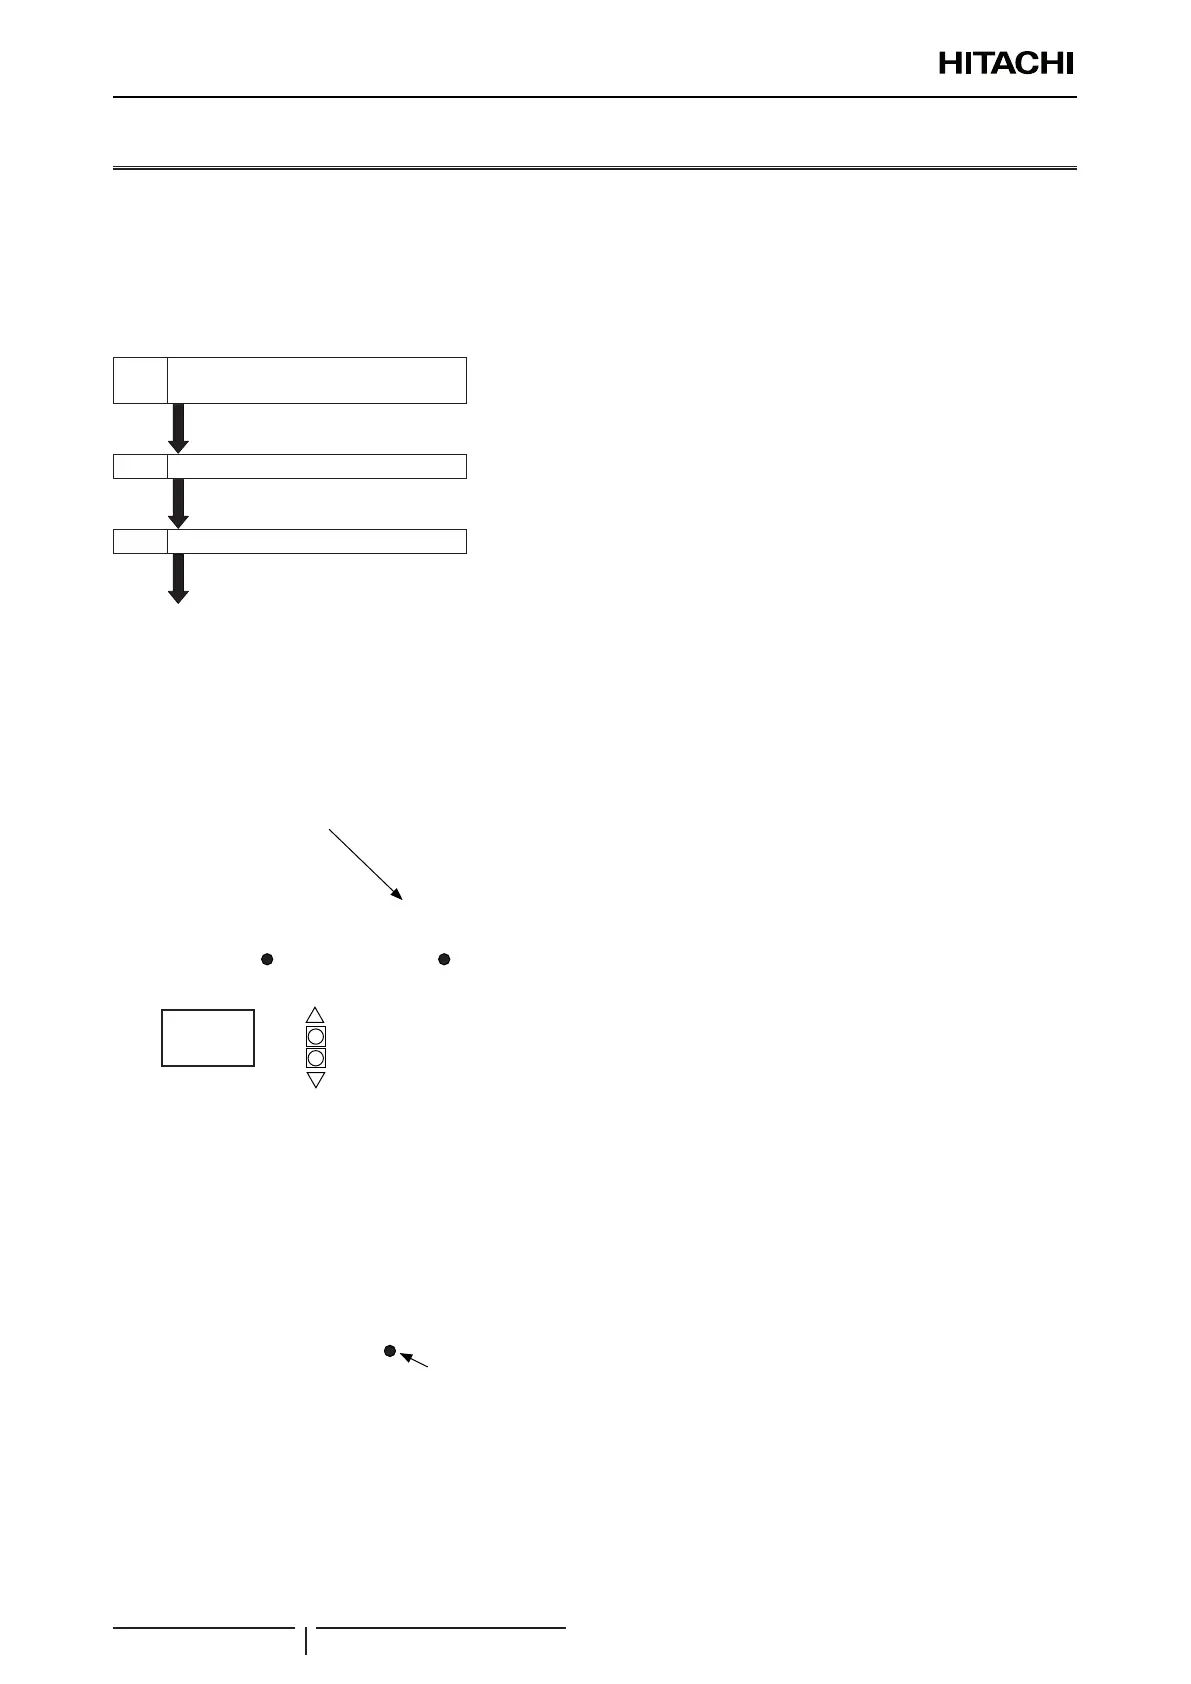
Simple checking by 7-segment display
1
Turn ON indoor unit connected to
the outdoor unit
During auto-addressing, the following items can be checked using the
outdoor unit’s on-board 7-segment LED display:
1 Disconnection of power supply to the indoor unit.
2 Reverse connection of the operating line between the outdoor and
indoor units.
3 Duplication of indoor unit number.
2 Turn ON the outdoor unit
3 Auto-addressing starts
Outdoor unit, circuit board, PCB
Checking method by 7-segment display
Operating conditions and each part of refrigeration cycle can be checked by 7-segment and push switches (PSW) on the
PCB in the outdoor unit. During checking data, do not touch the electric parts except for the indicated switches because
220-240V is applied to them. Pay attention not to contact the tools with electrical parts. If contacted, electrical parts will
be damaged.
8
8
Y52C
Y21
FAN1
YCH
FAN2
Y20A
8.8.
SEG1
PSW2
PSW3
• To start checking, press PSW2 switch for more than three
seconds.
• To proceed checking, press the PSW2 switch.
• To back to the previous item, press the PSW3 switch.
• To cancel this checking, press the PSW2 switch for more than
3 seconds.
Check mode items
? NOTE
Forguresconsistingofmorethan2digits,theupper2digitsandlower2digitsoftheguresareindicatedalternativelyevery0.5secIn
the 7-segments display, as shown below (the lower 2 digits are shown together with a dot at the lower right corner)
Example: 1253
12
53