Insert the Server into the Rack
To insert the server into the rack, perform the following steps:
1. Press the rail clips on either side of the server inward and push the server into the rack until
it stops.
2. Replace the T-25 screws that fasten the server to the rack.
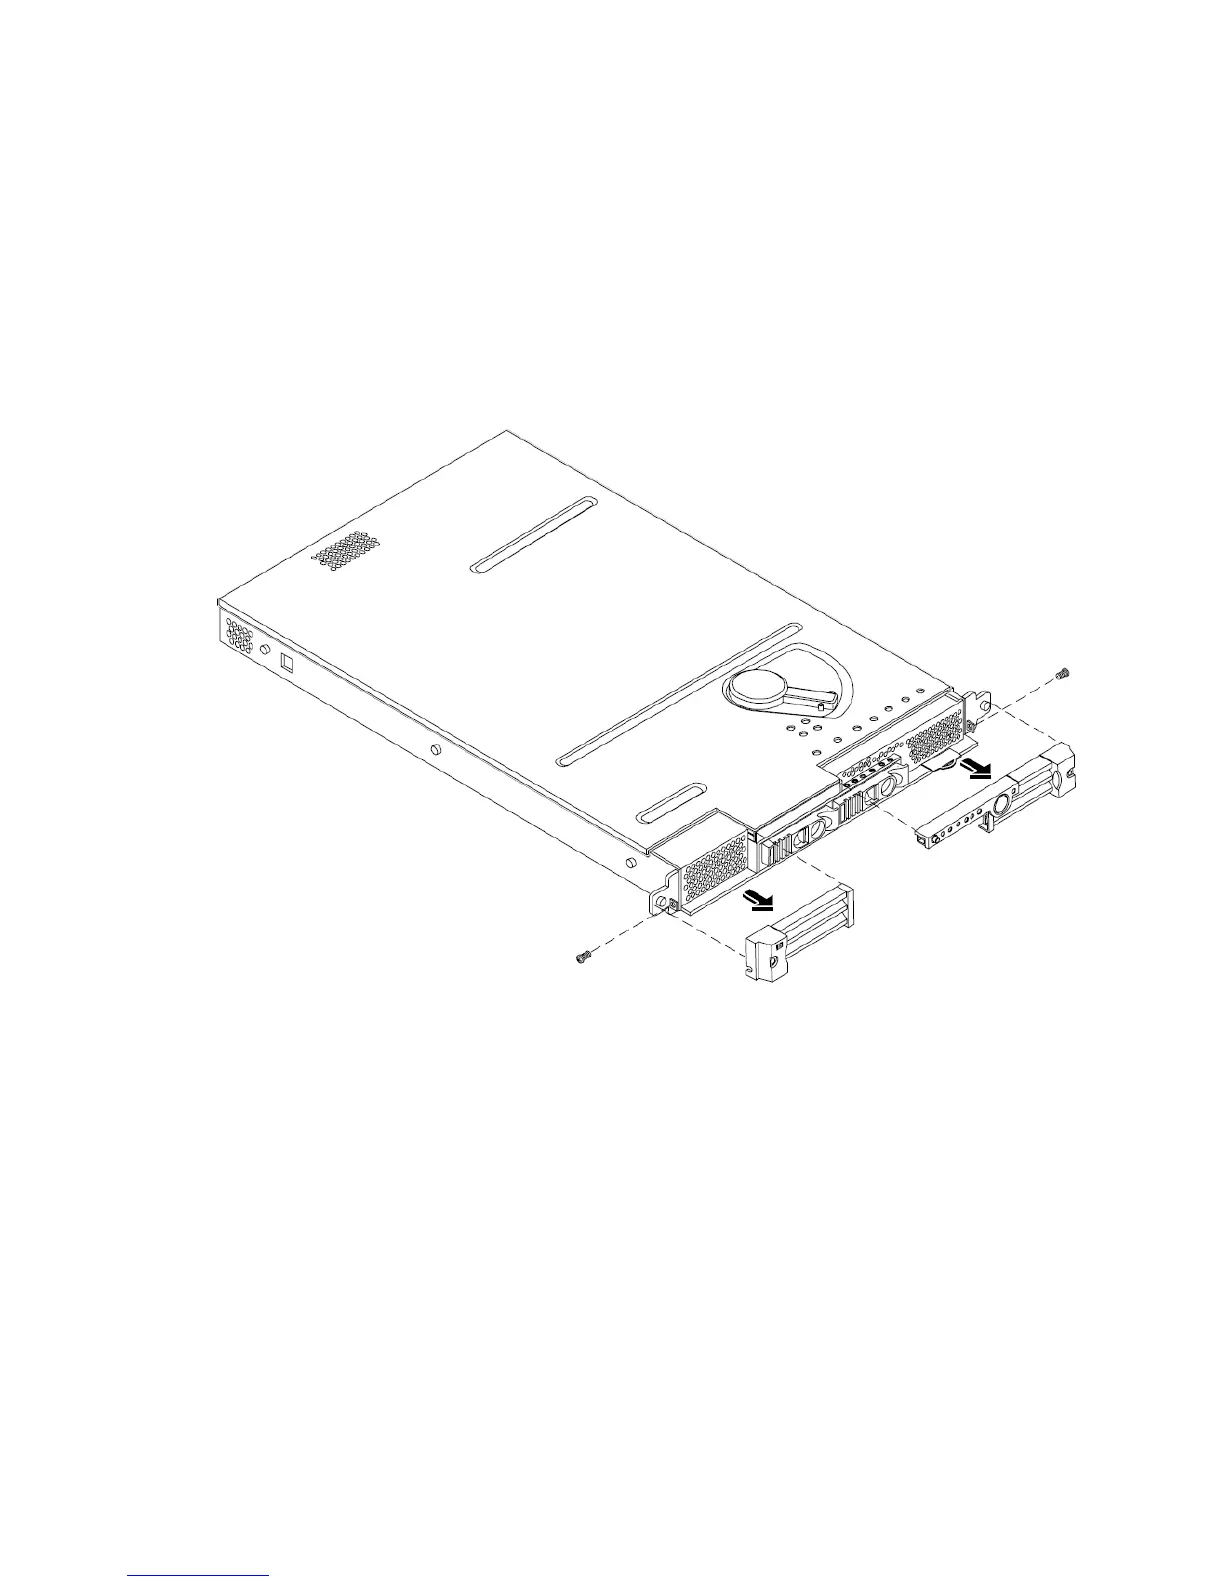
Removing and Replacing the Front Bezel
The server does not have to be turned off to remove the front bezel. The front bezel of the HP
Integrity rx1620 Server consists of a left and right bezel part. The right bezel part provides the
server controls and LED access ports.
Figure 23 Front Bezel
Removing the Front Bezel
To remove the front bezel parts, perform the following steps:
1. Remove the screw securing the right front bezel to the chassis.
2. Grasp the right front bezel at the outer edge and pull straight out.
3. Remove the screw securing the left front bezel to the chassis.
4. Grasp the left front bezel at the outer edge and pull straight out.
Replacing the Front Bezel
To replace the front bezel parts, perform the following steps:
1. Slide the right front bezel onto the tab on the chassis until it snaps into place.
2. Install the screw securing the right front bezel to the chassis.
3. Slide the left front bezel onto the tab on the chassis until it snaps into place.
4. Install the screw securing the right front bezel to the chassis.
Removing and Replacing the Front Bezel 29

 Loading...


