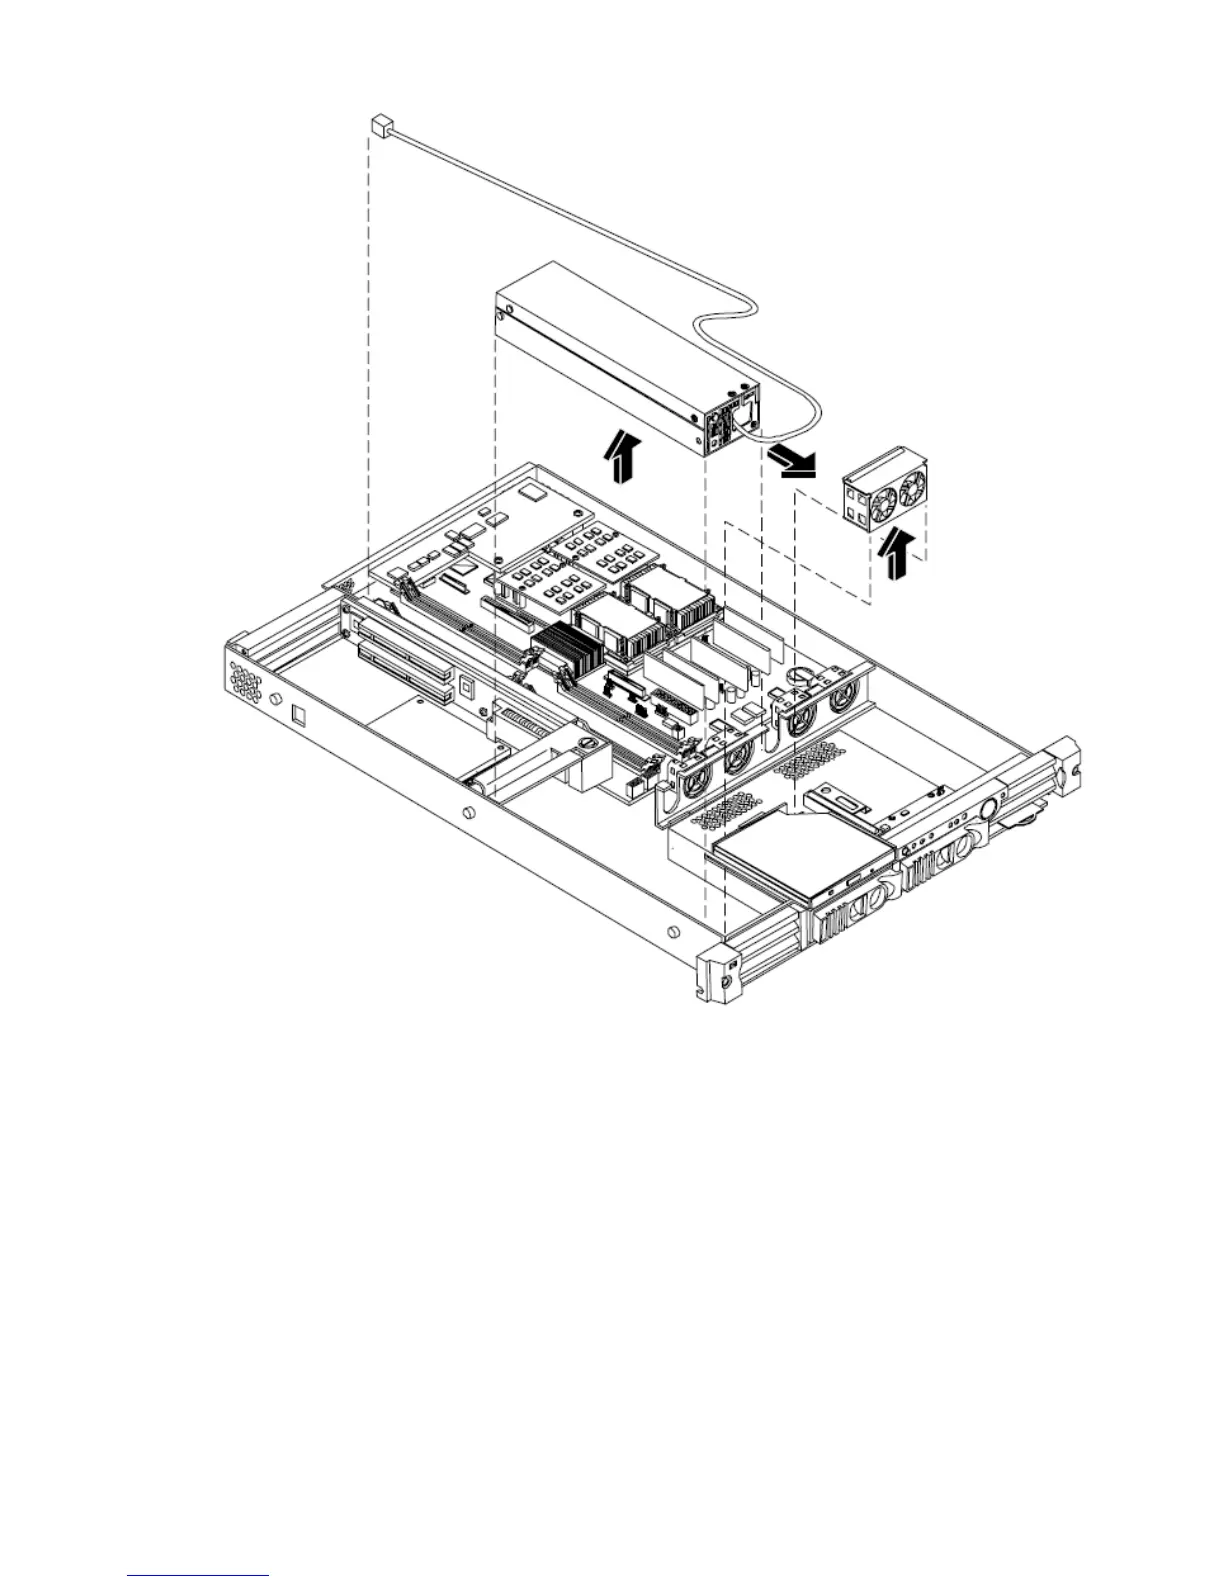
Figure 56 Power Supply Removal/Replacement
4. Carefully lift the power supply cable free from all retaining clips.
5. At the rear of the chassis, remove the two screws holding the power receptacle to the chassis.
6. Lift the power supply forward and away from the chassis to remove. The power receptacle
and cord are integral components of the power supply.
Replacing the Power Supply
To replace the power supply, perform the following steps:
1. Perform the power supply removal procedure described above.
2. Place the replacement power supply into the chassis slot at the front of the power distribution
unit.
3. Slide the power supply toward the rear of the chassis, engaging the power supply connector
with the connector on the power distribution unit.
4. Connect the power receptacle of the replacement power supply to the rear panel of the chassis.
5. Carefully route the power supply cord from the rear of the chassis at the receptacle to the front
of the chassis through the access slot near the power supply fan unit.
60 Removing and Replacing Components

 Loading...


