3. Check the front panel diagnostic LEDs for indication of the replaced fan unit.
• When the fan is functioning normally, the LED is off.
• When the fan fails, the LED is on.
4. Replace the cover.
Removing and Replacing the Display Panel
The display panel provides the local interface to the HP Integrity rx1620. The panel provides the
power on/off button, the power LED, the system LED, the LAN LED, the Locator button/LED and
four diagnostic LEDs. Some system information is stored in non-volatile RAM (NVRAM) on the
display panel.
CAUTION: Observe all ESD safety precautions before attempting this procedure. Failure to follow
ESD safety precautions could result in damage to the server.
Removing the Display Panel
To remove the display panel, perform the following steps:
1. Remove the cover. See “Removing and Replacing the Cover” (page 30).
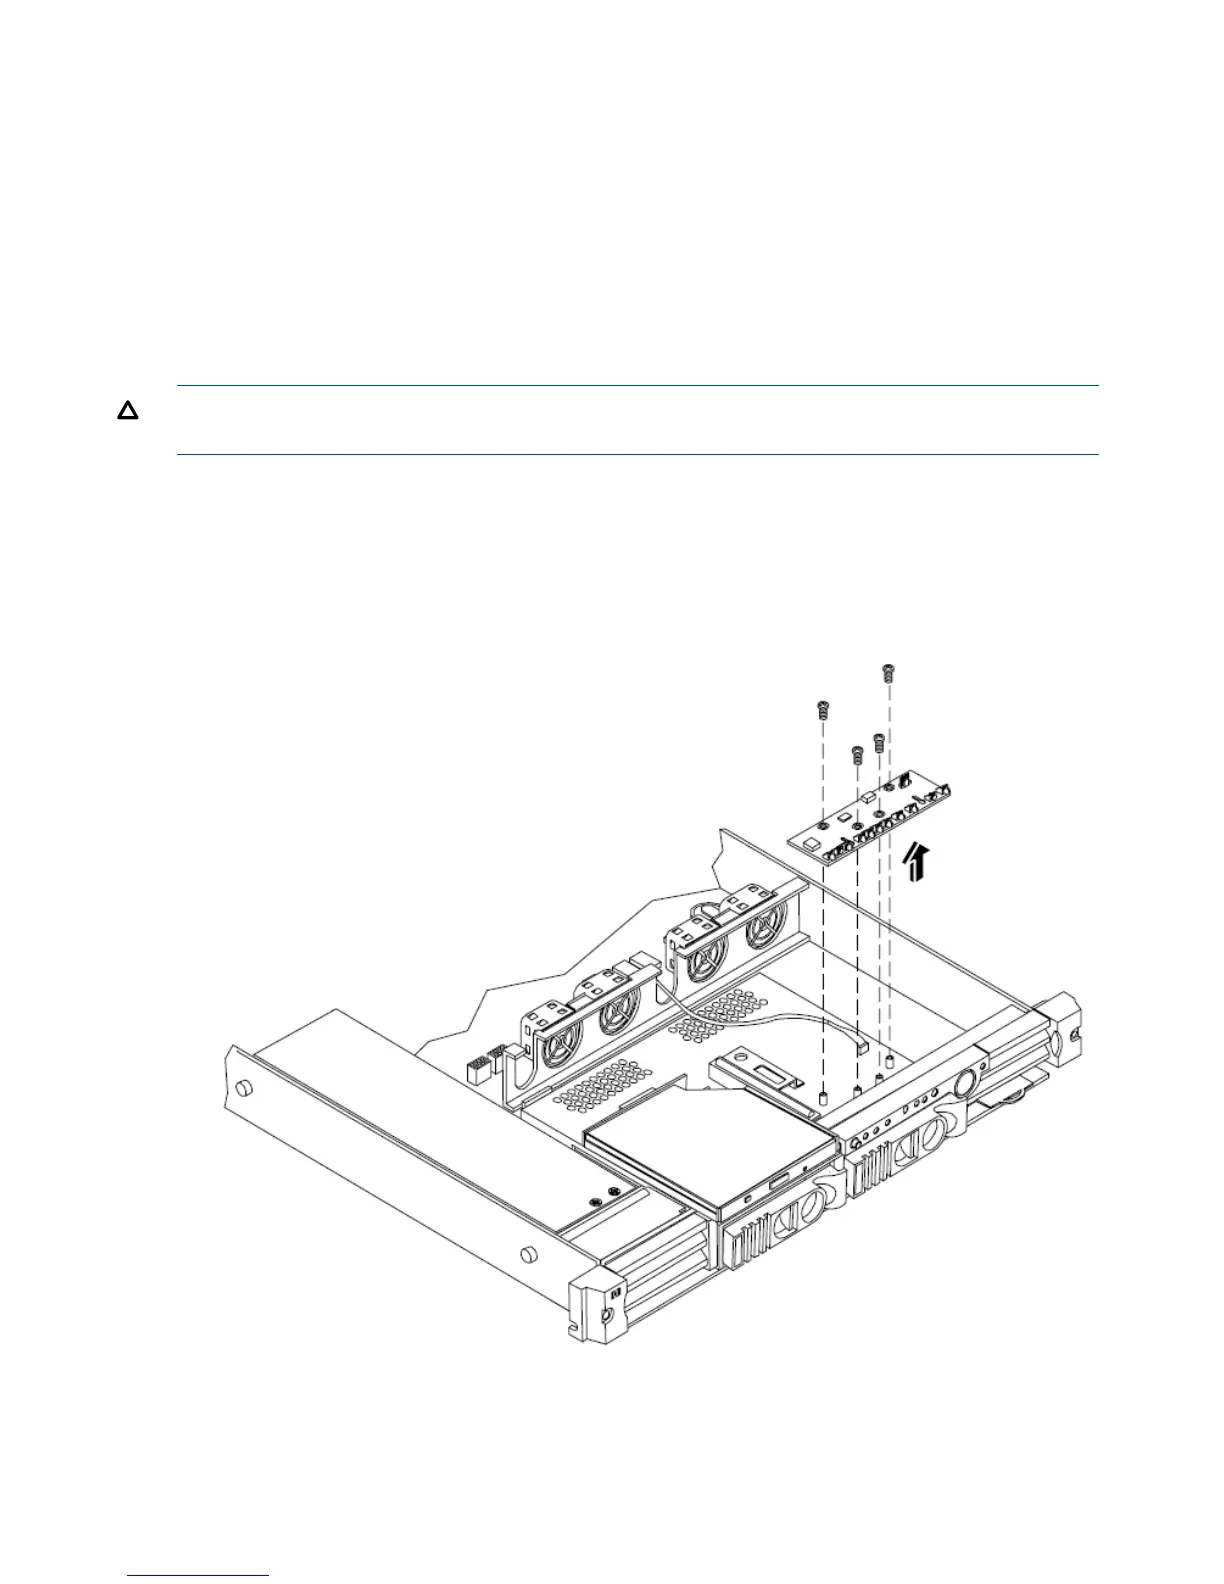
2. Disconnect the signal cable connected to the connector on the display panel.
Figure 46 Display Panel Removal/Replacement
3. Remove the four flat-head phillips screws that mount the display board to the chassis.
4. Lift the display panel away from the chassis and store in an anti-static container.
48 Removing and Replacing Components

 Loading...


