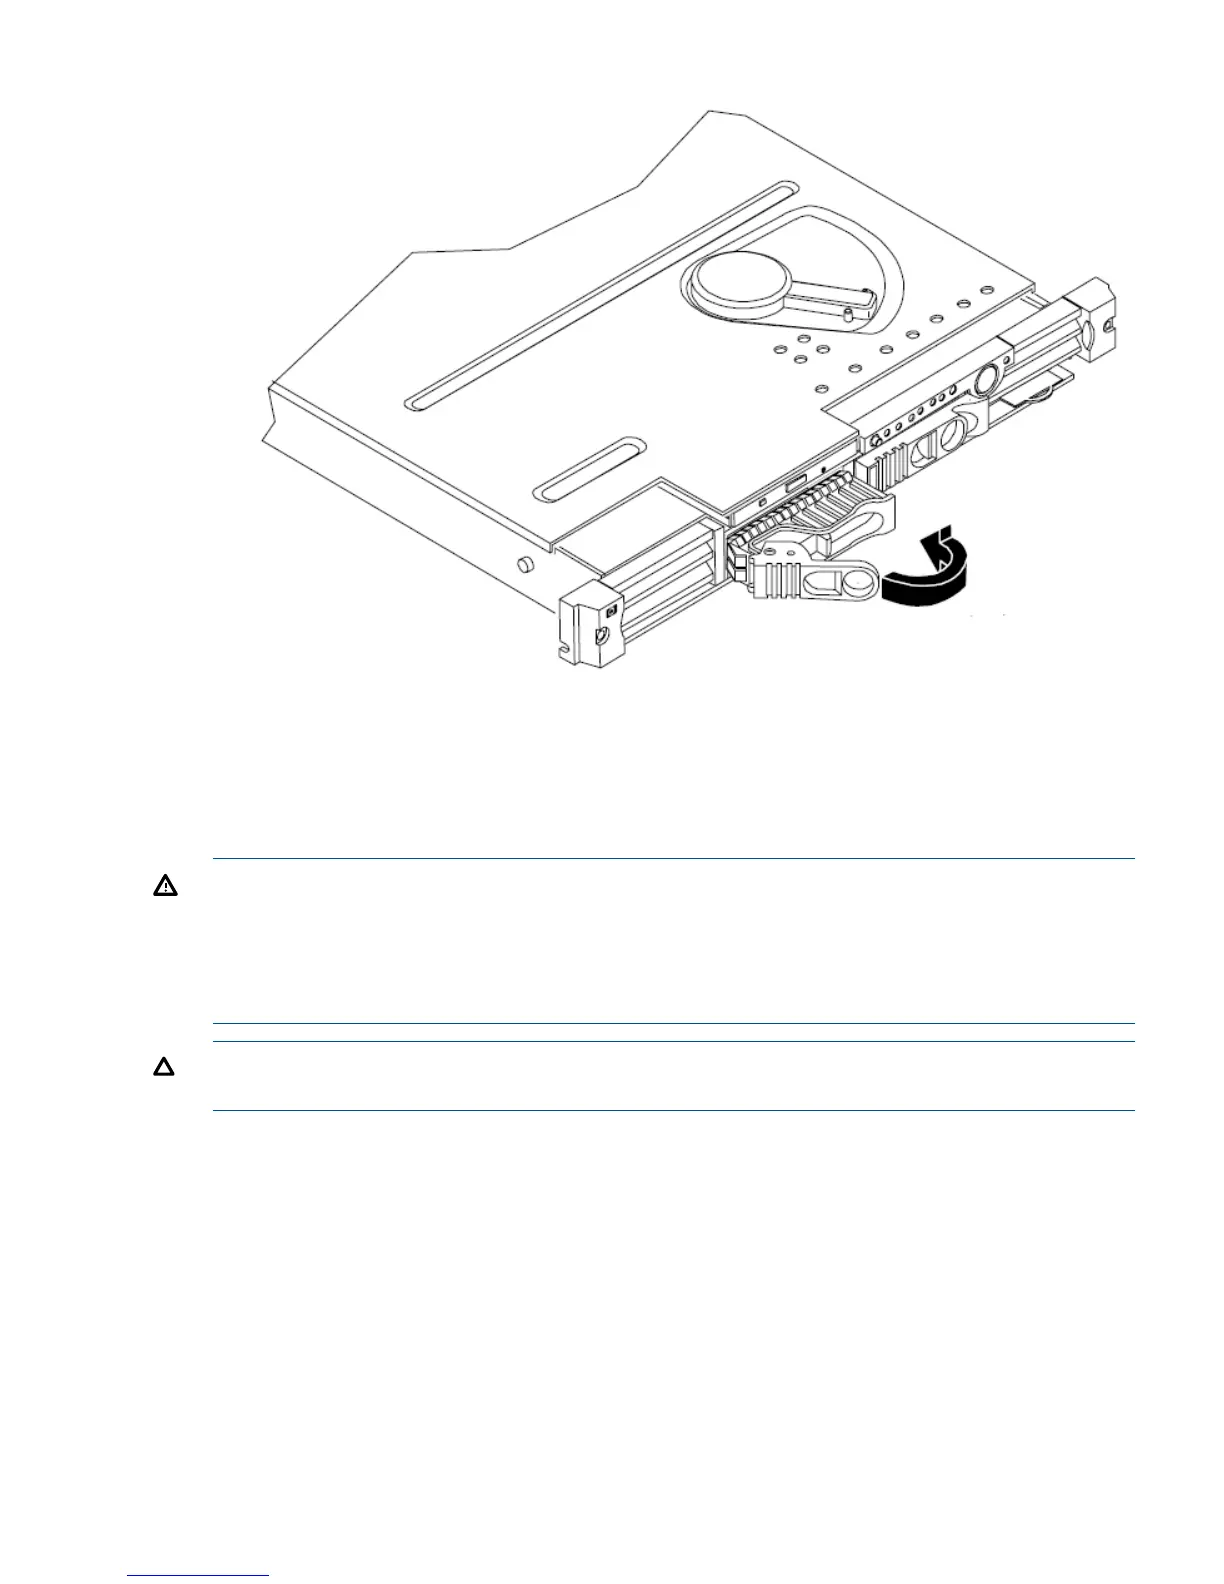
Figure 55
4. The disk drive is now correctly installed.
Removing and Replacing the Power Supply
The power supply is located at the left front of the server chassis. The power supply is a field
replaceable unit (FRU).
WARNING! Ensure that the system is powered-down and all power sources have been
disconnected from the server prior to removing or replacing the power supply.
Voltages are present at various locations within the server whenever an AC power source is
connected. This voltage is present even when the main power switch is in the off position.
Failure to observe this warning could result in personal injury or damage to equipment.
CAUTION: Observe all ESD safety precautions before attempting this procedure. Failure to follow
ESD safety precautions could result in damage to the server.
Removing the Power Supply
To remove the power supply, perform the following steps:
1. Remove the cover. See “Removing and Replacing the Cover” (page 30).
2. Remove the power supply fan unit from the chassis. See “Removing and Replacing Fan Units”
(page 46).
3. Slide the power supply forward in the chassis releasing the power supply connection to the
power distribution unit.
Removing and Replacing the Power Supply 59

 Loading...


