Replacing the Power Supply Fan Unit
To replace a power supply fan unit, perform the following steps:
1. Orient the power supply fan unit by aligning the appropriate icon on the fan unit to the identical
icon on the chassis wall.
2. Push the fan unit firmly into the housing until flush to the top of the chassis.
3. Check the front panel diagnostic LEDs for indication of the replaced fan unit.
• When the fan is functioning normally, the LED is off.
• When the fan fails, the LED is on.
4. Replace the cover.
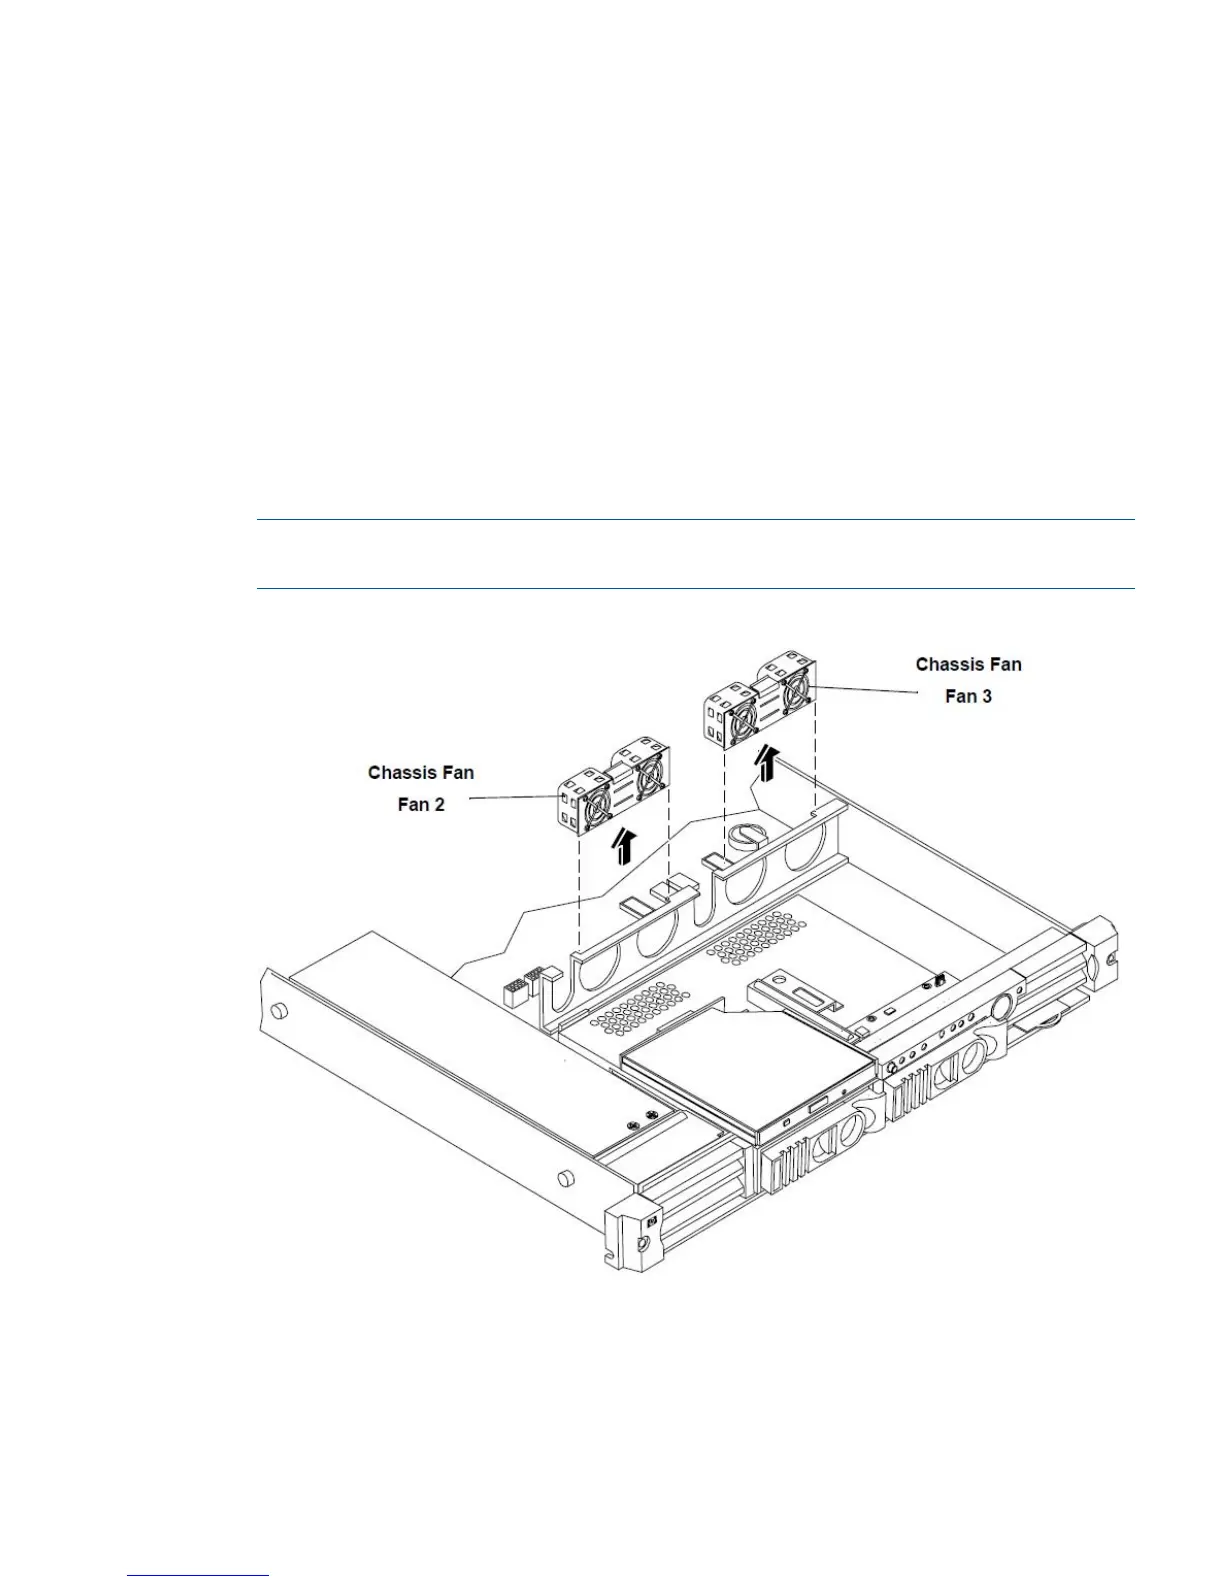
Removing a Chassis Fan Unit
To remove a chassis fan unit, perform the following steps:
1. Remove the cover. See “Removing and Replacing the Cover” (page 30).
2. Grasp the fan unit at the center of the unit and pull the unit up and out of the chassis.
NOTE: When one fan unit is removed from the server, the remaining fan units operate at
full speed for two minutes. After two minutes a “soft-shutdown” will occur.
Figure 45 Chassis Fan Units Removal/Replacement
Replacing a Chassis Fan Unit
To replace a chassis fan unit, perform the following steps:
1. Orient the chassis fan unit by aligning the appropriate icon on the fan unit to the identical
icon on the chassis wall.
2. Push the fan unit firmly into the housing until flush to the top of the chassis.
Removing and Replacing Fan Units 47

 Loading...


