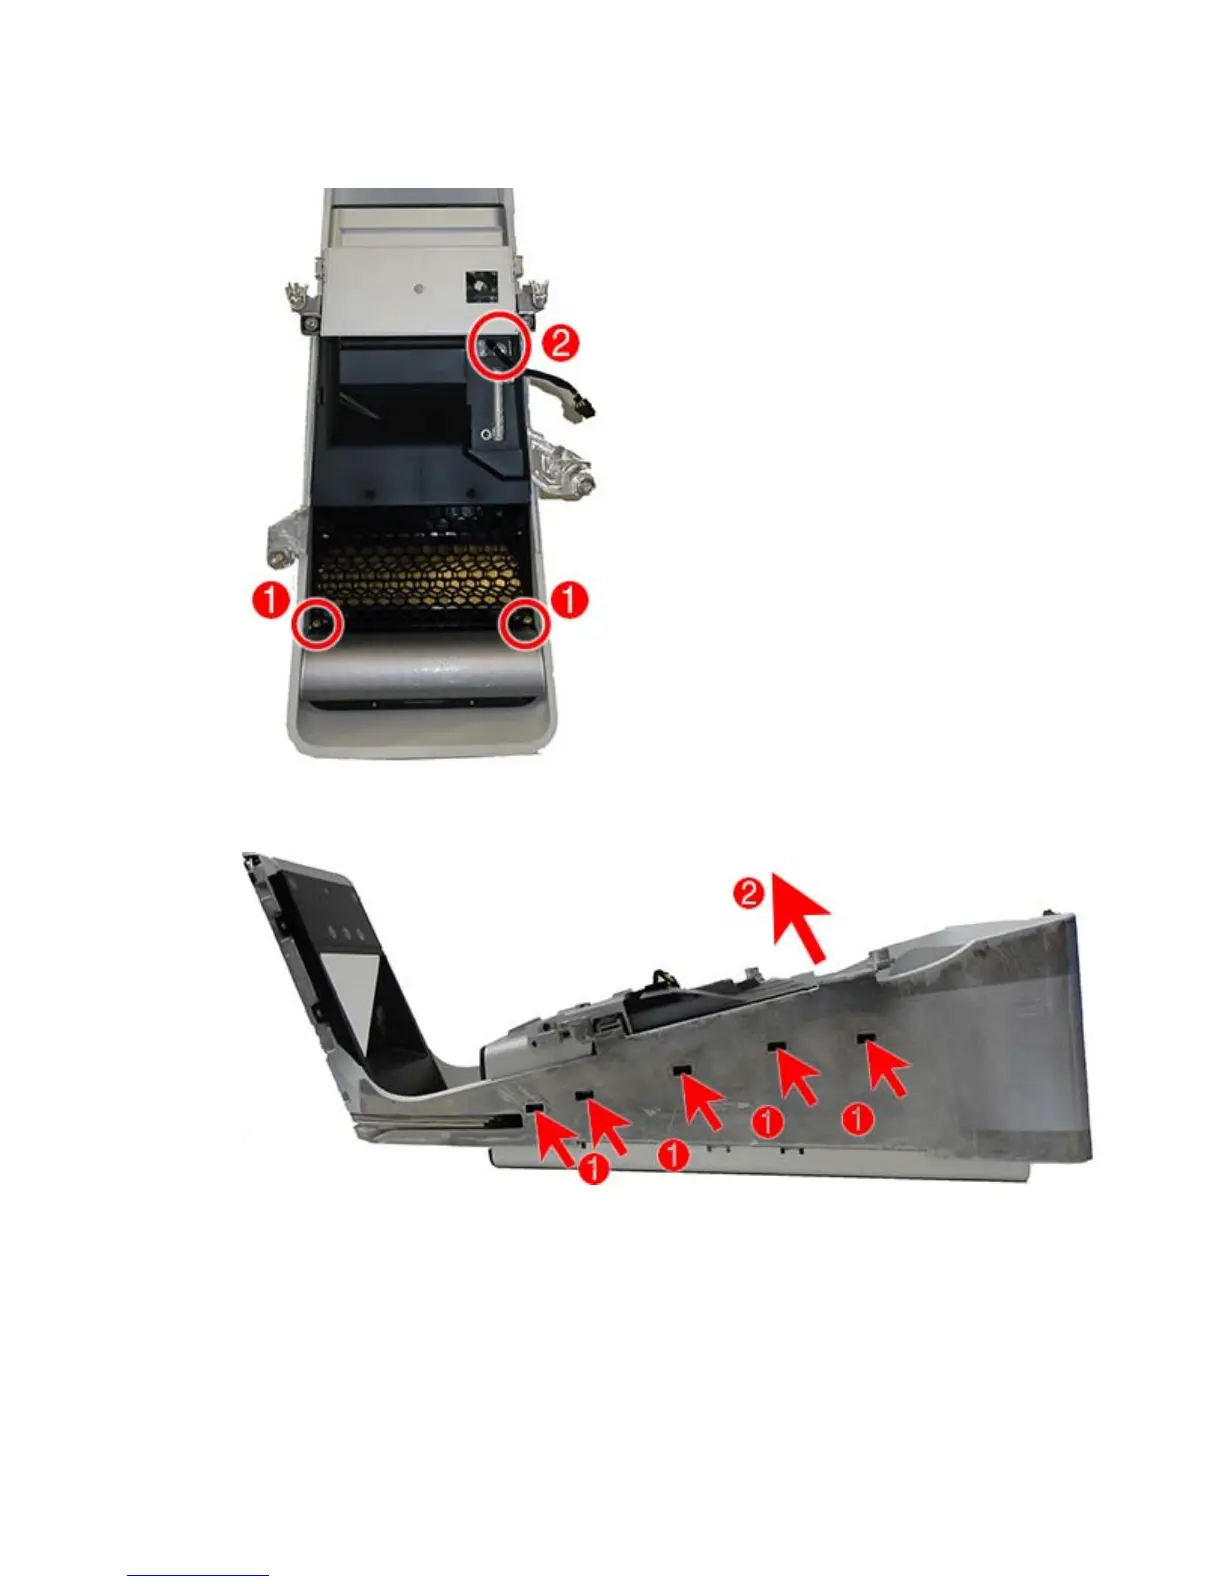
6. Remove the two Torx screws that secure the cover to the column (1). Note the power supply cable
routes through a hole in the front of the cover (2).
7. Use a flat tool to disengage the tabs that secure the cover to the column (1), and the lift the cover off
the column (2).
To install the inside cover, reverse the removal procedures.
88 Chapter 5 Removal and Replacement Procedures – Column ENWW

 Loading...