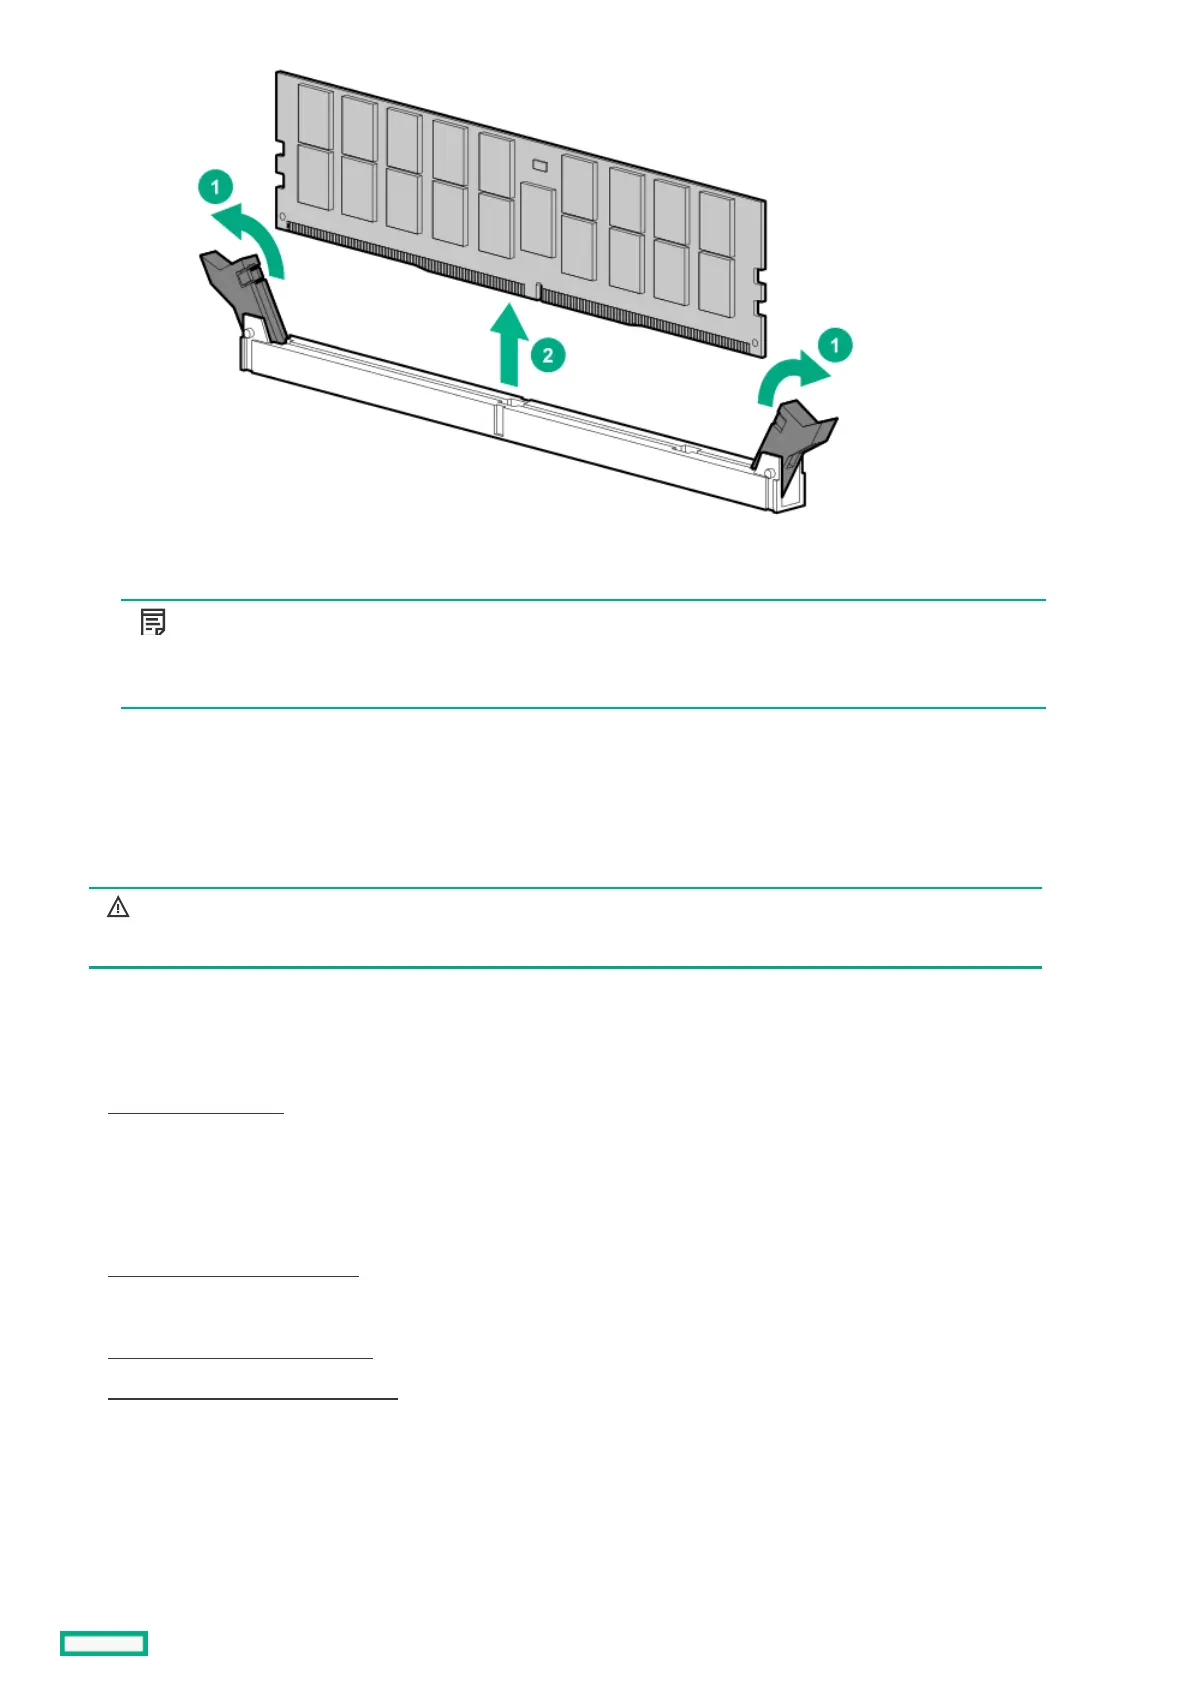
To replace the component, reverse the removal procedure.
NOTE:NOTE:
If you are removing a DIMM permanently, replace the component with a DIMM blank. The DIMM slots must always
have a DIMM installed or a DIMM blank inserted.
Removing and replacing the OCP NIC 3.0 adapterRemoving and replacing the OCP NIC 3.0 adapter
WARNING: WARNING: To reduce the risk of personal injury, electric shock, or damage to the equipment, remove power from the
server by removing the power cord. The front panel Power On/Standby button does not shut off system power.
Portions of the power supply and some internal circuitry remain active until AC power is removed.
PrerequisitesPrerequisites
Before you perform this procedure, make sure that you have the components included with the hardware kit.
ProcedureProcedure
1. Power down the server.
2. Remove all power:
a. Disconnect each power cord from the power source.
b. Disconnect each power cord from the server.
3. Remove the server from the rack .
4. Place the server on a flat, level surface.
5. Remove the complete access panel .
6. Remove the secondary PCIe riser cage (if equipped).
7. Remove the OCP NIC 3.0 adapter.

 Loading...