7. Disconnect the power cable.
To replace the component, reverse the procedure.
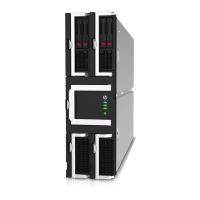
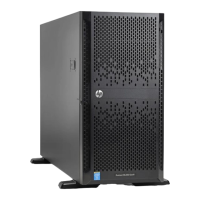
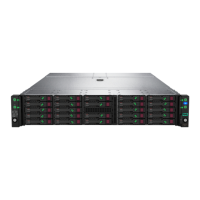
Removing and replacing the front I/O boardRemoving and replacing the front I/O board
WARNING: WARNING: To reduce the risk of personal injury from hot surfaces, allow the drives and the internal system components
to cool before touching them.
CAUTION: CAUTION: To prevent damage to electrical components, take the appropriate anti-static precautions before beginning
any installation, removal, or replacement procedure. Improper grounding can cause electrostatic discharge.
PrerequisitesPrerequisites
Before you perform this procedure, make sure that you have the following items:
Components included with the hardware kit
T-10 screwdriver
T-15 screwdriver
ProcedureProcedure
1. Power down the server.
2. Remove the server from the rack .
3. Place the server on a flat, level surface.
4. Remove the right rack ear assembly:
a. Remove the screws behind the right rack ear.
b. Carefully open the right rack ear from behind, and then disconnect the front I/O cable.
This action releases the right rack ear assembly from the chassis.

 Loading...