EasyManuals Logo
Home>Hypertherm>Welding System>MAXPRO200

Hypertherm MAXPRO200 User Manual

Hypertherm MAXPRO200
105 pages
To Next Page IconTo Next Page
To Previous Page IconTo Previous Page
Page #63 background imageLoading...
Page #63 background image
MAXPRO200 Instruction Manual 807700 Revision 1 59
Installation
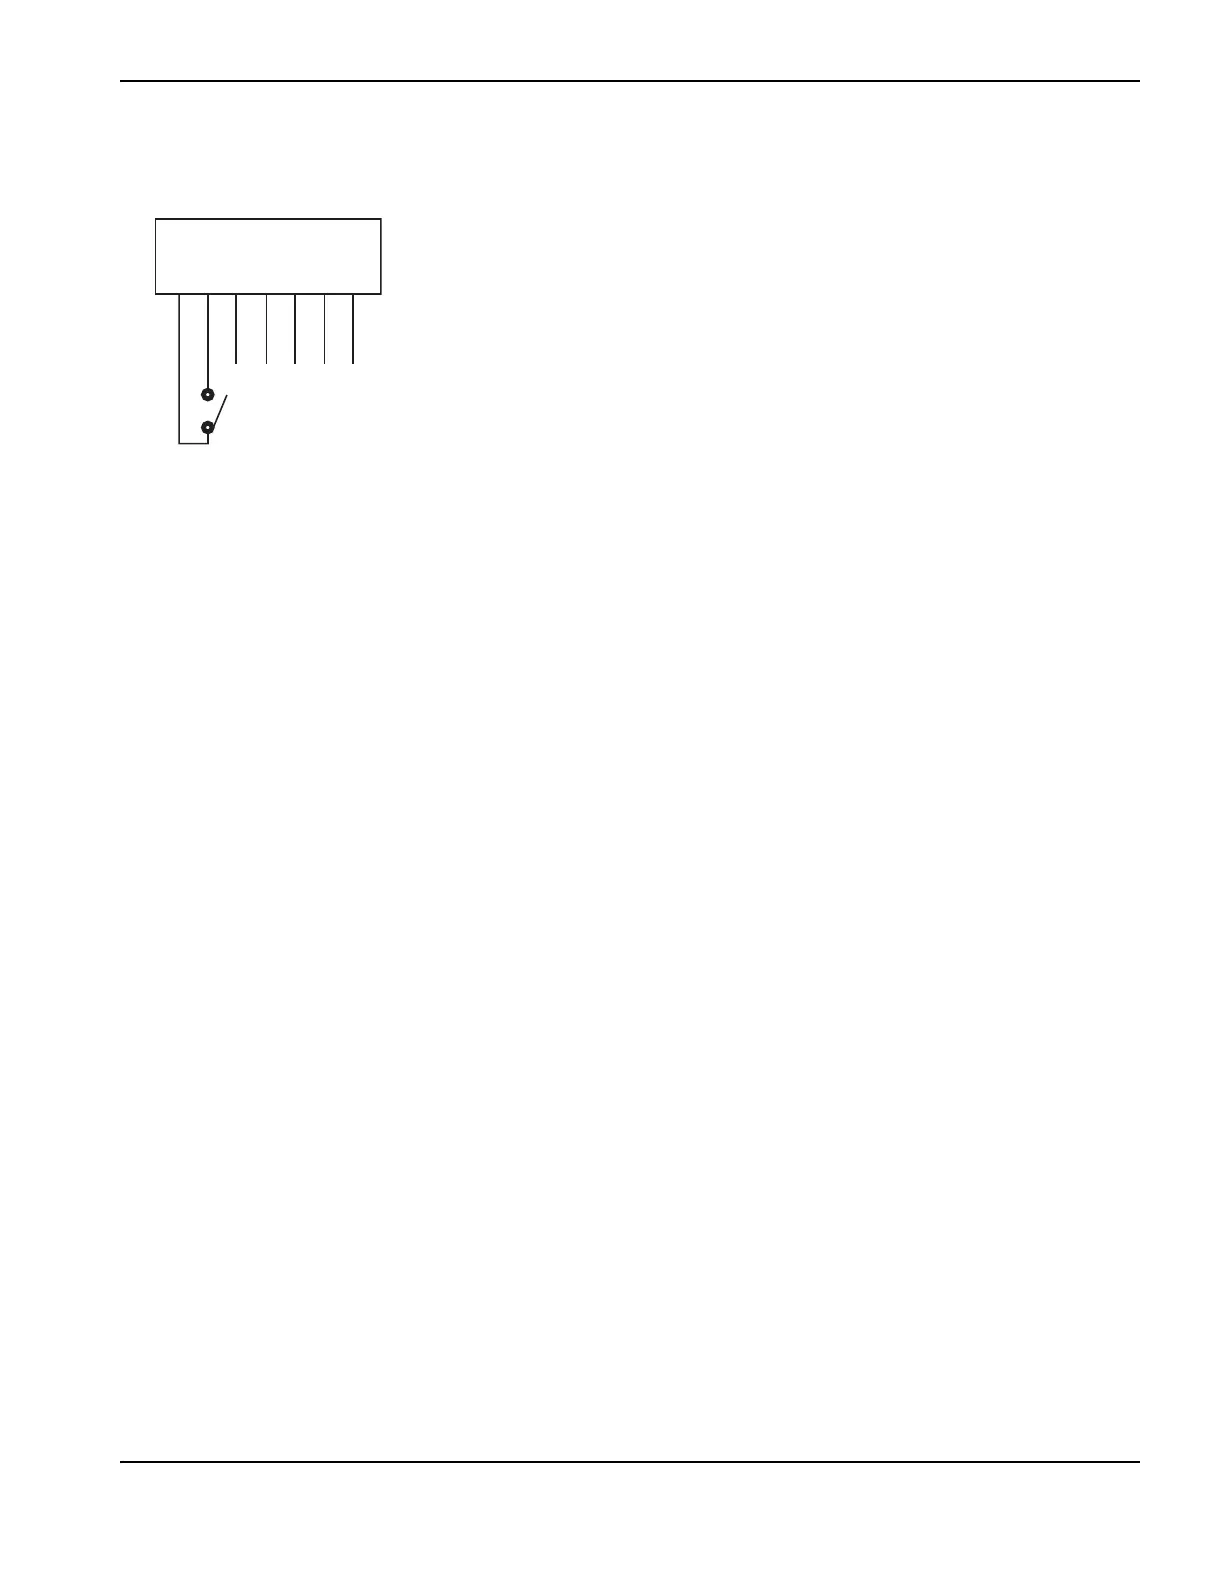
3. Connect the switch to terminals 1 and 2 as shown below. Use a sturdy tool to depress the corresponding orange
release buttons on the spring clamp connector.
Note: The power switch on the power supply must be in the ON position for the remote switch to function and
the remote switch must be in the ON position (closed) for the power switch on the power supply to function.
1234567
Note: Use a switch, relay, or solid-state relay that is compatible with 24 VDC @ 100 mA.
Wires should be a twisted pair.

Table of Contents

Other manuals for Hypertherm MAXPRO200

Questions and Answers:

Question and Answer IconNeed help?

Do you have a question about the Hypertherm MAXPRO200 and is the answer not in the manual?

Hypertherm MAXPRO200 Specifications

General IconGeneral
BrandHypertherm
ModelMAXPRO200
CategoryWelding System
LanguageEnglish

Related product manuals