EasyManuals Logo
Home>Hypertherm>Welding System>XPR170

Hypertherm XPR170 User Manual

Hypertherm XPR170
438 pages
To Next Page IconTo Next Page
To Previous Page IconTo Previous Page
Page #132 background imageLoading...
Page #132 background image
Installation
3
132 809480 Instruction Manual XPR300
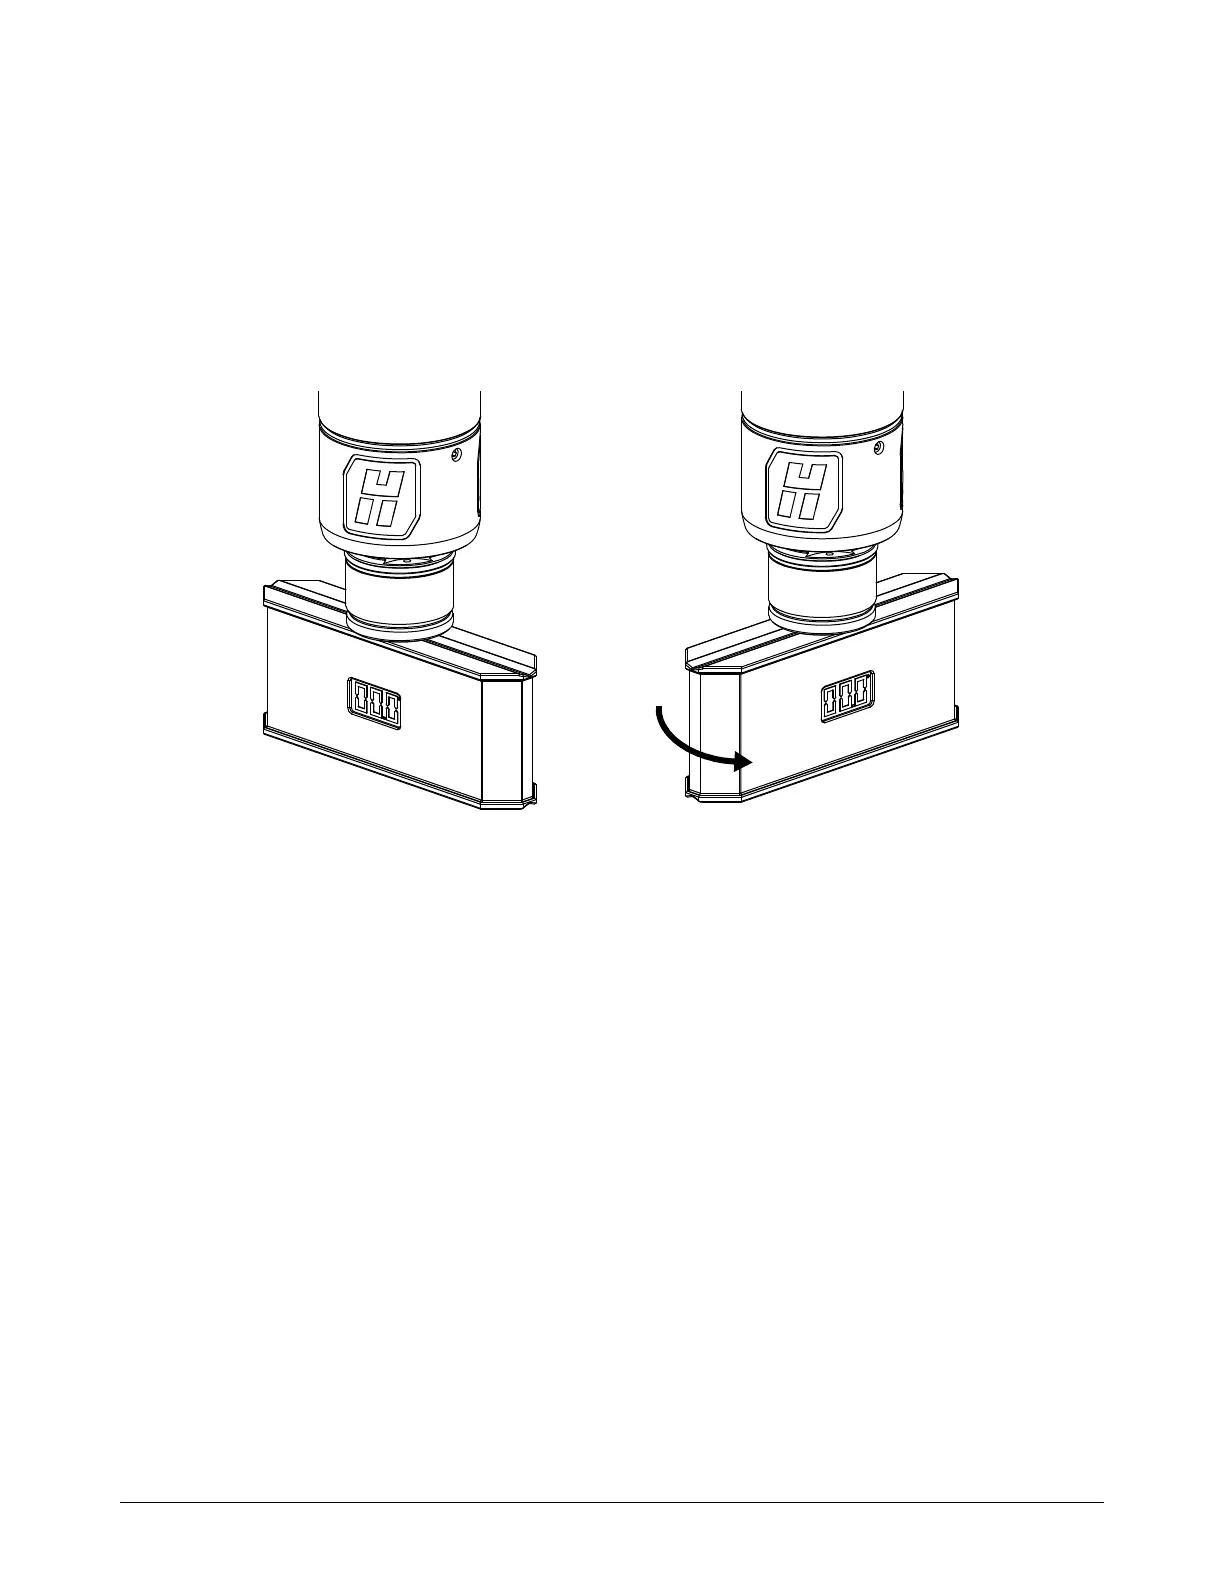
5. Make sure that the torch is level (at a 0° angle) in all directions, as shown in Figure 35. You can
use a digital level to measure alignment for standard-position cutting, marking, and piercing.
During bevel cutting, the torch is at an angle (not perpendicular) to the
workpiece. The torch position for XPR torches can range from 0° 52°.
For information on bevel cutting, refer to Bevel cutting on page 218.
6. Remove the consumables, including the water tube, from the torch.
Figure 35 Level the torch
7. Tighten the screws on the torch mounting bracket.

Table of Contents

Other manuals for Hypertherm XPR170

Questions and Answers:

Question and Answer IconNeed help?

Do you have a question about the Hypertherm XPR170 and is the answer not in the manual?

Hypertherm XPR170 Specifications

General IconGeneral
BrandHypertherm
ModelXPR170
CategoryWelding System
LanguageEnglish

Related product manuals