During self-test the drive performs the following sub-steps: 1) Saves drive logs (including tracelogs) to memory, 2)
Spaces to EOD and does writing, spacing & reading tests, 3) Writes the drive logs to tape.
Note: While the self-test is being executed, the drive will respond to any host commands with Sense Key/Additional
Sense Code and Additional Sense Code Qualifier of 02/3004 (NOT_READY/SCSI_ADDITIONAL_SENSE_DIAGNOSTIC
_CARTRIDGE_INSTALLED).
At the end of this sequence the Clean and Ready LEDs stop flashing. The next part of the sequence indicates whether
the drive has passed or failed the diagnostic test.
If the Ready LED flashes rapidly and no other LEDs are lit, then the self-test has passed. The tape will be ejected and the
drive will return to normal operation.
If the Ready LED flashes rapidly and the Clean, Tape and Drive LEDs are all on, the test has failed. The tape will be
ejected but the LEDs will continue to indicate the failed state until the user presses ejects or inserts a tape.
Interpreting the Results
1. Test Passed: When self-testing has completed successfully and no problems were detected the cartridge is unloaded
from the drive and all LEDs are off. Proper functioning of both the drive and the tape cartridge has been verified.
2. Drive Failure: When a drive or cartridge failure is detected, the cartridge will be unloaded from the drive and the LEDs
will continue to display the result of the test until the user either inserts a cartridge or presses eject. To determine
whether it is a drive or cartridge failure repeat self-testing using another tape cartridge. If this cartridge also fails self-
test the problem is likely to be with the drive. The trace-logs stored on the first diagnostic tape may enable the drive
problem to be identified.
3. Media Failure: When a drive or cartridge failure is detected, the cartridge will be unloaded from the drive and the LEDs
will continue to display the result of the test until the user either inserts a cartridge or presses eject. To determine
whether it is a drive or cartridge failure repeat self-testing using another tape cartridge. If this cartridge passes self-test
the problem is likely to be with the original media. Replace the defective media.
4. Incorrect Cartridge: Self-testing cannot be performed if the inserted cartridge is one from the following list:
Write-protected
Damaged
Media type that is not compatible with the drive
When the drive has determined that an incompatible or damaged tape cartridge was inserted, the cartridge is unloaded
immediately after loading.
When a write-protected tape is inserted the diagnostic test cancels, and the tape loads normally, allowing data to be read from
it. The LED operation reverts to normal.
To run the self-test, return to Enter Diagnostic Mode step 1 and use a suitable cartridge.
Types of Tape Cartridges
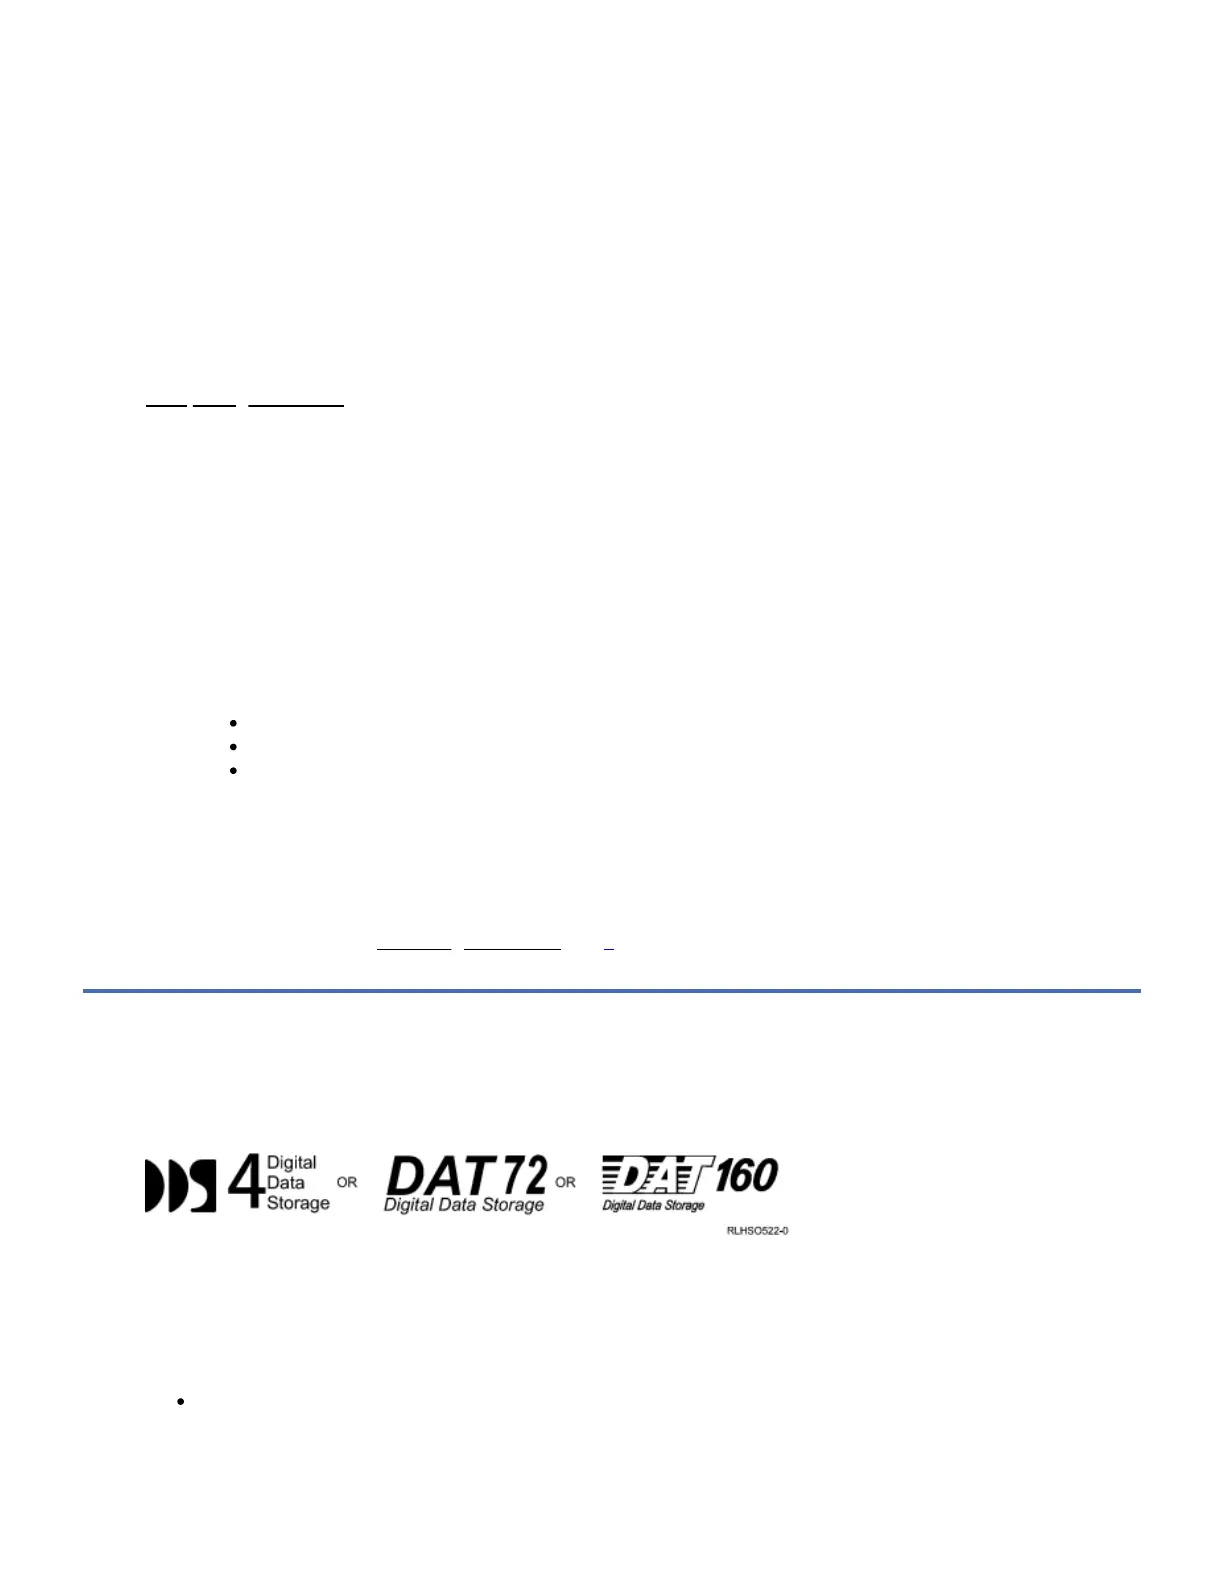
The DAT 160 Tape Drive uses data cartridges for saving and restoring system data. It is designed to use only DDS (Digital Data
Storage) data cartridges. The cartridges are identified by one of the following DDS symbols:
The DAT 160 Tape Drive only reads and writes data to tape cartridges that are DDS-4, DAT 72 or DAT 160 format.
Note: The DAT 160 Tape Drive only supports DDS-4, DAT 72 or DAT 160 tape cartridges. If any other cartridge is inserted in the
drive, it will be ejected.
The DAT 160 Tape Drive has been designed to operate with DDS media that meet the following standards of the European
Computer Manufacturers Association (ECMA):
ECMA-288 DDS-4 format
Note: IBM only supports the use of IBM media.
The DAT 160 Tape Drive uses the following types of media cartridges.

 Loading...


