Parts/Test Point Locations 5-25
CD-ROM Drive
ATTENTION:
Either <option 1> or <option 2> CD-ROM drive may come with
your Aptiva machine. Their front panel buttons, indicators and
emergency eject method could be different.
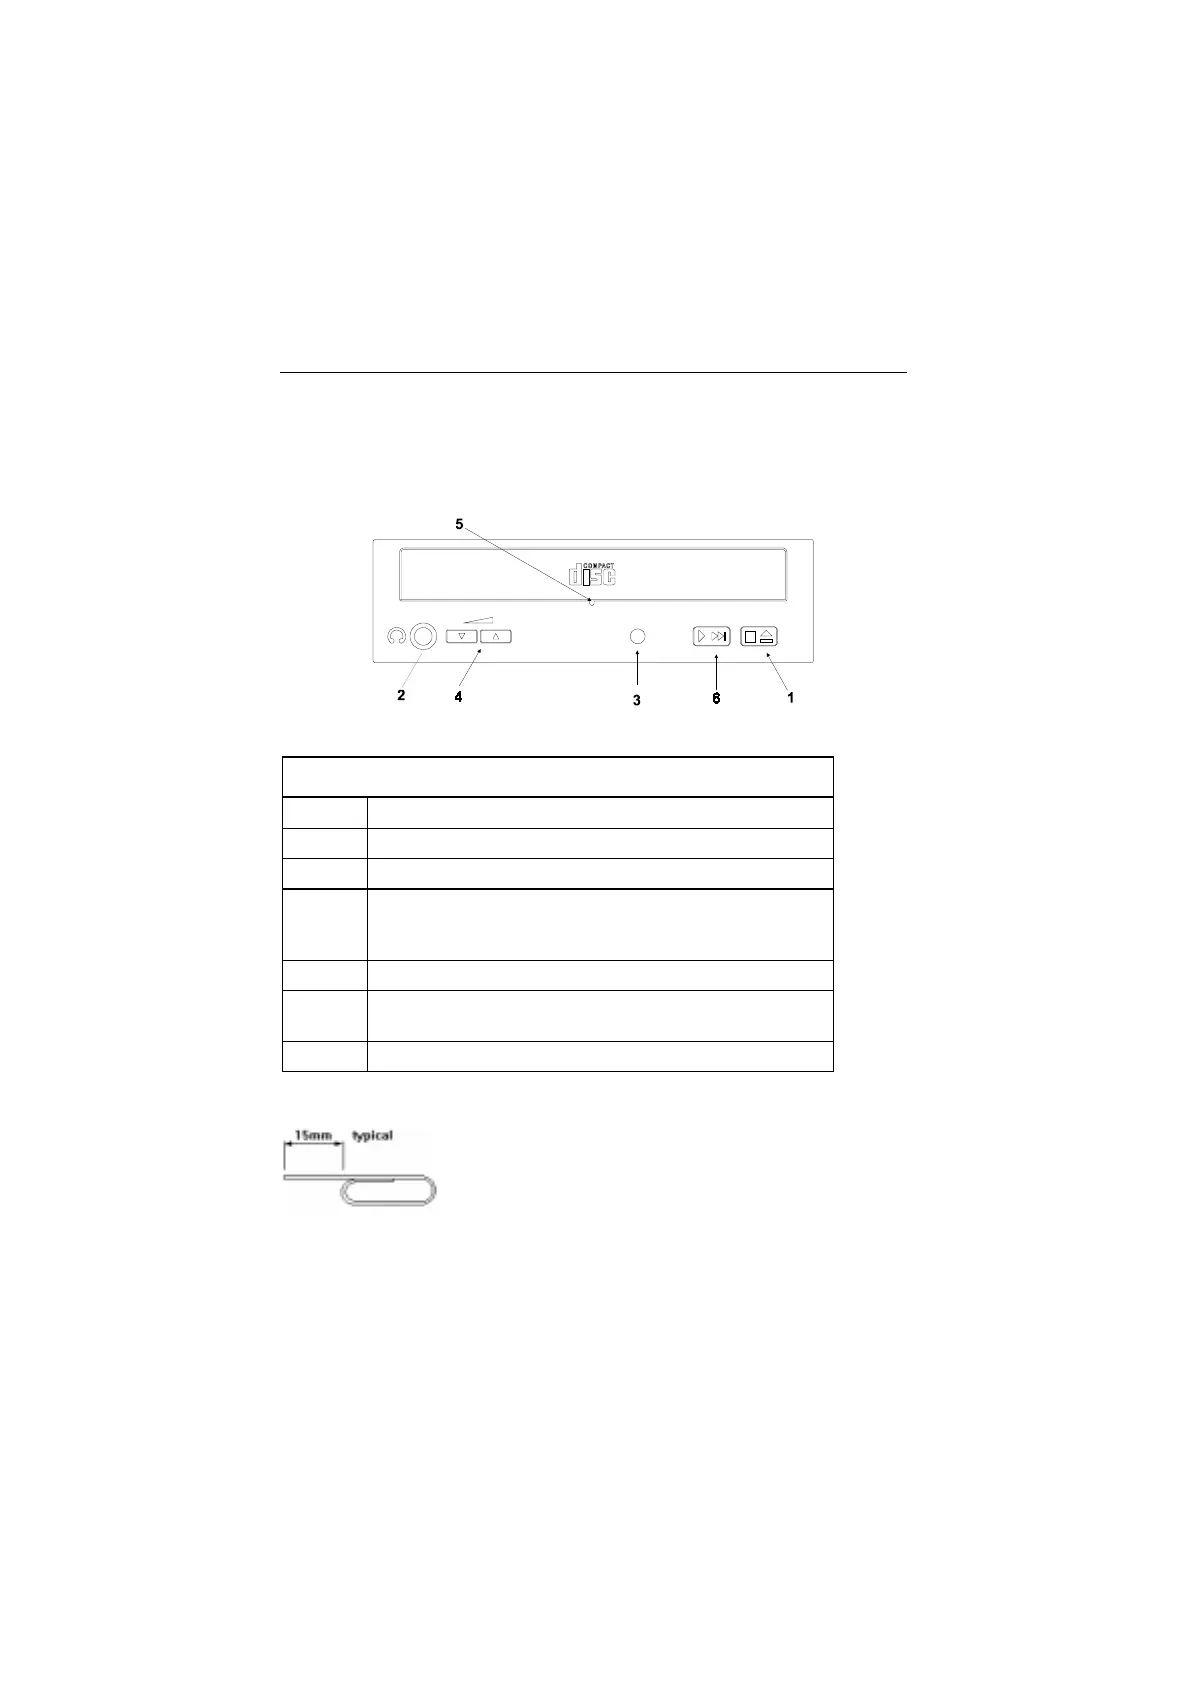
Figure 5- 15 CD-ROM Front Panel <option 1>
Table 5- 16 CD-ROM Front Panel Introduction <option 1>
Item Description
1 Load / eject button
2 Headphone jack
3 Power-on / busy indicator, lights up in green color while
disc is set in ready state; lights up and flashes in amber
color during data read or seek operation.
4 Headphone volume control
5 Emergency eject hole.
See CD-ROM Emergency-exit <option 1> below.
6 Audio Play/Skip track control button
CD-ROM Emergency-exit <option 1>
If for any reason the tray does not eject
automatically, insert and press an eject-bar inside
the emergency eject hole to manually eject the
tray. A straightened paper clip with a diameter of
1.2 mm (typical) can be used as an eject-bar.
NOTE:
Make sure to turn off the power before manual disc eject operation.
 Loading...


