68 Chapter 6: Working with system board components
Installing an upgrade processor
Instructions for removing your old processor are given
in this section. Instructions for installing an upgrade
processor should come packaged with the processor.
To remove the old processor:
1. Remove the heat sink retaining clip by pressing the
release tab (square end) of the clip.
If pressing the tab does not release the clip, press
the tab while using the tip of a thin bladed
screwdriver or other similar object to gently push
out the leg that is hooked on the catch underneath
the tab. Take extreme care not to push the leg too
hard, or you might accidentally damage
surrounding parts.
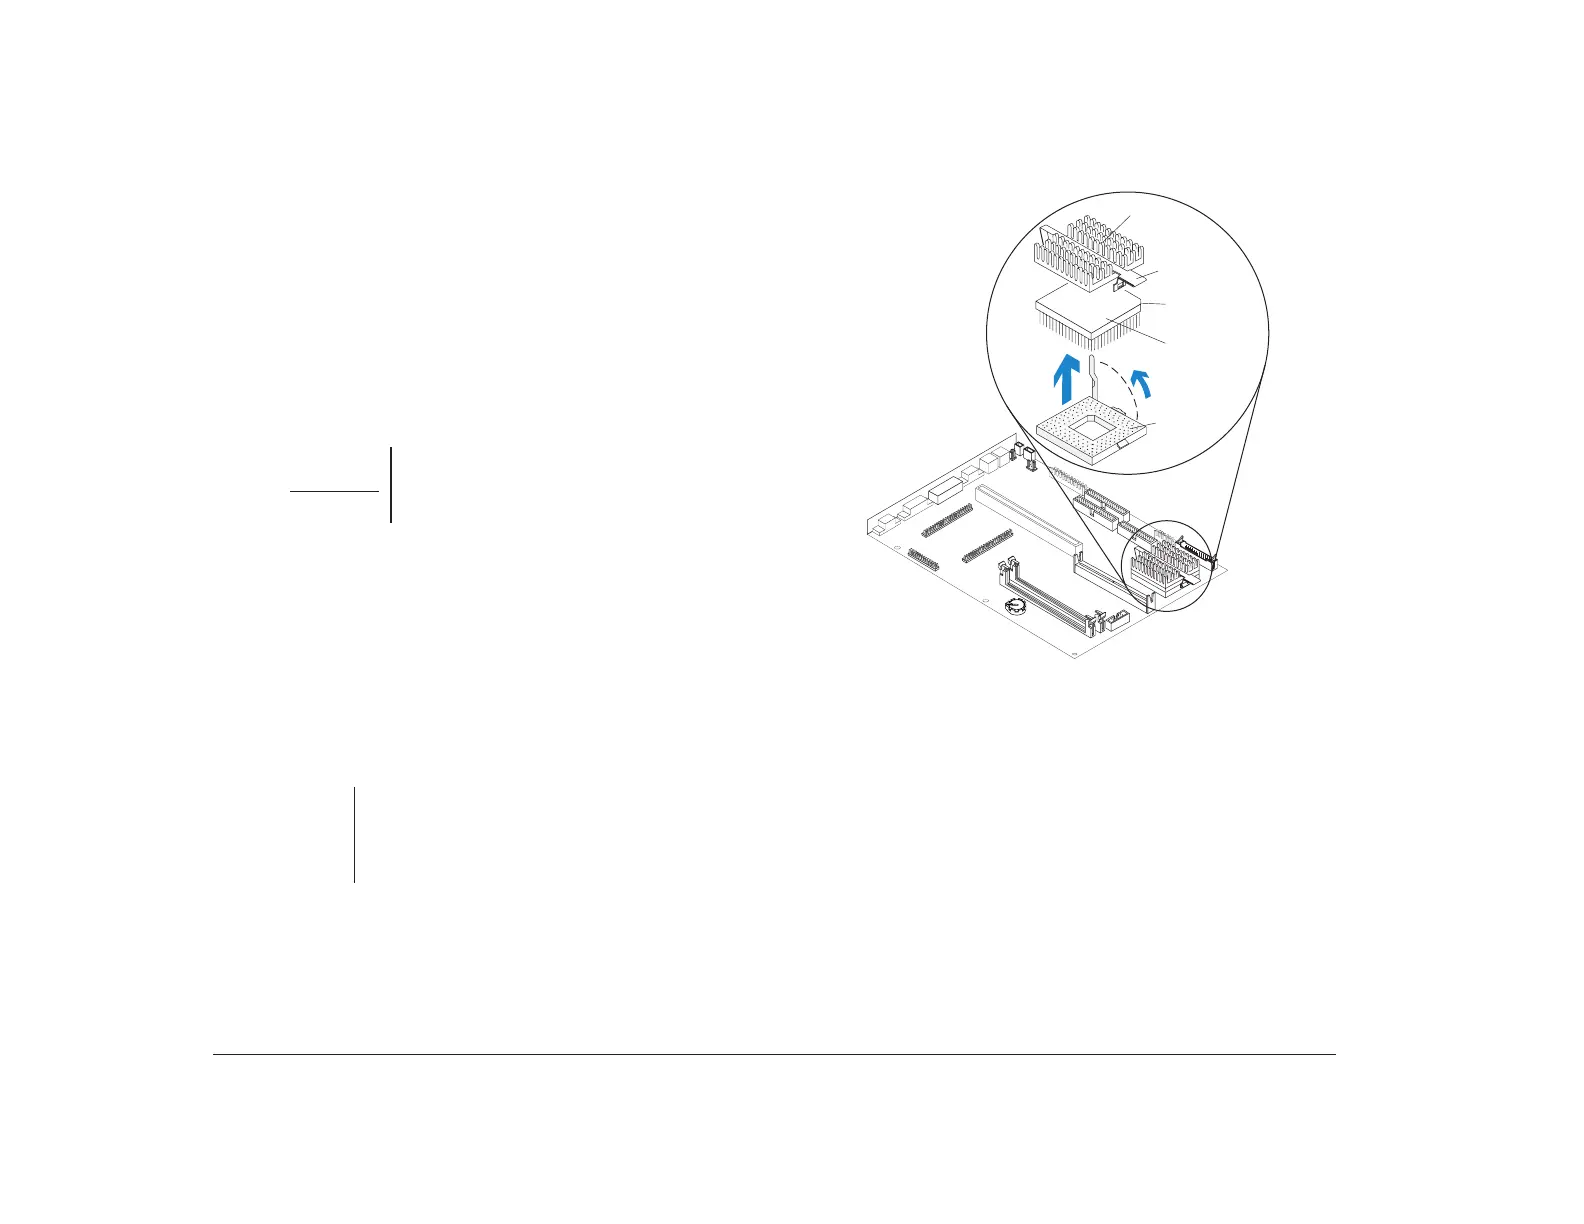
2. Remove the heat sink by lifting it straight up.
3. Unlatch the handle on the side of the processor
socket and lift it all the way up.
Attention!
The heat sink retaining clip is under tension
and may disengage suddenly if not held
while being removed.
Note:
If the heat sink is permanently cemented to the
processor, you should remove both the heat sink
and the processor after you lift the handle in
step 3.
4. Lift the processor out of the processor socket.
5. Install the new processor by following the
instructions that came with it.
Processor
Socket
Processor
Notch
Heat
Sink
Retaining
Clip
2
1

 Loading...


