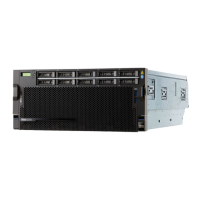
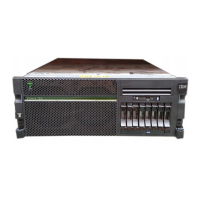
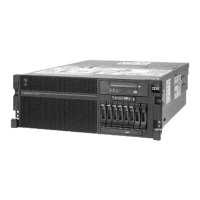
Media Drive Replacement
To replace a media drive, do the following:
1. Before handling any card, board, or memory DIMM, touch any metal surface of the
chassis with one hand to minimize static electric discharge. Refer to “Handling
Static-Sensitive Devices” on page 50.
2. Set any jumpers or switches on the device according to the documentation
provided with the drive.
3. Using 4 retaining screws, secure the media carrier tray to the bottom of the media
drive.
4. Insert the media drive into the media bay, pushing the drive in until the release tab
clicks into the locked position.
5. Connect the media signal and power cables to the drive.
6. Replace the bezel as described in “Front Bezel Replacement (Model 6C4)” on
page 62 or “Front Bezel Replacement (Model 6E4)” on page 63.
7. Replace the service access cover as described in “Service Access Cover
Replacement (Model 6C4)” on page 55 or “Service Access Cover Replacement
(Model 6E4)” on page 58.
8. If you are servicing a Model 6C4, push the system drawer back into the operating
position as described in “Returning the Model 6C4 to the Operating Position” on
page 54.
9. Power on the system as described in “Starting the System” on page 52.
10. If the Model 6C4 has successfully powered on, close the rack doors.
If the Model 6E4 has successfully powered on, close the bezel door.
Chapter 4. Installing Options 103

 Loading...


