Installing support rails for Storwize V7000 Gen2 and Storwize V7000
Gen2+ expansion enclosures
Before you install expansion enclosures, you must first install support rails.
Procedure
To install the support rails, complete the following steps.
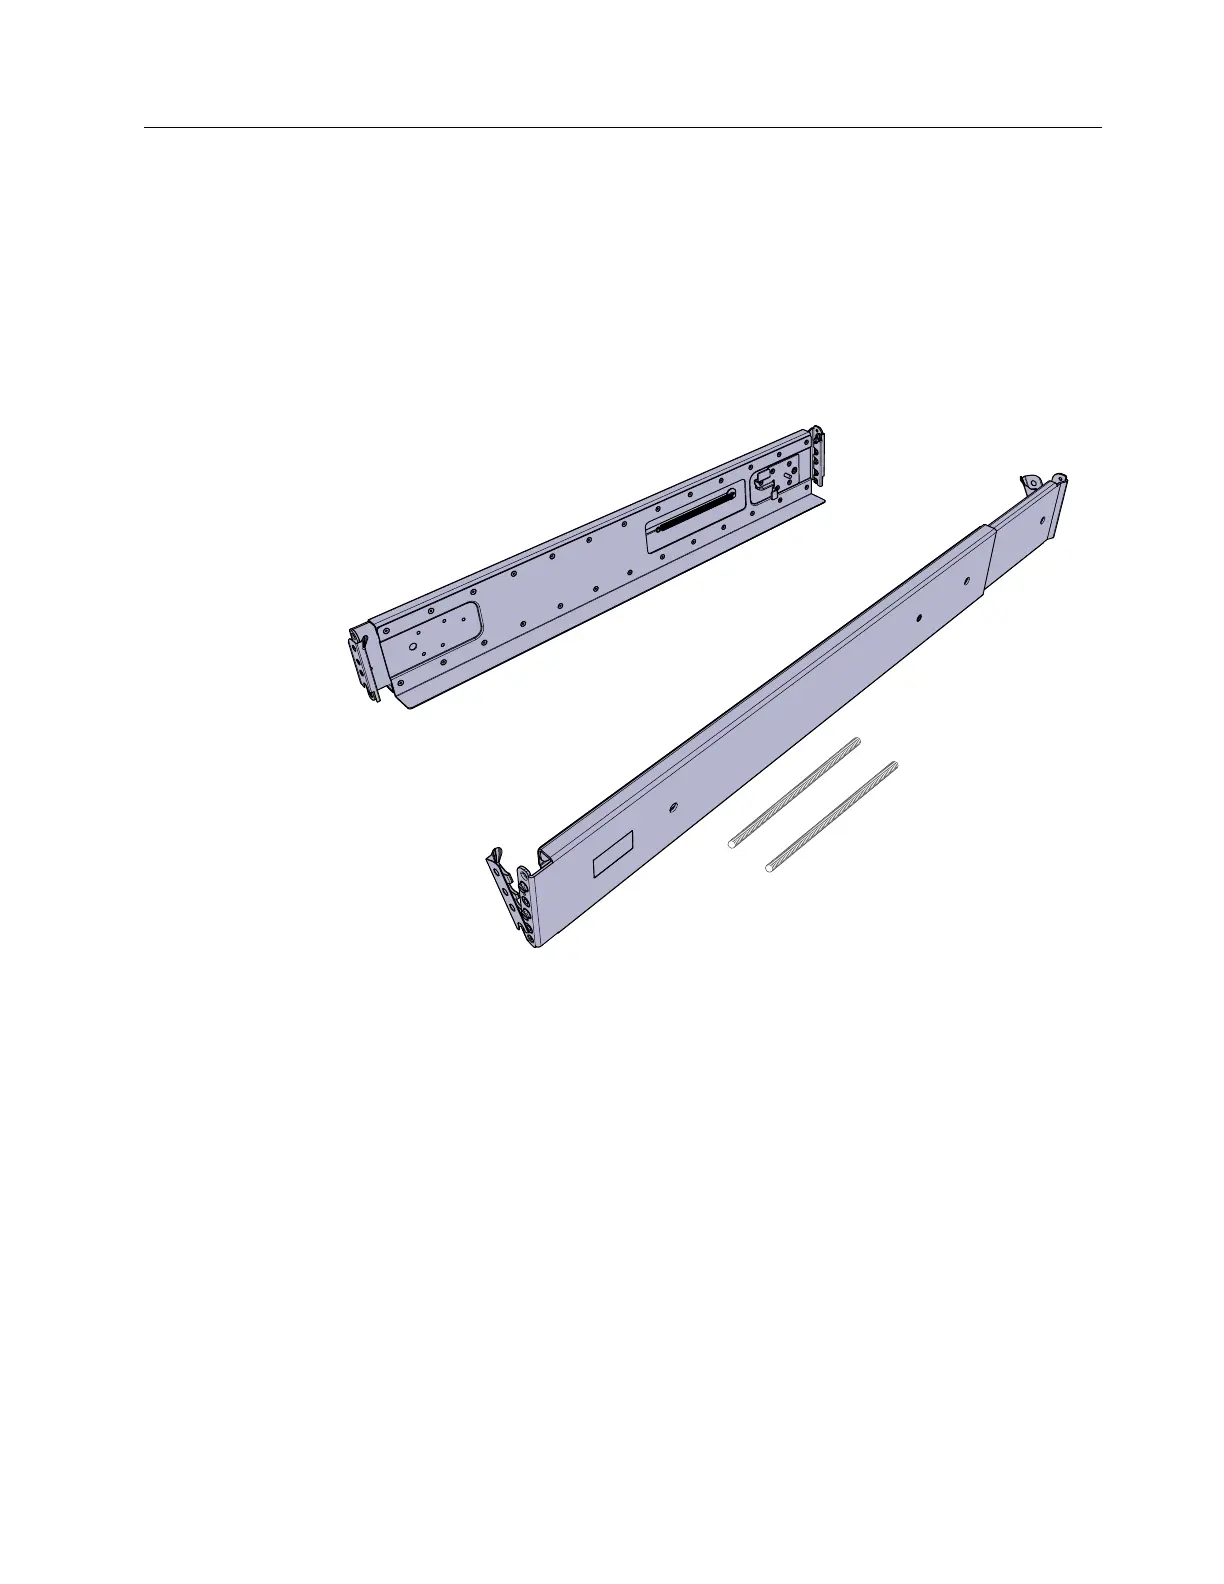
1. Locate the expansion enclosure rails (Figure 13). The rail assembly consists of
two rails that must be installed in the rack cabinet.
2. Locate the hardware that is used to install the rails, including two rail springs,
two sets of eight bracket pins, and two M5 screws. Set the hardware aside for
use later in the installation process.
3. Install a spring on each rail.
a. Extend the rail to its full length.
b. Push one looped end of a spring over one stud on the inside of the rail.
(See Figure 14 on page 18.)
Note: Some models of rail have the studs on the outside of the rail.
c. Stretch the spring slightly and push the other looped end of the spring
onto the other stud on the inside of the rail.
Figure 13. Expansion enclosure support rails
Chapter 2. Installing the Storwize V7000 Gen2 and Storwize V7000 Gen2+ hardware 17