8. If you are instructed to return the SAS hard disk drive backplane assembly,
follow all packaging instructions, and use any packaging materials for shipping
that are supplied to you.
Replacing the SAS hard disk drive backplane assembly
This topic provides instructions for how to install the replacement SAS hard disk
drive backplane assembly.
About this task
To install the replacement SAS hard disk drive backplane assembly, complete the
following steps:
Procedure
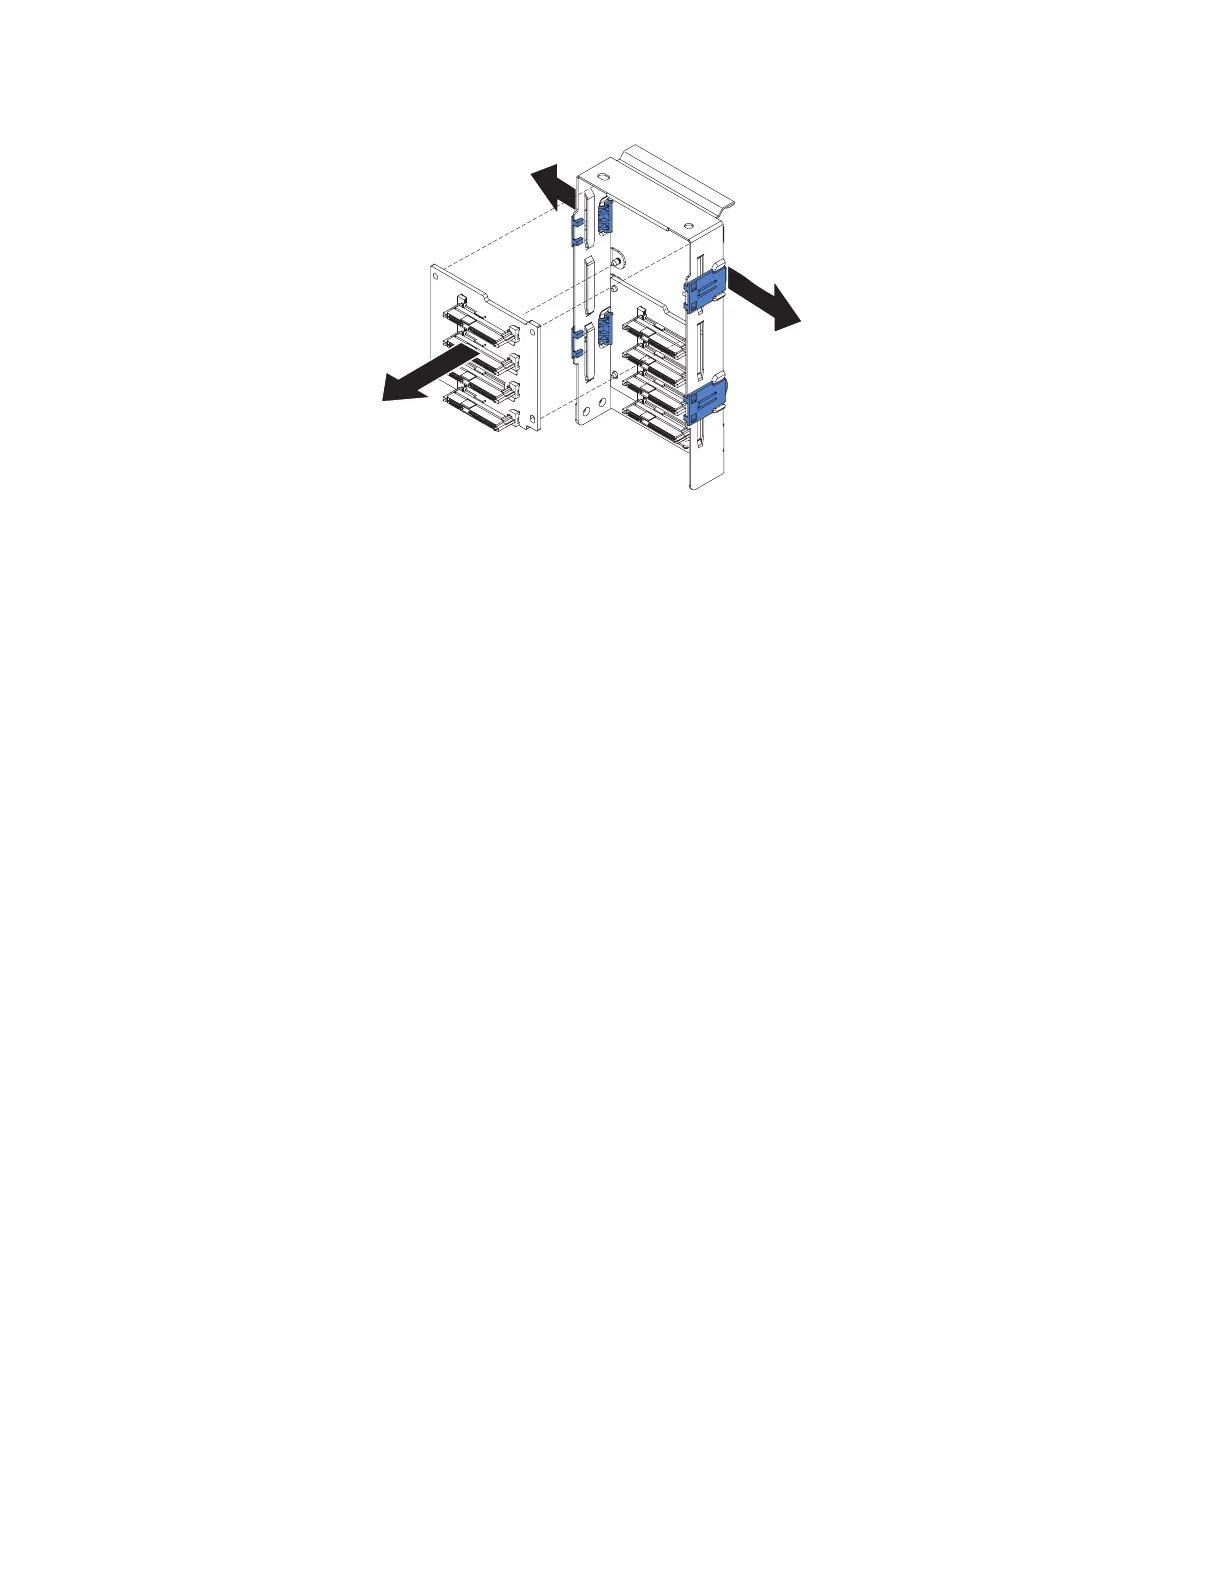
1. Install the backplane onto the carrier.
a. Line up the notch on the backplane with the bottom-right corner of the
carrier.
b. Push the backplane onto the carrier until it snaps into place.
2. Slide the assembly into the card guides and pull the release tab toward the
front of the server to engage the assembly.
3. Reconnect the SAS signal cable and SAS power cable to the backplane.
4. Slide the hard disk drive backplane cable assembly into the server.
5. Reinstall the hard disk drives and drive fillers.
6. Install the top cover (see “Replacing the top cover” on page 107).
7. Connect the cables and power cords (see “Connecting the cables” on page 104
for cabling instructions).
8. Turn on all attached devices and the server.
9. Restore the RAID configuration information that you backed up before you
removed the hard disk drive backplane.
Chapter 5. Removing and replacing components 155
 Loading...


