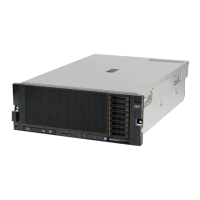
Removing the eXFlash 1.8-inch drive cage and backplane
assembly
This topic provides instructions to remove the eXFlash drive backplane assembly.
About this task
Important: Before you remove the eXFlash 1.8-inch backplane assembly from the
server, take the following precautions to save data, firmware, and configuration
data:
v Before you make changes to disk drives, disk drive controllers (including
controllers that are integrated on the system board), disk drive backplanes, or
disk drive cables, back up all important data that is stored on hard disks.
v Before you remove any component of a RAID array, back up all RAID
configuration information.
Filler panel
Release
latch
To remove the eXFlash drive backplane assembly, complete the following steps.
Procedure
1. Read the safety information that begins with “Safety” on page v and
“Installation guidelines” on page 97.
2. Turn off the server and peripheral devices, and disconnect the power cords
and all external cables as necessary to replace the device.
3. Remove the top cover (see “Removing and replacing consumable parts and
Tier 1 CRUs” on page 105).
4. Remove the filler panel.
156 IBM System x3850 X5 and x3950 X5 Types 7145, 7146, 7143, and 7191: Problem Determination and Service Guide

 Loading...