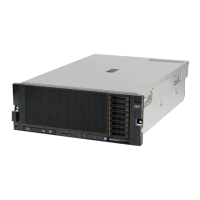
Note: The microprocessor fits only one way in the socket.
Installation
tool
Microprocessor
Alignment
holes
Screws
8. Close the load plate and then rotate the microprocessor-release latch to secure
the microprocessor.
9. Remove the heat sink from its package.
10. Install the heat sink.
Attention: Do not touch the thermal grease on the bottom of the heat sink or
set down the heat sink after you remove the plastic cover. Touching the
thermal grease will contaminate it.
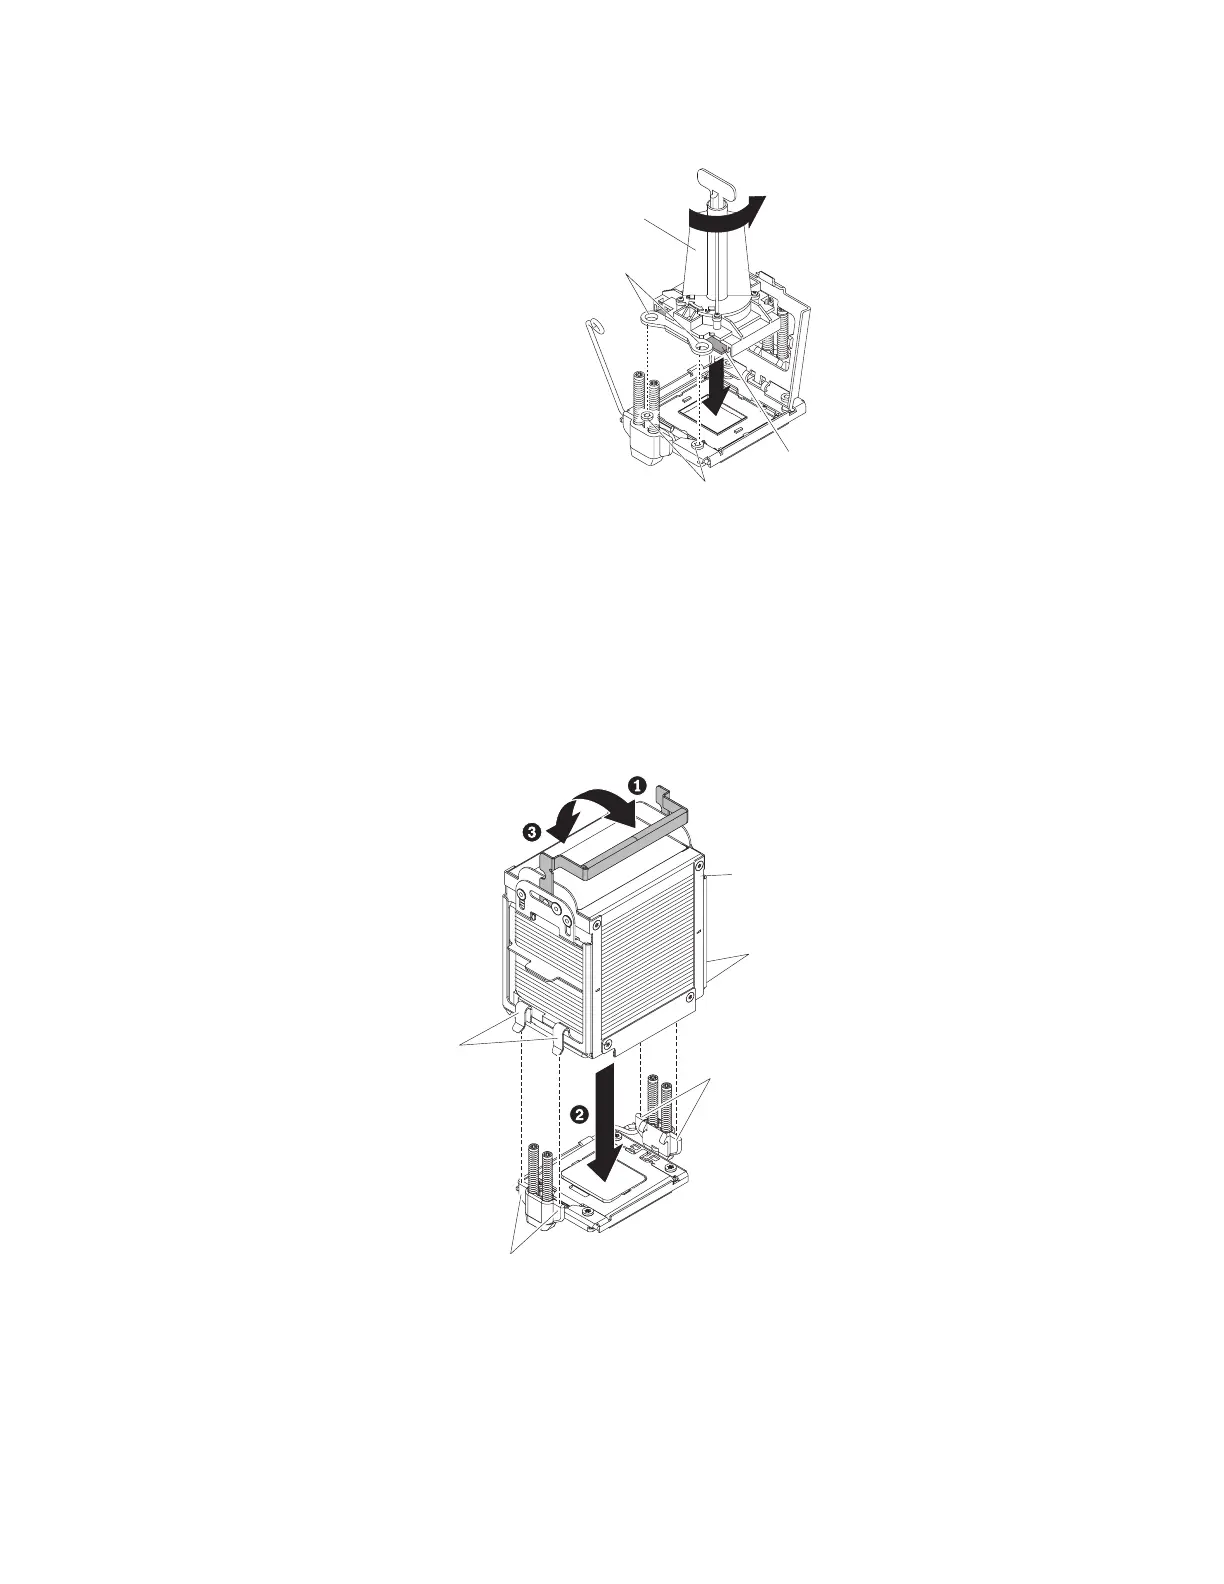
a. Make sure that the heat-sink release lever 1 is in the fully open position.
b. Remove the plastic protective cover from the bottom of the heat sink.
Heat sink
Clips
Tabs
Tabs
Clips
c. Position the heat sink above the microprocessor with the thermal grease
side down, and align the clips of the heat sink with the tabs next to the
microprocessor socket.
d. Press down firmly on the heat sink 2 until it is seated securely.
e. Rotate the heat-sink release lever 3 to the closed and locked position.
11. Replace the top cover bracket (see “Replacing the top-cover bracket” on page
108).
Chapter 5. Removing and replacing components 169
 Loading...


