EonStor CS Installation Guide
page 69 / 165
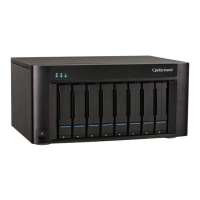
1U 4/ 2U 8-bay form factor model
1. Please shut down and power off the faulty node. Disconnect all cables on the faulty controller and
remove it, insert the new one and power on the GS.
2. To remove the faulty controller, loosen the screw that secures the control module’s ejection levers and
push the ejection levers downwards (indicated by the blue arrows).
3. Push the ejection levers downwards (indicated by the blue arrows). The controller module will
automatically ease out of the controller module bay.
4. Insert the new controller module. Carefully push the controller until you feel the contact resistance when
the board edge connectors are engaging the backplane. Push the ejection levers upward (indicated by
the blue arrows) and fasten the retention screw on the ejection levers.

 Loading...