User Manual for the Thermographic System VarioCAM
®
high resolution
6. Quick Start
12 © InfraTec GmbH 2013 User Manual
6 Quick Start
The following instructions shall help to quickly familiarise with operating the VarioCAM
®
hr. For obtaining
professional results, we recommend to carefully read the entire manual.
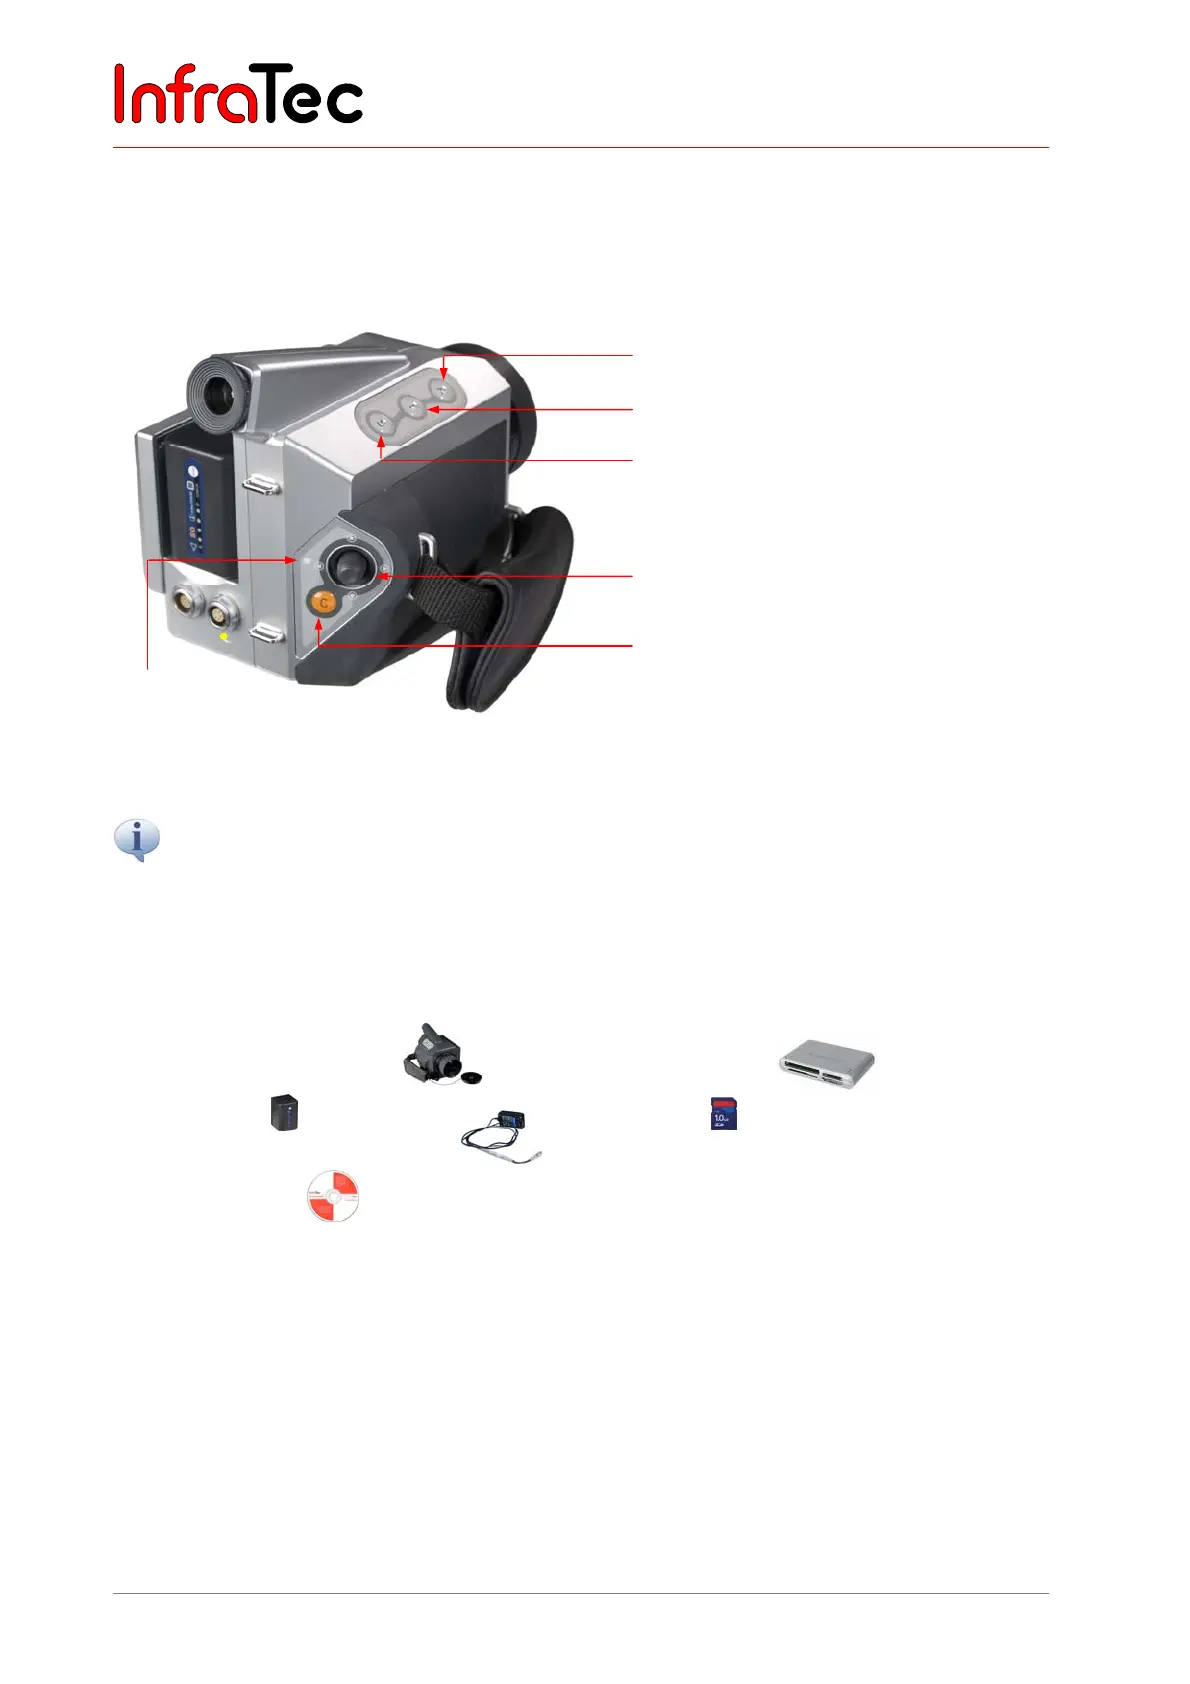
Fig. 3 Description of controls
A button (Automatic)
T button (Temperature spot measurement)
S button (Stop / Store)
Multifunctional joystick , ,,
with Enter function (press joystick)
C button (Esc/Colour), ON/OFF
All buttons have multiple features which are enabled by pressing briefly or for a longer (L) time. The currently
available buttons and their functions are displayed at the top of the display or in the viewfinder, respectively,
in a help line.
6.1 Preparation
You require the following equipment:
■ VarioCAM
high resolution ■ SD card reader
■ Li-ion battery or
Power supply unit* with LEMO plug
■ SD card
■ IRBIS
®
software
6.2 Start
■ Connect to power supply by inserting the charged Li-ion battery or by connecting the external power
supply unit* to the VarioCAM
®
hr (14- pin plug into left socket, with the red indication showing
upwards).
■ Remove cover from SD card slot, insert SD card into card slot and return cover.
■ Remove lens protective cover.
■ Press button CL until the Operating LED flashes yellow. During the power-ON process, the blue
JENOPTIK logo is visible on the display*/in the viewfinder for approx. 40 seconds. After system
LED
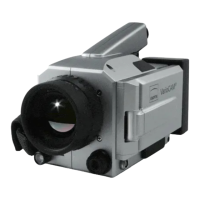
(Product similar to diaplyed)