28 xGenConnect Installation and Programming Guide
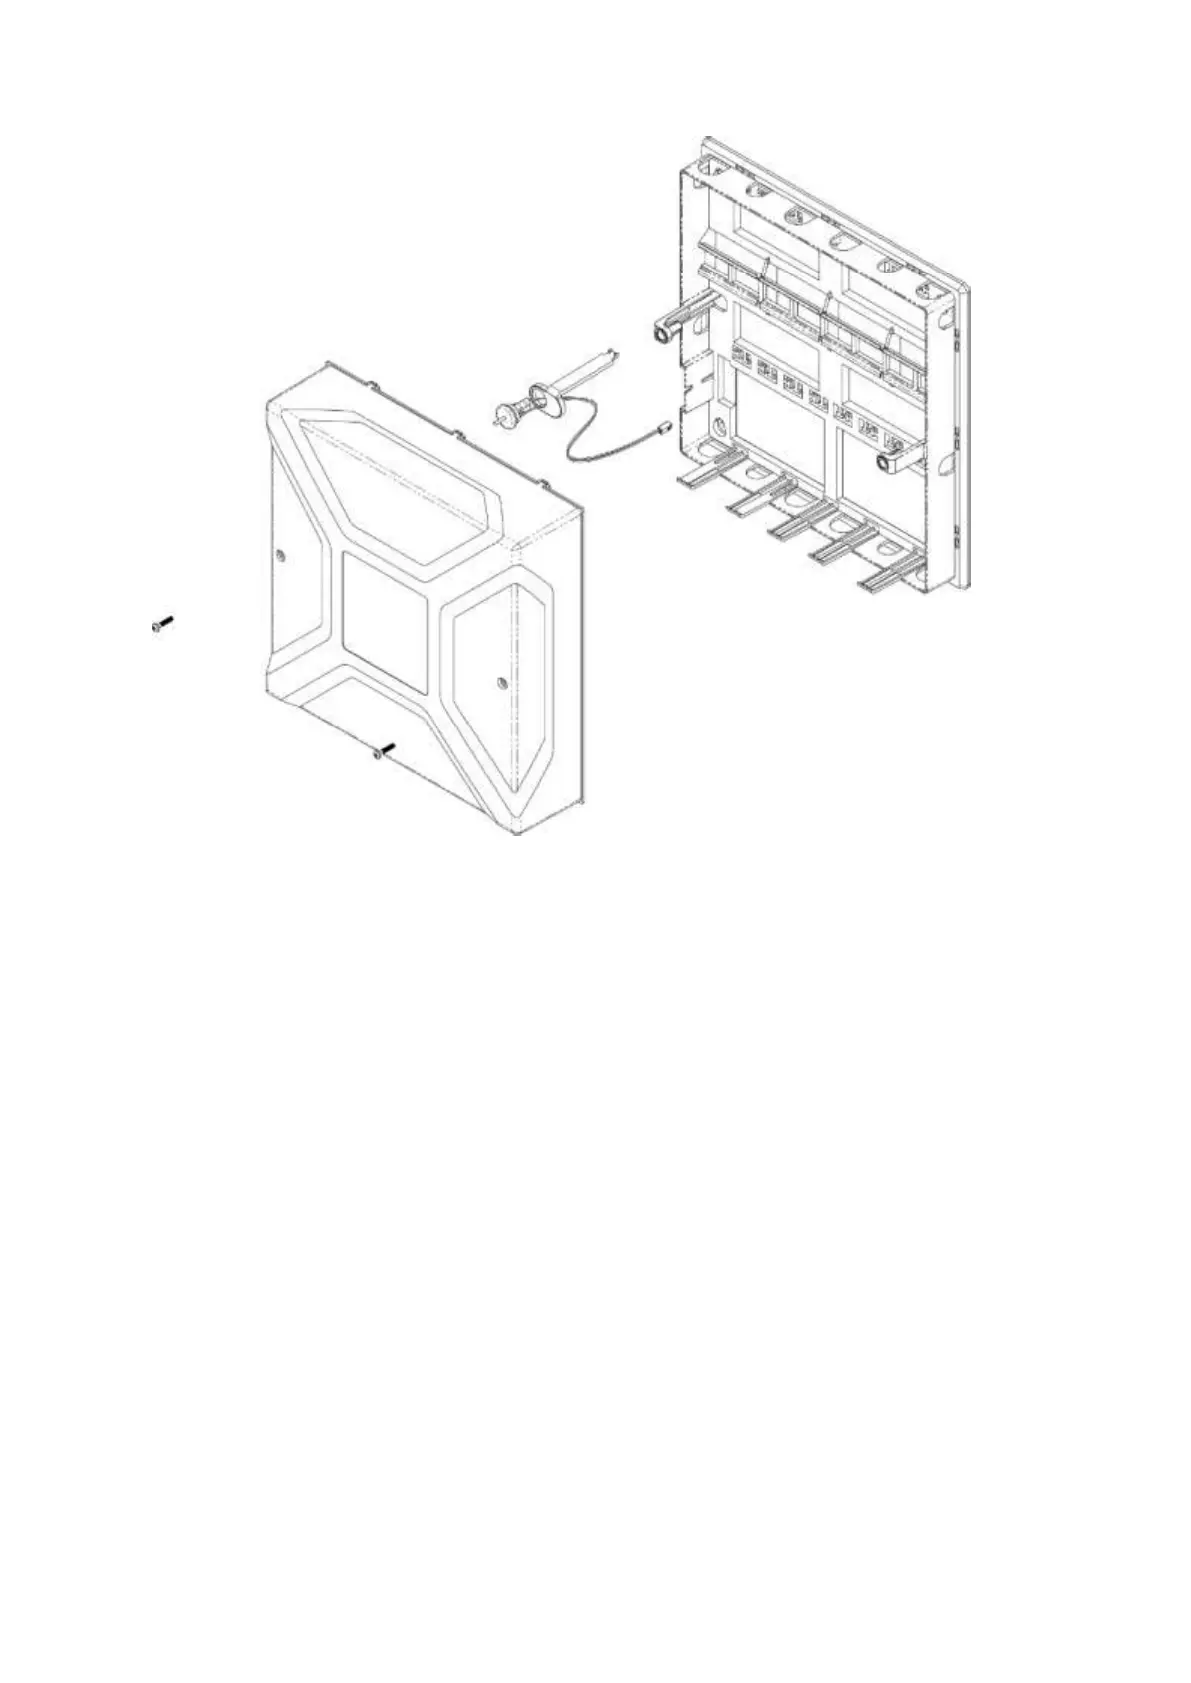
NXG-001 Plastic Enclosure
The NXG-001 features a DIN rail for mounting xGen modules, a tamper switch,
and integrated cable management.
The enclosure should be installed in accordance with EN 50131-1 Environmental
Class II to provide operating conditions within:
• Temperature range: −10 to +55°C.
• Humidity range: Average 93% relative humidity, noncondensing
The lid can be removed by releasing the two screws using the supplied Allen key.
Note: The housing cover must be installed with the clips on top.
Refer to drilling template provided with enclosure for mounting instructions.
To install a module, release the locking tab(s) and place on the DIN rail then
push the locking tab(s) to secure the module. To remove a module, use a small
flat-blade screwdriver to release the locking tab(s) on the xGen module then
remove from the DIN rail. Refer to module installation manual for further details.
 Loading...