58 xGenConnect Installation and Programming Guide
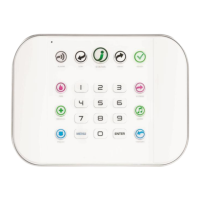
Note: When programming the Scene under the Settings > Scenes menu, the
“Scene Trigger” is optional. Select the actions you want to be performed when
the scene is “run” by the keyfob.
Programming Cameras
Adding Cameras Using the New Device Setup
The UltraSync+ app has a built-in guide to help you add cameras. This feature is
supported on the Bullet Camera, Desktop Camera, and Doorbell Camera.
Cameras must be connected to the same network as the xGenConnect.
Before adding cameras:
• The xGenConnect must be programmed
• The UltraSync+ app must be able to connect to the site
To add a camera:
1. Connect power to the camera using the included plug pack. It will take 3 to
4 min to initialize. A new camera out of the box will automatically start Wi-Fi
Discovery Mode if no Ethernet cable is connected.
2. Launch UltraSync+ app on a smartphone.
3. Click the site name to connect to the panel.
4. Click Menu – New Device Setup
5. Follow the on-screen instructions.
Adding Cameras using the Settings Screen
Cameras contain advanced options and features which can be programmed
directly in the camera. These may include:
• Image adjustment
• Noise reduction
 Loading...