xGenConnect Installation and Programming Guide 59
• Day/Night settings
• IR mode
• Recording format / quality / codec
• Storage allocation and formatting the micro SD card (if included)
• Advanced network configuration
• Time zone and daylight savings
• Camera naming and text overlay
• Privacy mask
Only perform these steps if you are familiar with the operation of the camera.
Incorrect settings may cause the camera to perform poorly. Default the camera to
factory settings if this occurs.
1. Connect the camera with an Ethernet cable to the same router / local area
network as the panel.
2. Program the camera by following the camera’s manual. Take care when
changing quality settings - exceeding the customer’s upload bandwidth will
cause the camera to appear slow or unresponsive.
3. If a Wi-Fi connection is preferred:
a. Enter the Wi-Fi router’s details on the Network - Wi-Fi tab
b. Click Save
c. Check “Connected” appears
d. Disconnect the Ethernet cable
e. Reboot the camera
4. From your iOS or Android device, open the UltraSync+ app.
5. Add the panel details with the installer account / PIN.
6. Log in to the site as the installer.
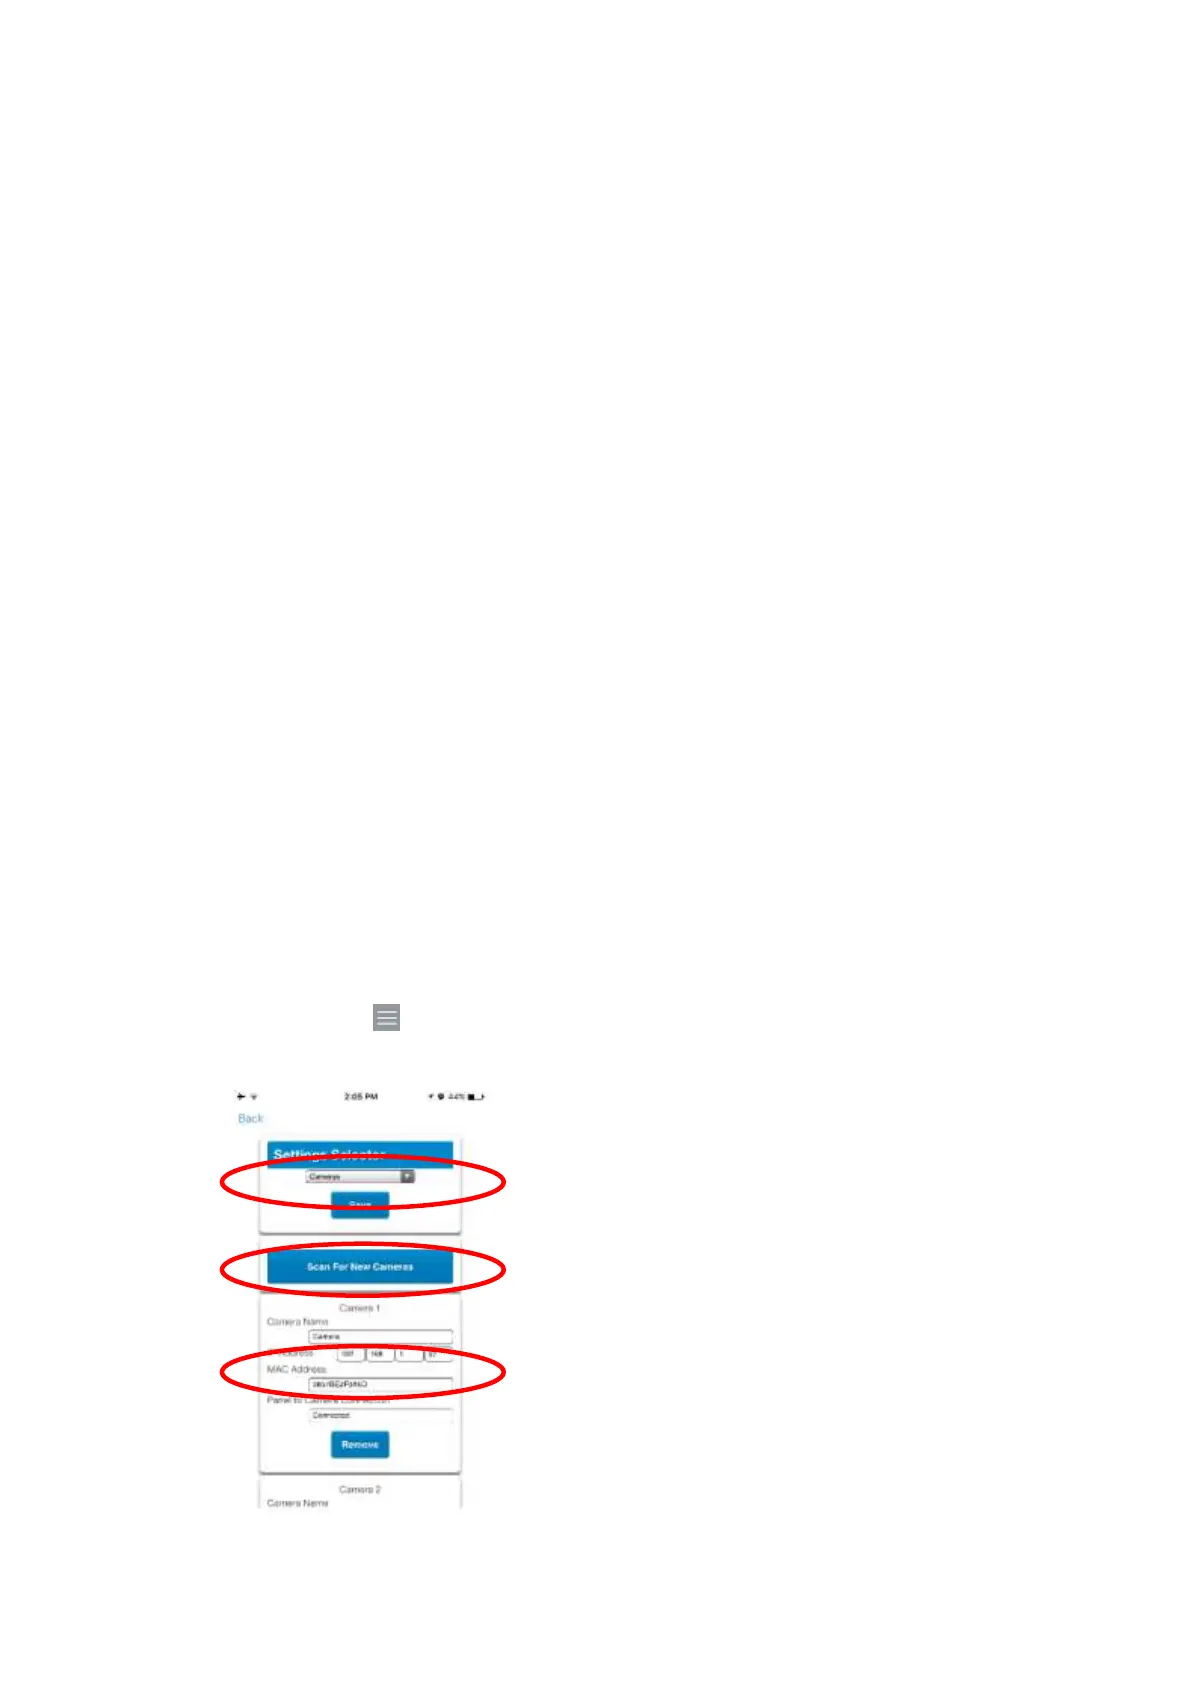
7. Touch Menu then Settings.
8. Select Cameras under the Settings Selector.
 Loading...