xGenConnect Installation and Programming Guide 29
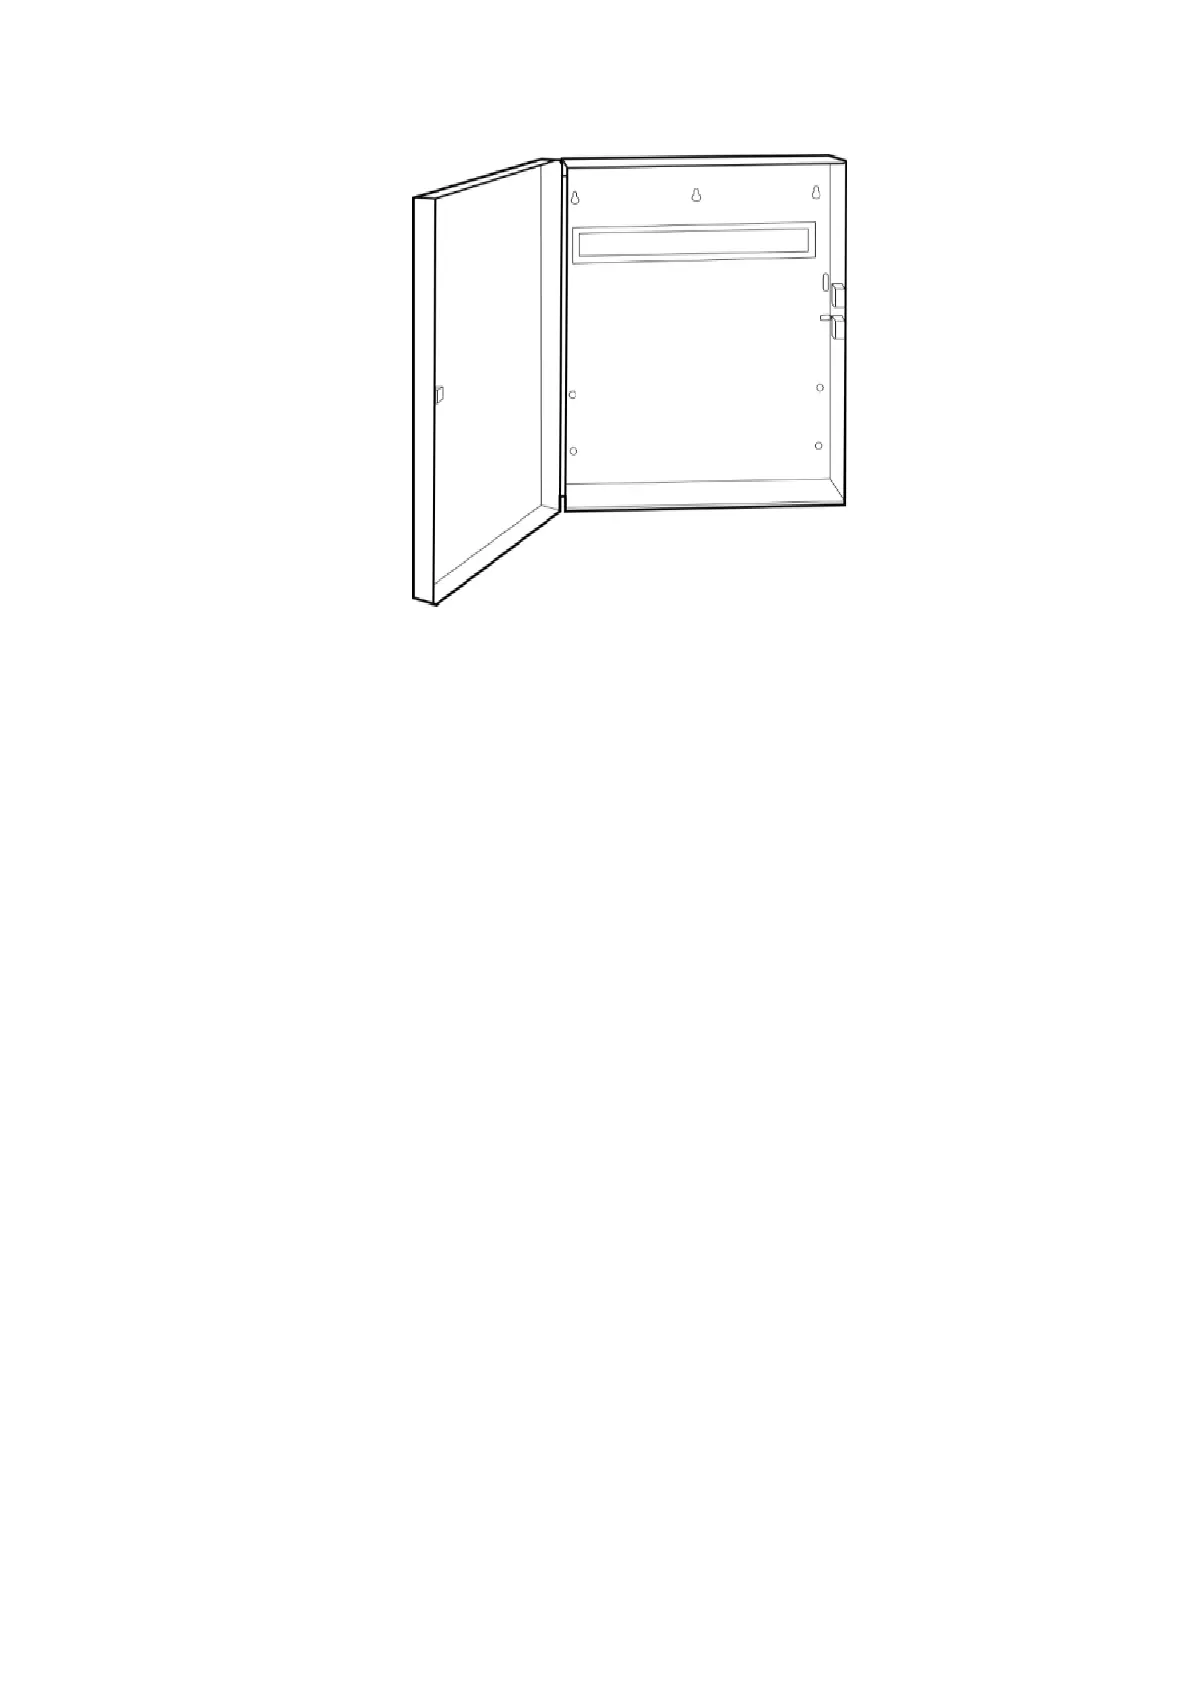
NXG-003 xGen Metal Enclosure
A spare metal enclosure is available for those installations where additional xGen
zone and/or output expanders are required or in case a larger backup battery is
required. The xGen NXG-003 metal enclosure includes a tamper switch and one
metal DIN rail. A second metal DIN rail (NXG-003-DIN) can be added if required
but in that case a backup battery of max 12 VDC / 7 Ah will fit the enclosure.
The enclosure should be installed in accordance with EN 50131-1 Environmental
Class II to provide operating conditions within:
• Temperature range: −10 to +55°C.
• Humidity range: Average 93% relative humidity, non-condensing
To install a module, release the locking tab(s) and place on the DIN rail then
push the locking tab(s) to secure the module. To remove a module, use a small
flat-blade screwdriver to release the locking tab(s) on the xGen module then
remove from the DIN rail. Refer to module installation manual for further details.
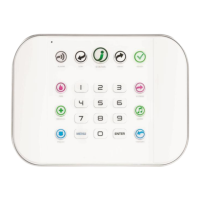
Enrolling Modules
New devices such as zone expanders, wireless zone expanders, output
expanders, smart power supplies, and keypads need to be enrolled so they can
be programmed and supervised.
The enrollment procedure discovers the serial number of the new device and
adds it to the device database in the panel.
 Loading...