60 xGenConnect Installation and Programming Guide
9. Click Scan for New Cameras. “Scanning…” will appear on the button, please
wait for the message to disappear. The MAC Address will automatically be
filled in.
10. Enter a Camera Name.
11. For Doorbell Camera, enable options for button press if desired.
12. Click Save.
Note: The camera may take up to 3 minutes to finalize the link with ZeroWire
and display on the Cameras screen of the app.
13. Close and relaunch the app.
14. Check video streaming and video clip playback can be performed. Lower the
quality settings or recording duration if video appears slow or unresponsive.
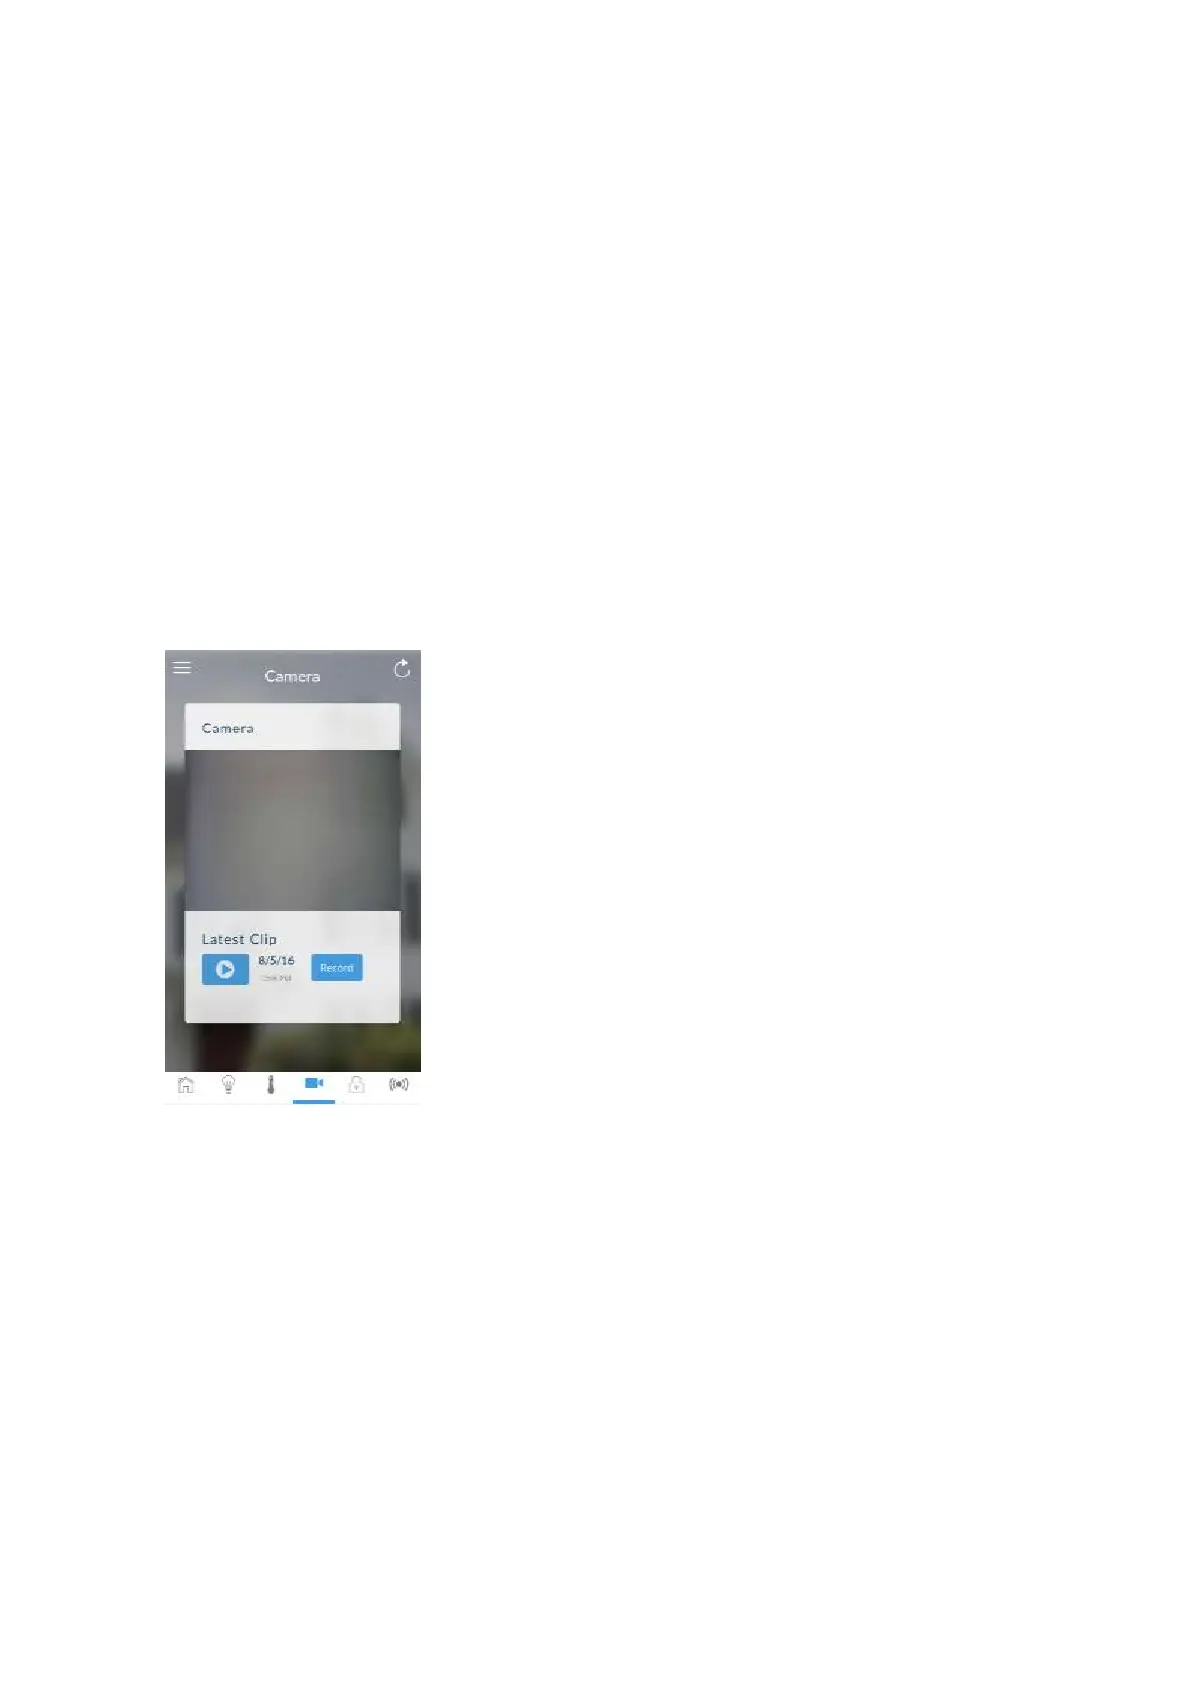
Viewing Live Stream and Latest Clip
1. Click Camera icon on bottom of the screen.
2. All available cameras will be shown.
3. Click Live Stream to view the live video of a specific camera.
4. Click Latest Clip to view the last recorded clip from a specific camera. Please
wait while the ZeroWire servers retrieve the last recorded video clip from the
selected camera.
5. Click the Share button to download or forward the clip.
Programming event triggered camera clips
The panel can be programmed to capture a short video clip when selected
events occur on the system. These clips can later be viewed from the UltraSync+
app.
The installer or master user must program which events should trigger video
recording.
 Loading...