8 Intermec EasyCoder PD4—Service Manual
Chapter 2—Front Panels
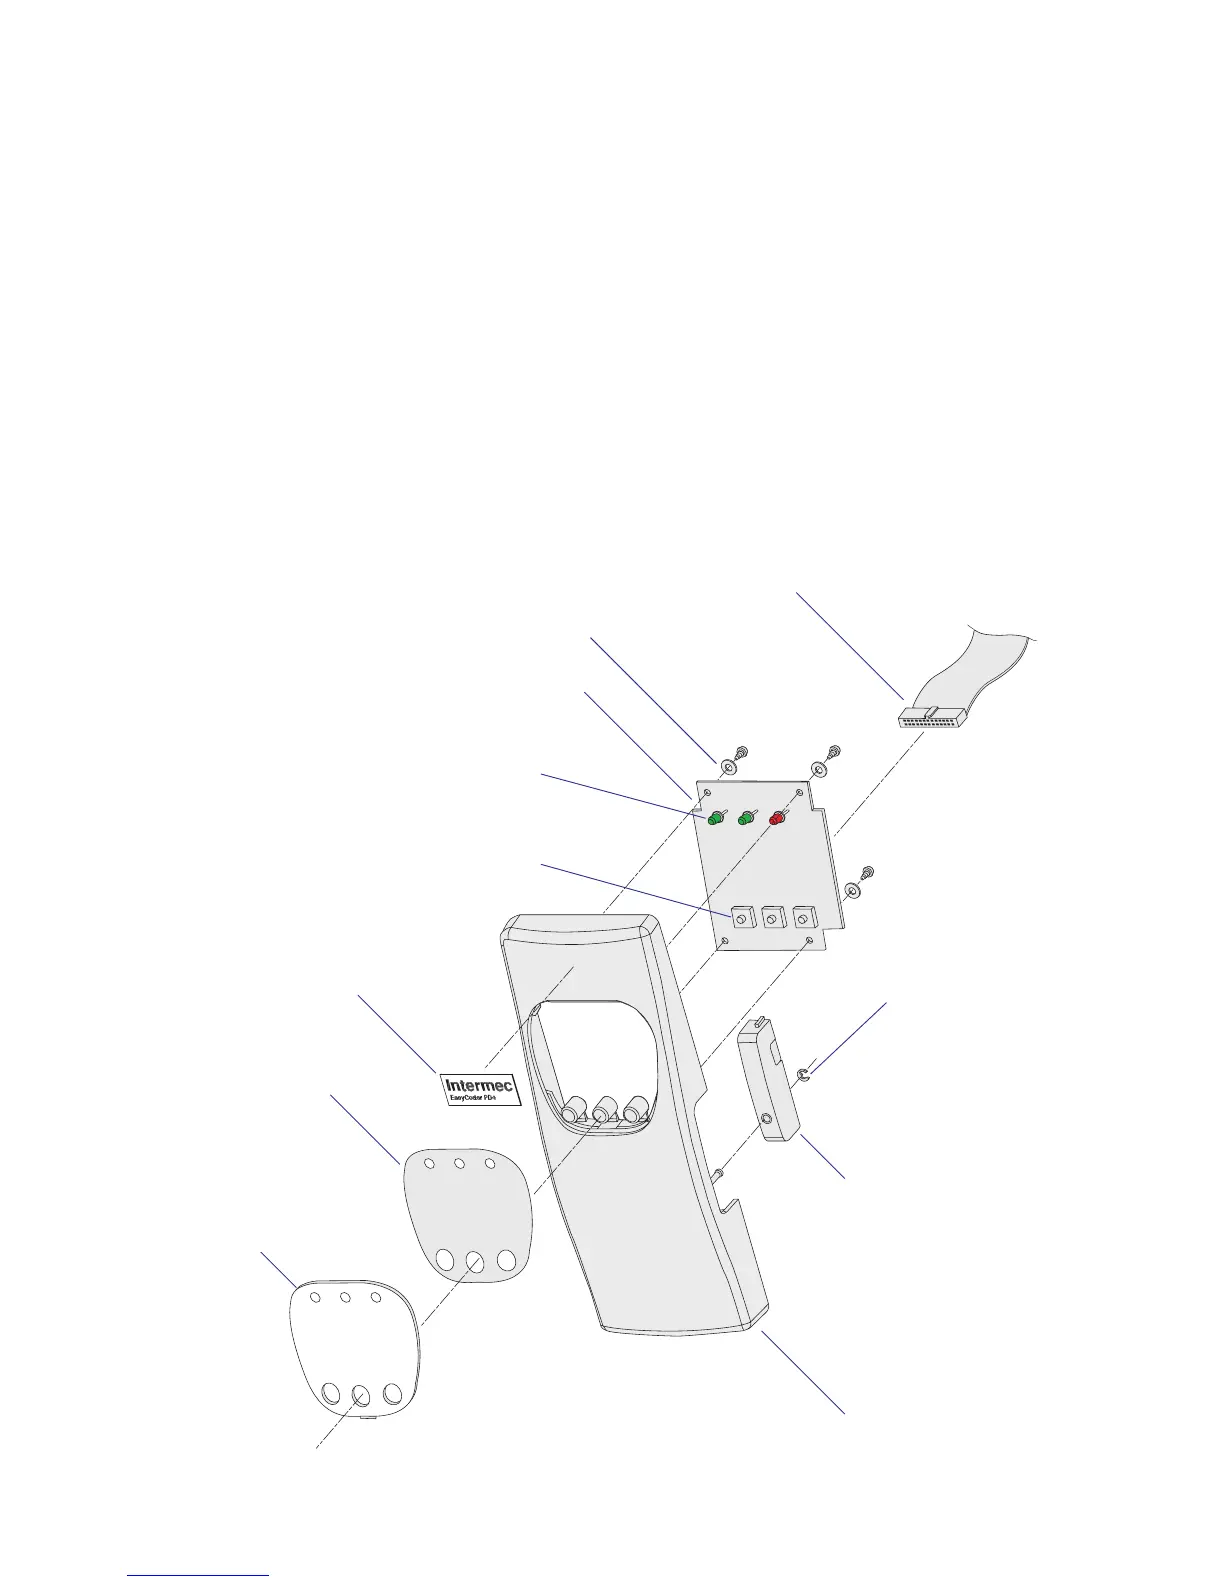
2.1 Front Panel (no display)
Description
The displayless model of the EasyCoder PD4 has a front panel moulding
with three colored LED control lamps and three control keys.
The control lamp LEDs are fi tted on a console pcb which also contains the
switches for the control keys and a buzzer. An overlay provides the desig-
nations for the LEDs and keys. The overlay is covered with a transparent
plastic window. The console pcb is connected to CN22 on the main board
via a separate fl at cable.
Refer to Chapter 2.3 for replacement instructions.
Flat cable
Console pcb
Dummy strip sensor
E-ring
Screw and washer (x4)
Front panel moulding
Label
Overlay
Clear window
LEDs (green-green-red)
Control keys
(Feed-Pause-Cancel)