Intermec EasyCoder PD4—Service Manual 45
Chapter 7—Print Mechanism
4 Lift the printhead by pulling out the printhead lever and fl ipping it
counterclockwise a quarter of a turn.
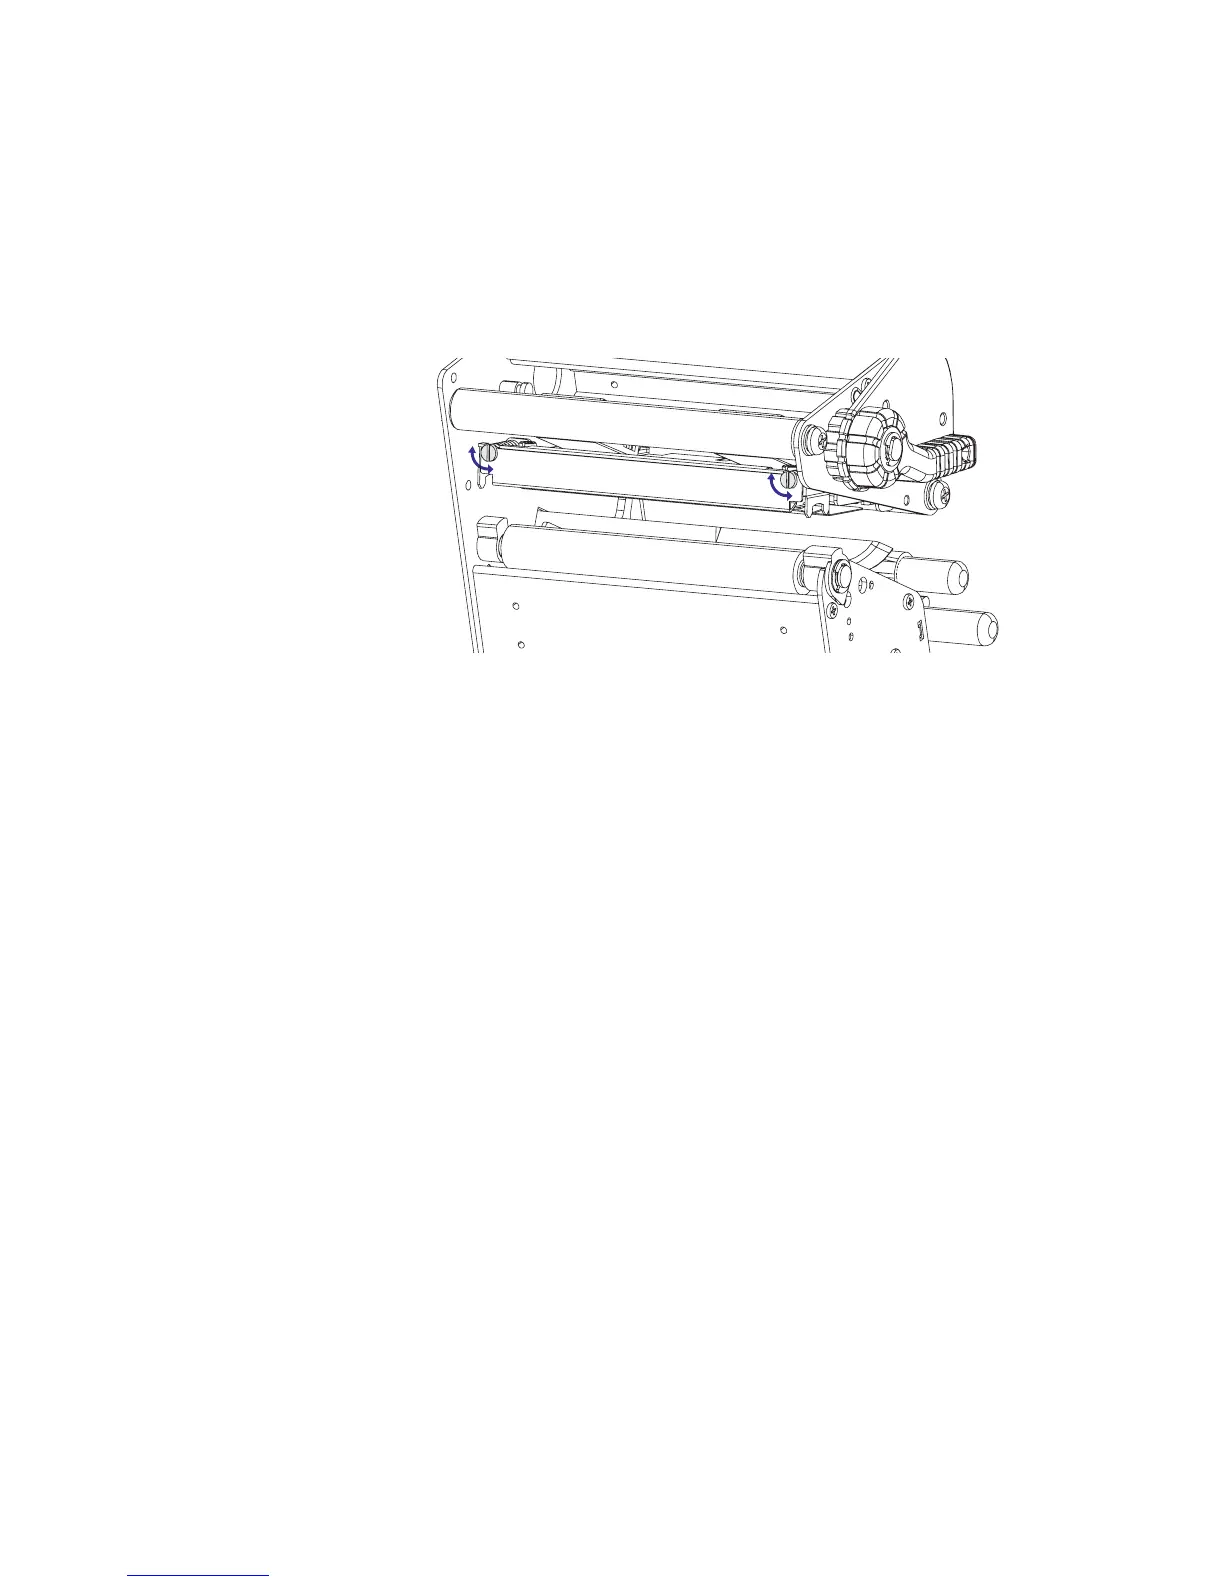
5 Turn both screws at the front of the printhead carefully clockwise a
quarter of a turn at a time (a full turn corresponds to 0.5 mm which
is a lot). The adjustment range is ±2 mm (0.08 in). Make sure to make
identical adjustments on both the screws! If you get lost, tighten both
screws by turning them counterclockwise as far as they go and start all
over again.
6 Important step! Engage the printhead and lock the printhead by tight-
ening the two screws at the top of the printhead bracket, that is, the
reverse action of step #3.
7 Load the ribbon (only in case of thermal transfer printing).
8 Test the print quality and readjust if necessary. (Hint! If you use direct
thermal media you will not have to load and remove the ribbon over and
over again.)