PUSH
Intermec EasyCoder PD4—Service Manual 55
Chapter 9—Strip Module
Replacement
Before replacing the strip module, check
• that the sensor is in its horizontal position,
• that nothing blocks the LED and the sensor, for example dust or stuck
labels,
• that the back side of the media is able to refl ect the light,
• and that the cables of the sensor are visibly undamaged and properly
connected to CN12 on the main board.
Replace the strip module this way:
1 Remove the left side panel (see Chapter 3.2).
The electronics compartment contains high voltages wires and circuitry.
Disconnect the power cord to eliminate the risk of electric shock and
short circuits.
Take standard precautions against ESD (Electrostatic Discharges)
before touching any electronics components.
2 Disconnect the fl at cable from the main board.
3 Remove the front panel module as described in Chapter 2.3.
4 Disconnect the strip module cable from the main board and remove it
from the clips, ties, and plastic spiral binding.
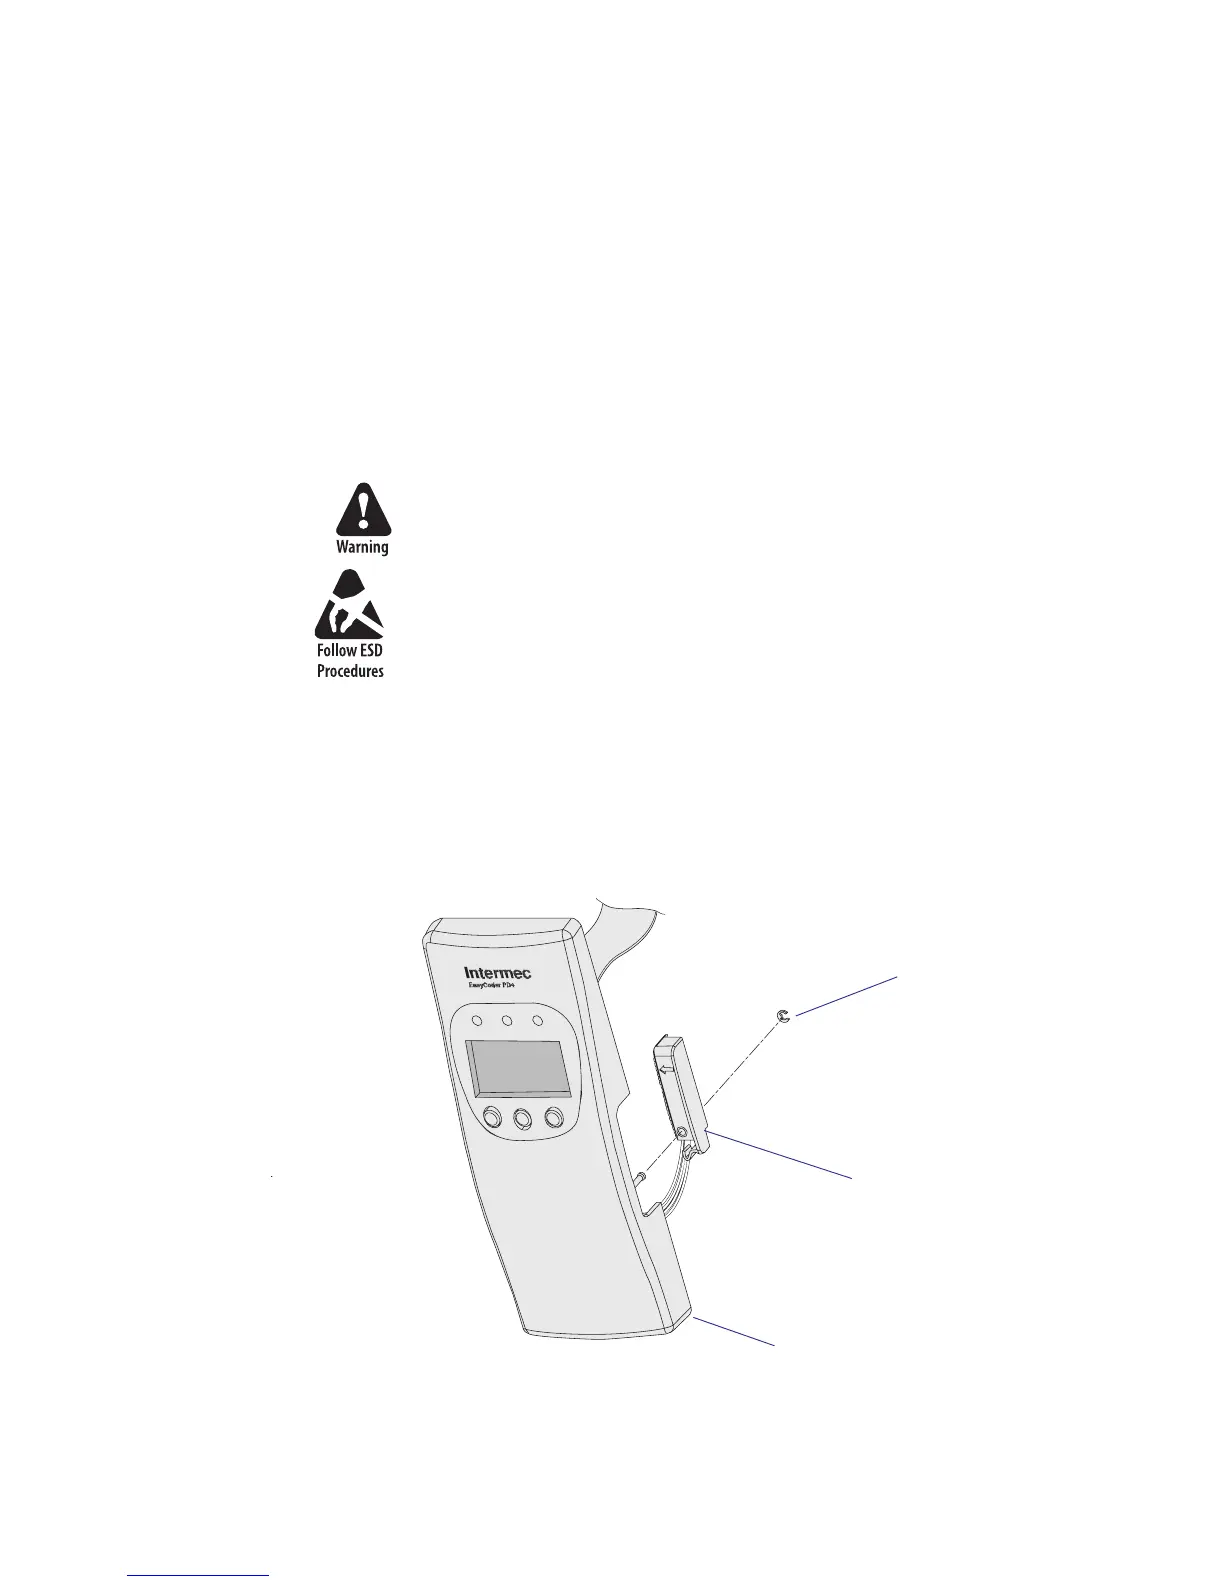
5 Remove the E-ring that holds the strip module and pull it away. The
strip module is only available as a complete unit.
6 Assemble in reverse order.
Front panel
Strip module
E-ring