DP350 User's Manual
- 5 -
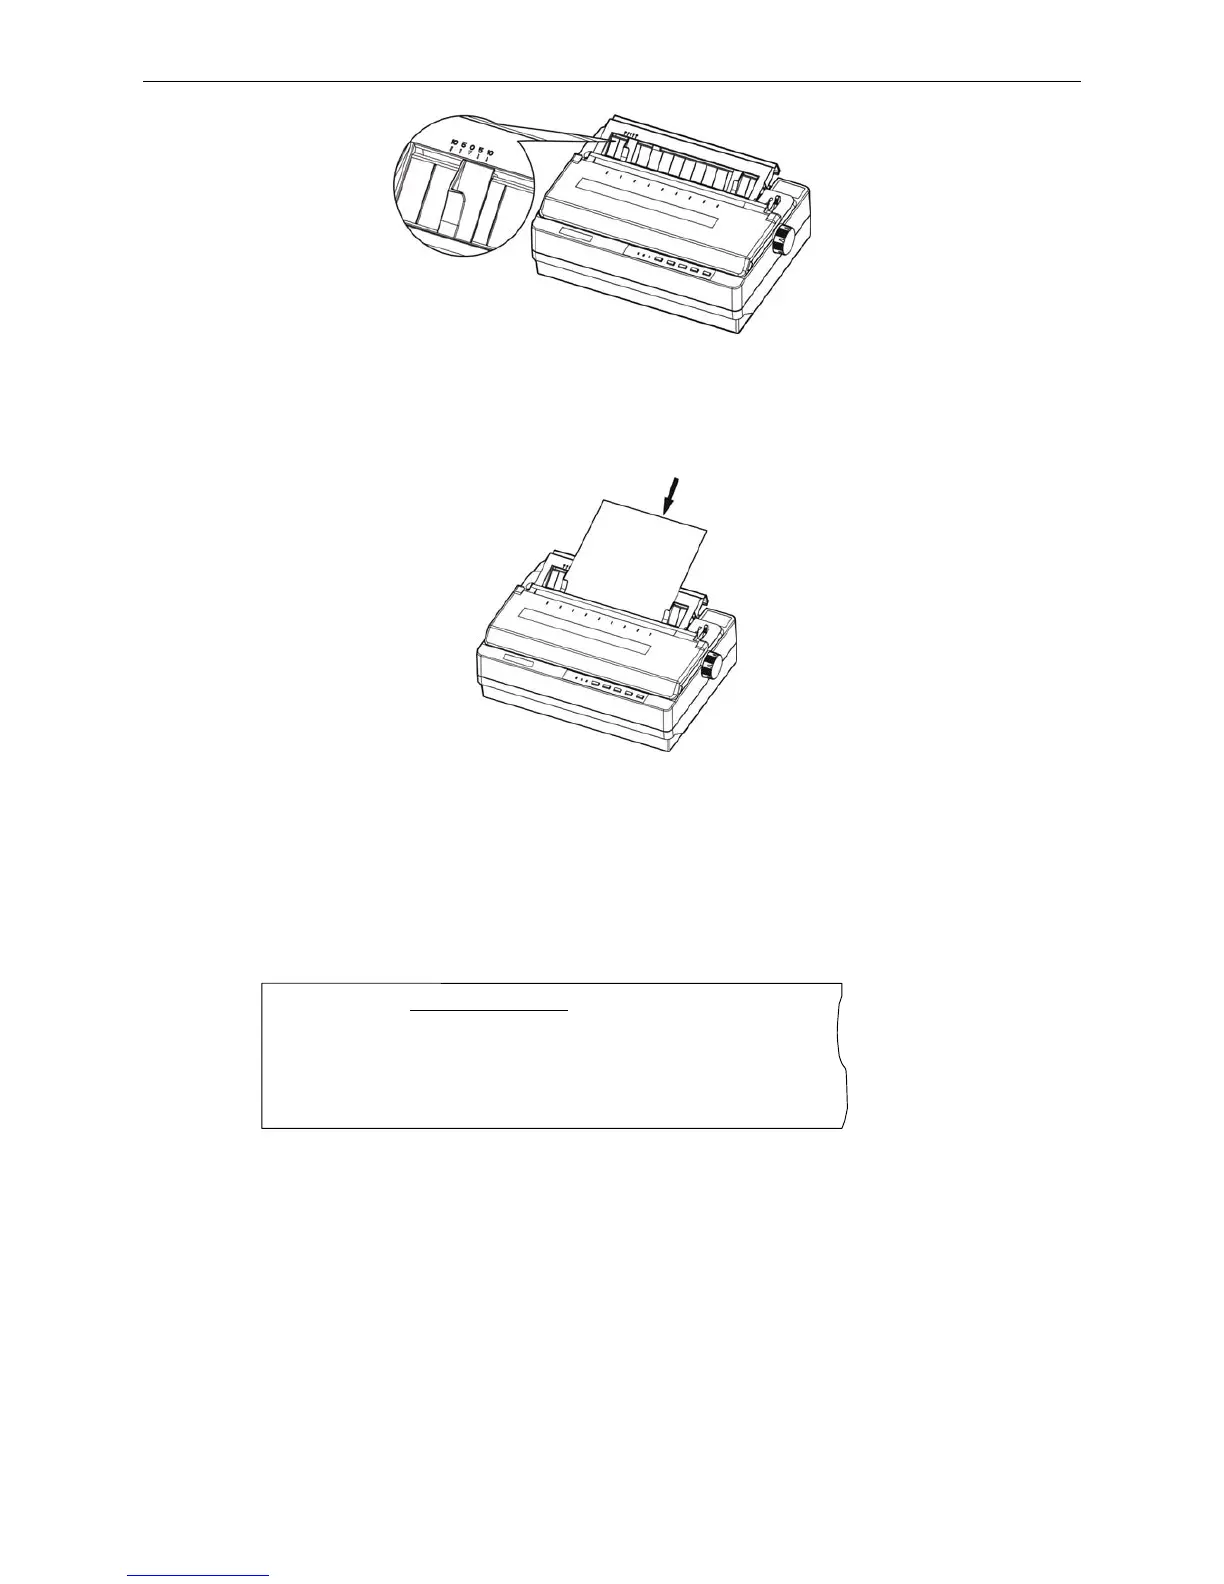
4. Slide a piece of cut sheet down firmly between the right and left paper guides until it meets
resistance. The printer loads the cut sheet automatically and begins printing when pressing ONLINE
key.
Warning: Always close the printer window while the printer is printing.
5. To stop printing temporarily, press the ONLINE key.
6. To end the self test, make sure the printer is not printing, press LF/FF or LOAD/EJECT key to eject
cut sheet; then turn off the printer.
Note: If the self test did not print satisfactorily, see Chapter 4. If it prints correctly, go on to the
next section.
1.8 Connecting the Printer to Your Computer
The printer configures with a parallel interface, two USB interfaces, a serial interface or an Ethernet
interface. (According to the specific interface standards) Connect the printer to the computer with the
correct cables. Before you begin, place the printer upright, as shown in figure 1-12. (This makes it
easier to connect the cable.)
Figure 1-9 Adjust the right and the left paper guides of the back cover
Figure 1-10 Install cut sheets
ASCII Self-test mode
Jolimark DP350 VX.X XXXXXXX/XX/XX SN: XXXXXXXXXXX
!"#$%&’( )*+-./0123456789:;<=>?@ABCDEFGHIJKLMNOPQRSTUVWXYZ[\]^_`ab
!"#$%&'( )*+-./0123456789:;<=>?@ABCDEFGHIJKLMNOPQRSTUVWXYZ[\]^_`abcd
"#$%&'( )*+-./0123456789:;<=>?@ABCDEFGHIJKLMNOPQRSTUVWXYZ[\]^_`abcde
Figure 1-11 ASCII Self-test mode
 Loading...