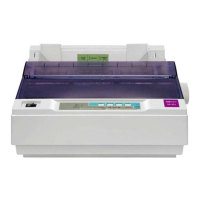
DP350 User's Manual
- 4 -
4. Please turn the ribbon knob in the direction as the arrow shown
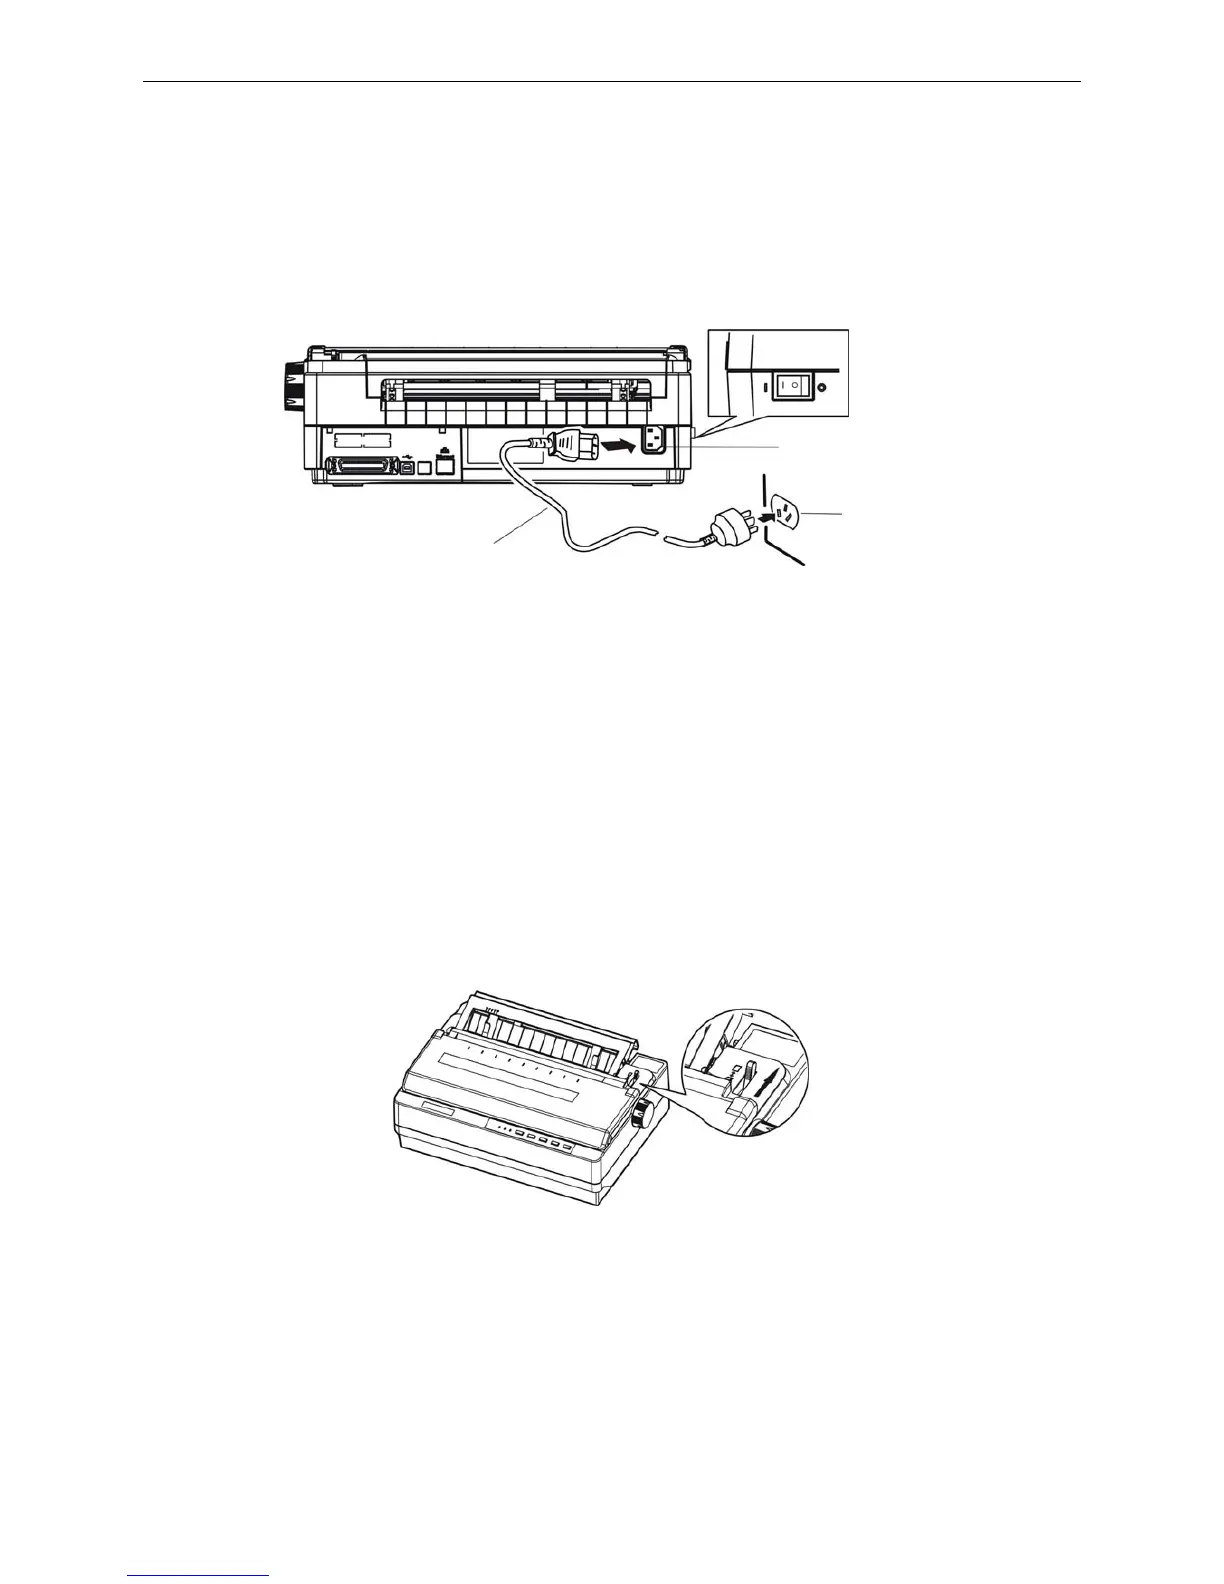
1.6 Connecting the Power Cord
1. Make sure the printer’s power is turned off. (O mark on the power switch is pressed down)
2. Make sure the voltage required by the printer matches that of your electrical outlet.
3. Plug one end of the power cord into the printer’s power supply inlet. (As figure 1-7 shown)
4. Plug the other end of the power cord into a properly grounded electrical outlet.
Note: 1. If the rated voltage and your outlet voltage do not match, contact your dealer for
assistance. Do not plug in the power cord.
2. Adopt the electrical outlet connecting the ground properly.
1.7 Printer Self-test Function
The built-in self-test function demonstrates that the printer is working properly. You can run the test with
either tractor paper or cut sheets; this section describes the easier way, with cut sheets.
Note: You should use paper at least 210 mm (8.3 inches) wide to run the self-test; otherwise, the
print head would print directly on the platen.
1. Make sure the printer is turned off and the paper-select lever is at the cut sheet position. Raise the
back cover.
2. While holding down the TEAR key, turn on the printer. The Paper Out and ONLINE LEDs blink
which indicates the printer is out of paper.
3. Adjust the right paper guide of the back cover to the range of the scale. Then adjust the left paper
guide to make the distance match the width of the print paper (as shown below).
Figure 1-8 set paper-select lever
Figure 1-7 Turn off the printer
Power switch
Electrical outlet
Power cord
Power supply inlet
 Loading...