– 32 –
In case of 2-needle machine, perform
the same adjustment to the right and left
hooks.
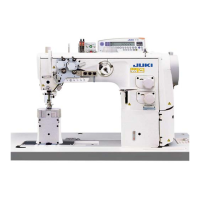
• Adjusting the knife pressure
1) Move the moving knife by hand to its forward travel
end.
2) Loosen setscrew in the counter knife base.
Adjust, as standard, so that the knife pressure is
applied when counter knife base is turned until
the top end of the counter knife is spaced 5 to 7
mm from the top end of the moving knife.
• Adjusting the clamp spring
1) Move the moving knife to the initial position.
2) 2) Loosen clamp spring setscrews . At the posi-
tion where clamp spring lightly comes in contact
with the moving knife, press the undersurface of
the spring against counter knife base . In this
state, x the clamp spring with setscrews .
Be sure to carefully prevent from get-
ting injured by the moving knife, counter
knife, blade point of the hook, etc.
Knife pres
-
sure starts
to be devel
-
oped.
WARNING :
To protect against possible personal injury due to abrupt start of the machine, be sure to start the
following work after turning the power off and ascertaining that the motor is at rest.
5 to 7mm
4-7. Position of the counter knife and adjustment of the knife pressure
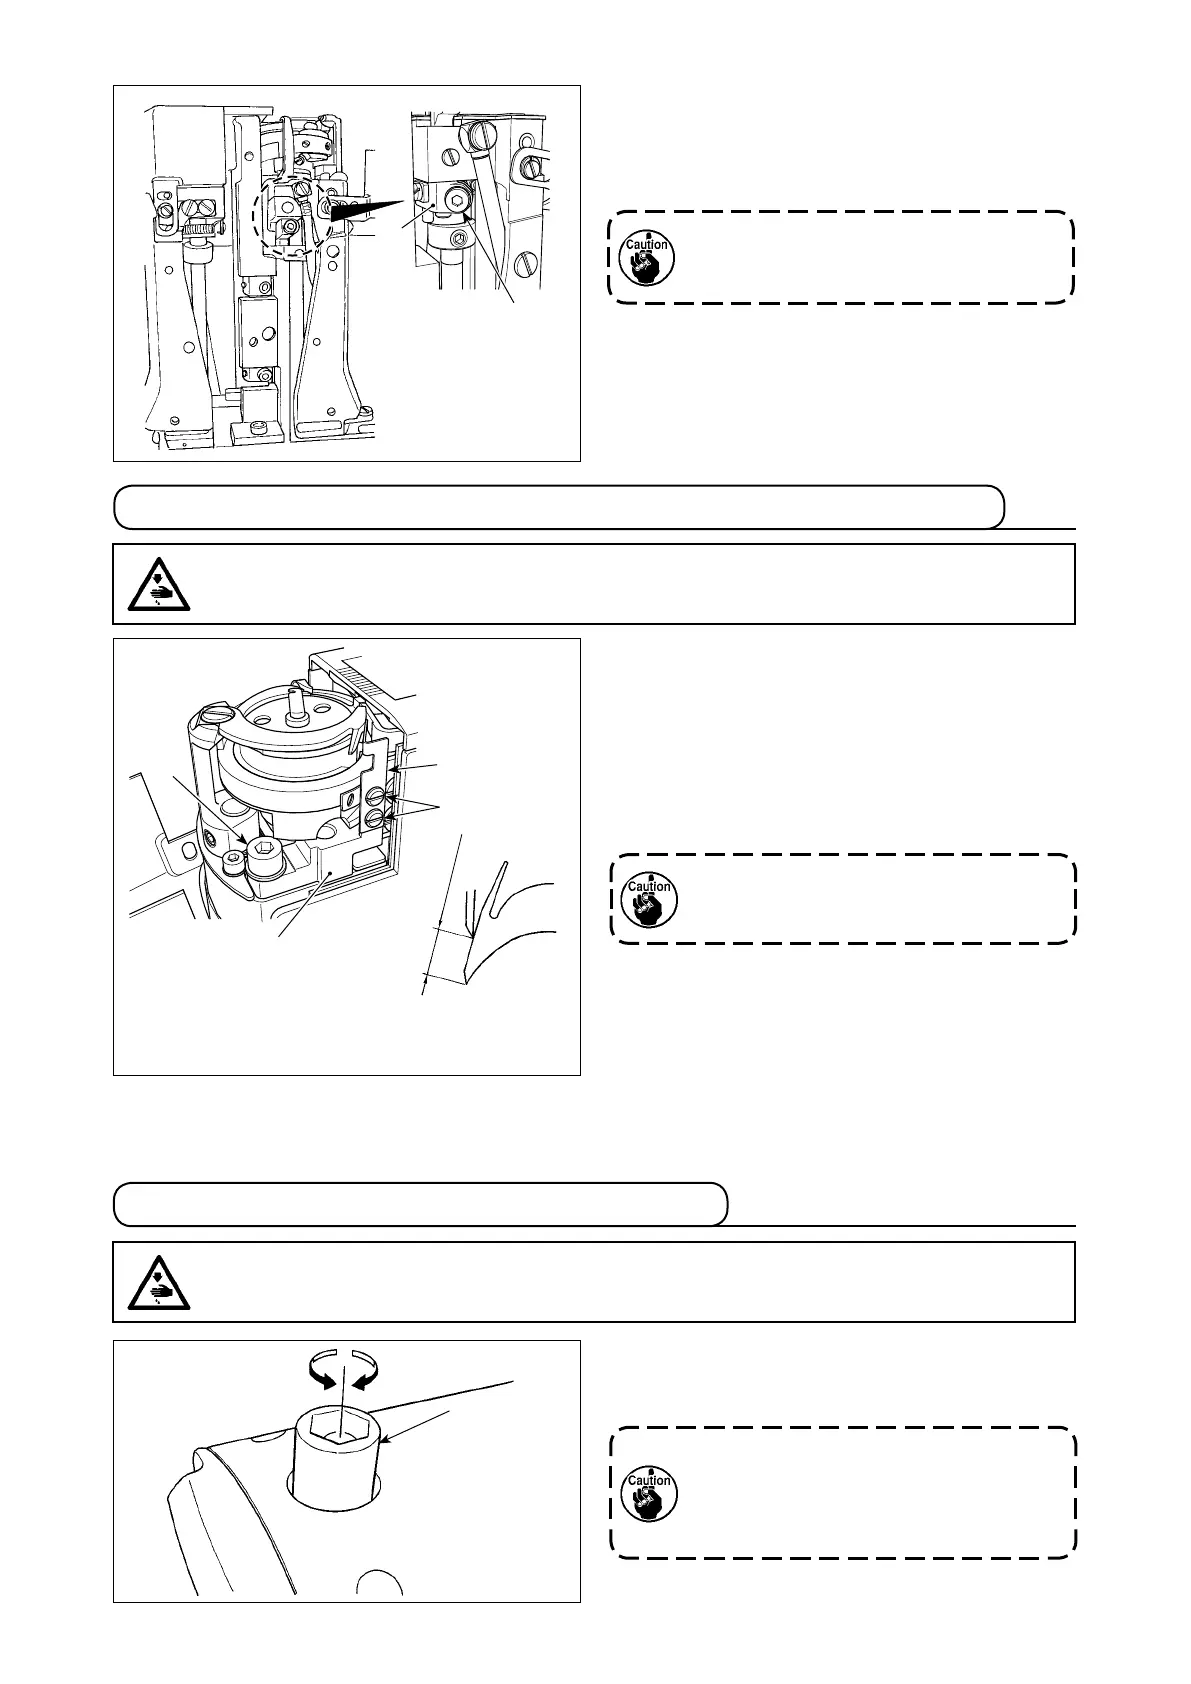
Turn presser spring regulating dial
clockwise
A
to
increase the pressure of the presser foot, or counter-
clockwise
B
to decrease it.
Be sure to operate the sewing machine
with the pressure of the presser foot
minimized as long as the presser foot
securely holds the material.
WARNING :
To protect against possible personal injury due to abrupt start of the machine, be sure to start the
following work after turning the power off and ascertaining that the motor is at rest.
4-8. Adjusting the pressure of the presser foot
B
A
5) Tighten setscrew
while pressing down bob-
bin case opening lever crank
.
6) Move inner hook guide
up and down to make
sure that there is not play in the thrust direction.
 Loading...