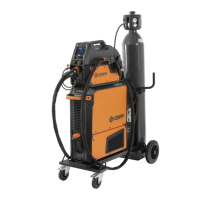
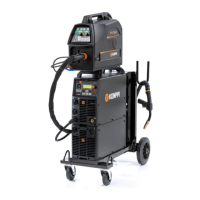
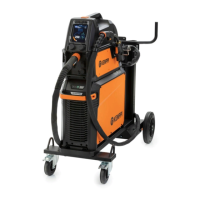
X8 MIG WELDER 2.5 Operation
If you have modified the welding settings, the channel number tilts to the right. To save
changes, press and hold the Channel button until the number returns to its normal position.
2. Operation mode of the welding gun (trigger logic)
3. Upslope
The selected start and stop logics.
4. Hot start
The selected start and stop logics.
5. Estimated welding current
6. Estimated plate material thickness
7. Wire feed speed
8. Serial number of the power source, wire feeder's number (1 or 2) and user name
9. Welding process
10. WP Switch
The WP Switch symbol is displayed in this field when WP Switch trigger logic is
in use. For more information, see Trigger logic functions on page 152.
11. Crater fill
The selected start and stop logics.
12. Voltage
13. Voltage/Fine tuning
Adjust the welding power with the left control knob.
Fine tune the secondary welding parameter with the right control knob. The adjustable secondary
parameter varies according to the welding process and function.
The welding power graph shows with grey raster pattern the area, where the selected values
result in globular transfer.
OPERATING MANUAL | EN 97
©
KEMPPI 2017 | 1817
 Loading...