CAUTION
In order to connect the charging con‐
nector
, release the door lock to un‐
latch the charging connector lock
system.
If not, the charging connector and
the vehicle's charging inlet may be
damaged.
5. Check
if there is any dust or foreign
substances on the charging connec‐
tor and charging inlet.
6. Hold the charging connector handle
and connect it to the vehicle AC
charging inlet. Push the connector
all the way in. If the charging con‐
nector and charging terminal are
not connected properly, this may
cause a fire.
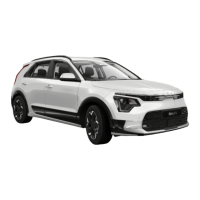
❈ For more information about how to
charge and how to disconnect,
please refer to the manual of each
AC Charger.
❈ The shape of the charging connec‐
tor may be different for each man‐
ufacturer.
❈ Charging Connector AUTO/LOCK
Mode
When the charging connector and
the charging inlet are connected,
you can choose the mode by press‐
ing button. The charging connector
will be locked at a different time
depending on the selected mode.
LOCK Mode: When the charging
connector is properly connected,
the charging connector will be au‐
tomatically locked.
AUTO Mode: When the charging
connector is properly connected
and charging is initiated, the charg‐
ing connector will be locked.
For more information, refer to the
“Charging connector AUTO/LOCK
mode” on page 1-17.
7. Connect the charging plug to the
electric outlet at a AC charging sta‐
tion to start charging.
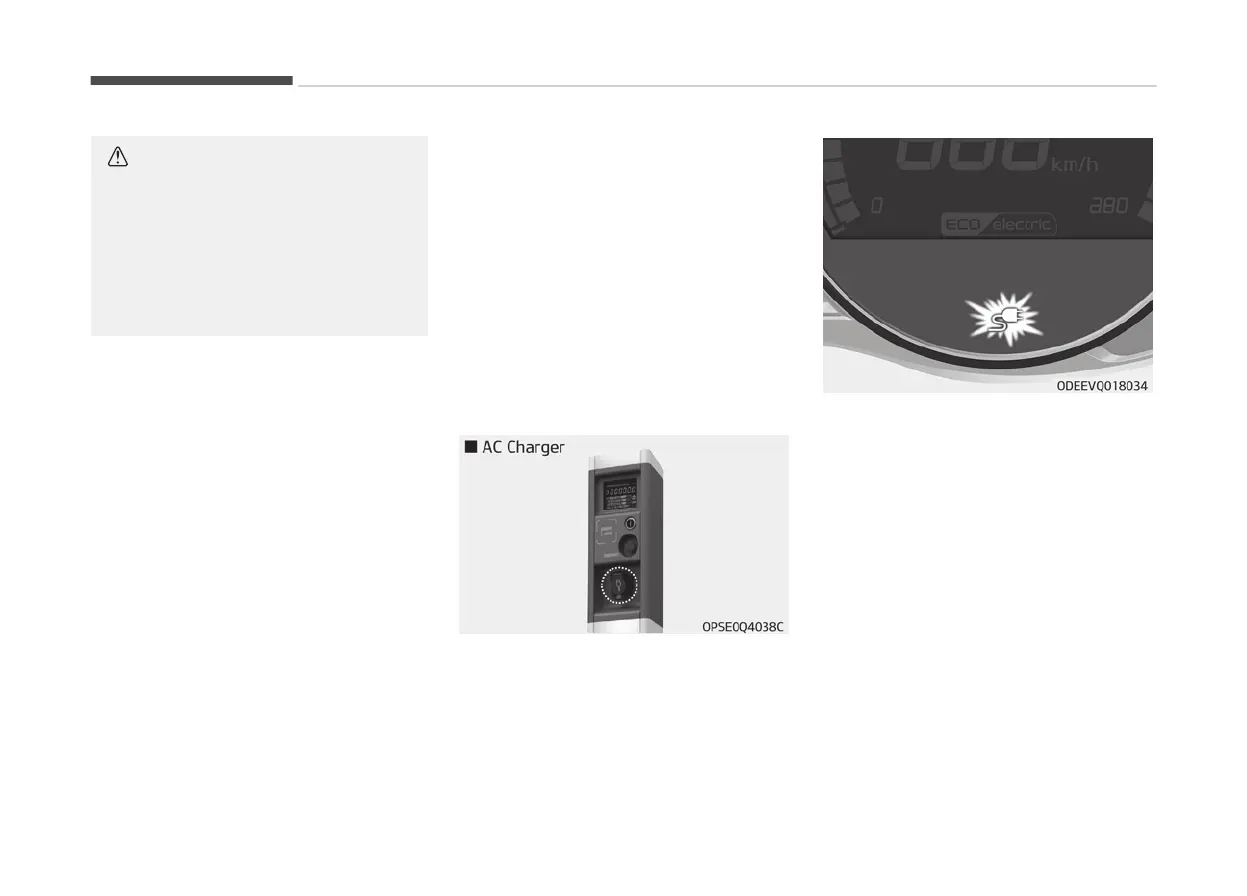
8. Check
if the charge indicator lamp
in the instrument cluster is turned
ON. Charging does not occur when
the charging indicator lamp is OFF.
When the charging connector and
charging plug are not connected
properly, reconnect the charging
cable to charge.
Electric vehicle guide
1-22