83
Communication
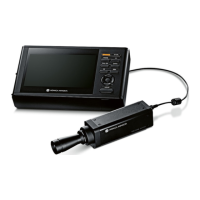
Connection via RS-232C cable
Before setting the power switch to ON ( | ), connect an RS-232C cable (9-pin D-sub) to the RS-232C
connector on the instrument.
The RS-232C connector on the instrument is a 9-pin D-sub male connector. Use a cross cable for the
connector.
Operating Procedure
1. Slide power switch to OFF (O).
2. Connect the instrument to the PC using an
RS-232C cable.
3. Make sure that the cable is firmly connected
to the RS-232C connector with the
connector’s right and left screws.
When disconnecting the RS-232C cable, slide power switch to OFF (O) first, and unplug the cable while
holding the plug. Do not pull the cord.
Baud rate 1200/2400/4800/9600/19200/38400/57600/115200/230400/460800/
921600
Data length 8 bits
Parity None
Stop bit 1 bit
Flow control Hardware (RTS/CTS)
Device side
① ② ③④⑤
⑥⑦⑧⑨
1 CD
2 RXD
3 TXD
4 DTR
5 GND
6 DSR
7 RTS
8 CTS
9 +6 V (selection type)
1
2 RXD
3 TXD
4
5 GND
6
7 RTS
8 CTS
9
Cross cable

 Loading...