Playing and editing Programs
44
Playing back an X–Y motion
1. When you press the MOTION switch once again,
the old events (up to the point where you began
re-recording) and the subsequently recorded
events will play back.
Play the keyboard of the KYBD-61/73/88 or strike the
pads.
Note: If you turn on the X–Y MODE switch and then
turn on the MOTION switch, you will see the change
indicated by the color of the display.
Note: You can use a foot switch to turn the MOTION
switch on/off. Set Foot Switch Assign to X–Y Motion.
For details, please see “Assigning the footswitch to
Program Up/Down” on page 39.
Deleting X–Y motion data
• While holding down the ENTER switch, press the
MOTION switch to delete the X–Y motion data.
Drum & Chord Pads
There are eight velocity-sensitive trigger pads below
the display.
These look like drum machine pads, and playing drum
sounds is certainly one use for them.
However, they can also play up to eight-note chords on
any sound–not just drums. The pads even remember
the velocities of the individual notes within the chord,
as well as the notes themselves.
Playing the pads
1. Use the PAD MODE switch located at the left of
the pads to select how the pads will operate.
VELOCITY SENSITIVE: The loudness will be affected
by how strongly you strike the pads.
FIXED VELOCITY: The note will be transmitted with
the note number and velocity assigned to each pad,
regardless of how strongly you strike the pads.
When you specify notes using CHORD ASSIGN, the
stored note numbers and velocity balance will always
be reproduced.
2. Strike the pads to play sounds.
Assigning notes and chords to pads
You can assign single notes and chords to the pads in
three different ways.
Selecting the notes first
1. Play a single note, or a chord of up to 8 notes.
2. Press the CHORD ASSIGN switch.
3. Press the pad to which you’d like to assign the
notes.
That’s it! The notes are now assigned to the pad.
Press CHORD ASSIGN, and then play notes
This method lets you create a chord out of widely-
spaced notes, even if you can’t play all of the notes
simultaneously.
1. Press the CHORD ASSIGN switch.
2. Play a single note, or a chord of up to 8 notes.
You can play a single note, or a simple chord.
If you like, you can also enter a chord by playing up to
8 notes as a legato phrase. As long as you take care that
the notes overlap each other, the entire series of notes
will be recorded as a single chord. You can take as long
as you like to play the phrase.
3. Press the pad to which you’d like to assign the
notes.
After pressing the pad, you’re done!
Editing notes and velocities using the display
You can edit the recorded notes and velocities using
the display. If you like, you can also enter new notes
this way. For details, please see “1–7: Pads 1–4 Setup,
1–8: Pads 5–8 Setup” on page 36 of the Parameter
Guide.
Copying and merging pads
Copying one pad to another, or merging two or more
pads together, is just like assigning notes from the
keyboard.
As with assigning notes to the keyboard, you can
either play the pads first, or press CHORD ASSIGN
first. In the interest of saving space and time, only the
first method is described below.
Copying notes from one pad to another
To copy the note assignments from one pad to another:
1. Press and release the pad whose notes you want to
copy.
2. Press the CHORD ASSIGN switch.
3. Press the pad to which you’d like to copy the
notes.
The new pad will now play the same notes as the
original pad.
Merging two or more pads together
You can merge the assignments from two or more pads
together, as long as the total number of notes is 8 or
fewer. To do so:
1. Press all of the pads that you’d like to merge, and
then release them.
All of the pads must be held down at the same time.
2. Press the CHORD ASSIGN switch.
3. Press the pad to which you’d like to copy the
notes.
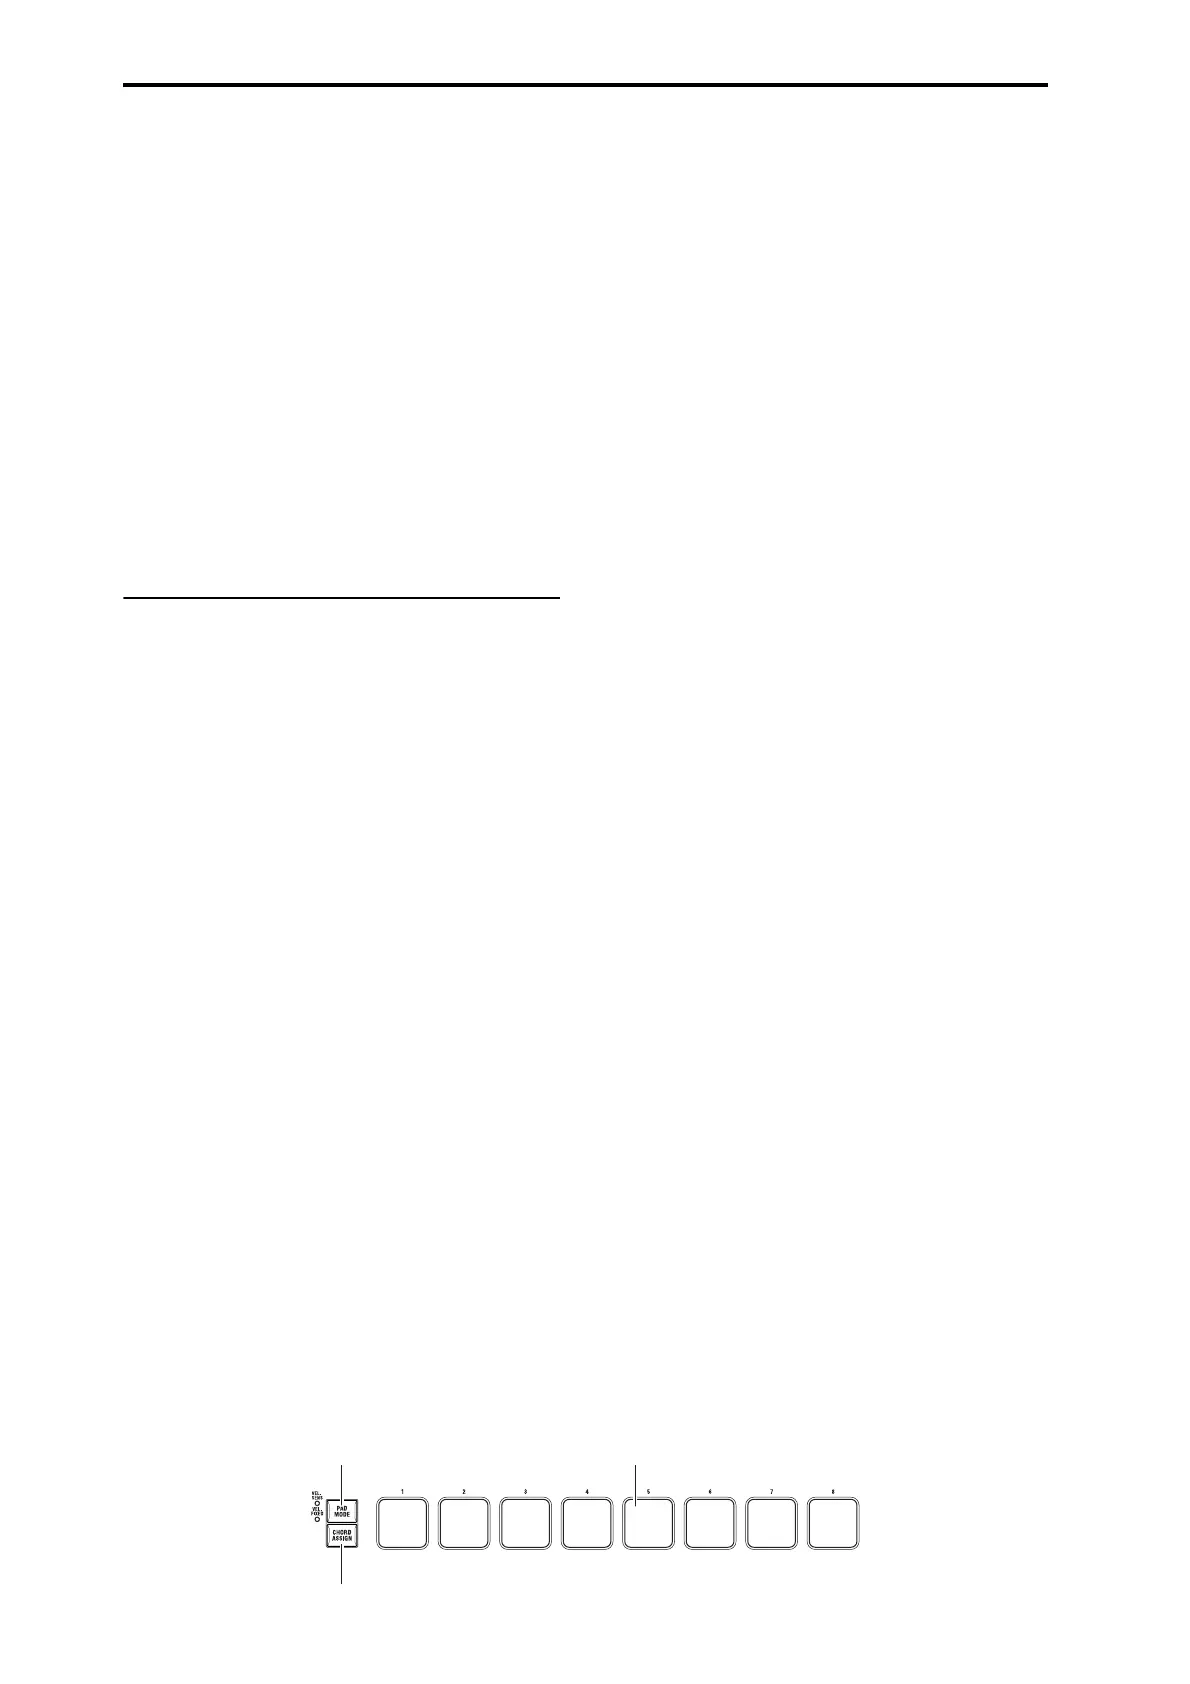
PAD MODE
CHORD ASSIGN
Pads 1–8