12 SERVICE WORK ON THE CHASSIS 61
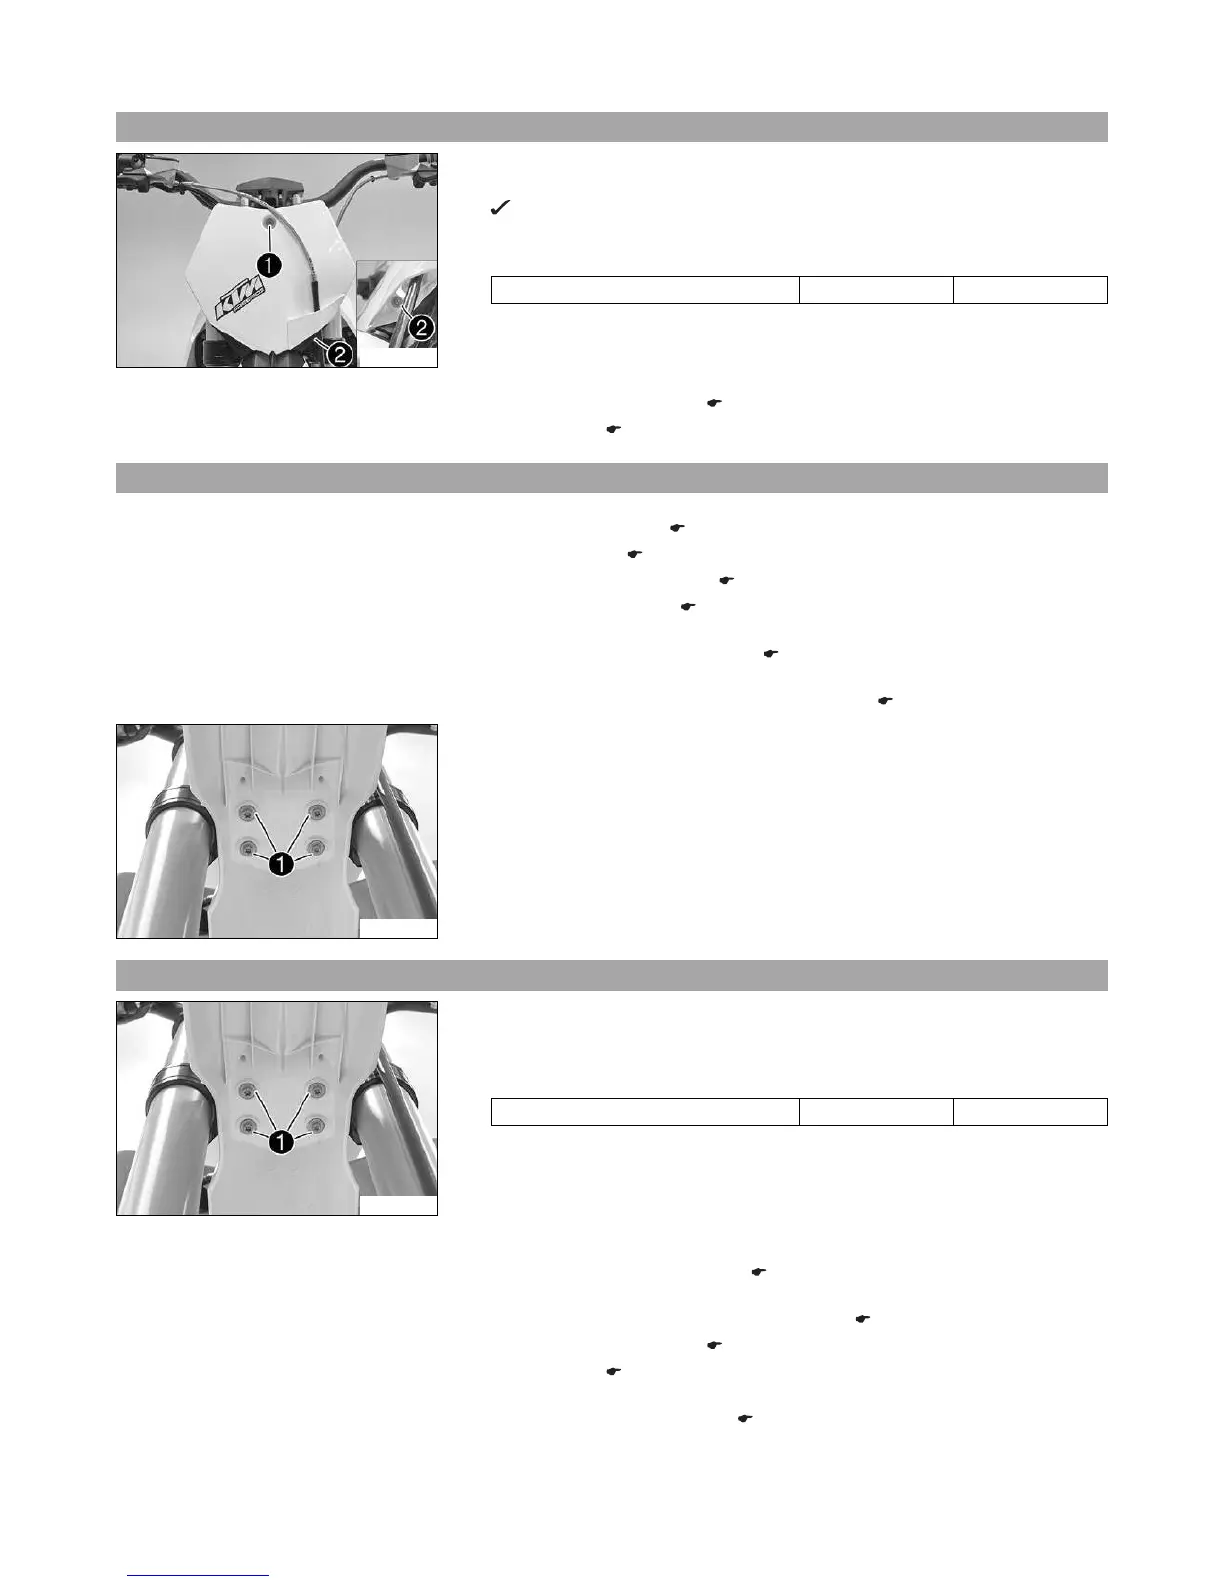
12.15 Installing the start number plate (Freeride E‑SX)
C00720-11
Main work
– Position the start number plate.
The holding lugs on the fender engage in the start number plate.
–
Mount and tighten screw
.
Guideline
Remaining screws, chassis M6 10 Nm (7.4 lbf ft)
– Position the brake line and clamp.
–
Mount and tighten screw
.
Finishing work
– Install the KTM PowerPack. (
p. 94)
– Lock the seat. ( p. 63)
12.16 Removing the front fender
Preparatory work
– Deactivate the vehicle. (
p. 37)
– Fold the seat up. ( p. 63)
– Remove the KTM PowerPack. ( p. 94)
– Mount the covering cap. ( p. 64)
(Freeride E‑SX)
– Remove the start number plate. ( p. 60)
(Freeride E‑XC)
– Remove the headlight mask with the headlight. ( p. 89)
C00702-10
Main work
–
Remove screws
.
– Remove the front fender.
– Ensure that the spacers remain in place.
12.17 Installing the front fender
C00702-10
Main work
– Position the front fender.
–
Mount and tighten screws
.
Guideline
Remaining screws, chassis M6 10 Nm (7.4 lbf ft)
Finishing work
(Freeride E‑SX)
– Install the start number plate. ( p. 61)
(Freeride E‑XC)
– Refit the headlight mask with the headlight. ( p. 90)
– Install the KTM PowerPack. ( p. 94)
– Lock the seat. ( p. 63)
(Freeride E‑XC)
– Check the headlight setting. ( p. 92)





 To Next Page