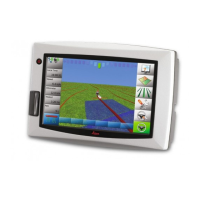
44
Leica mojo3D, Running the mojo3D for the First Time
The Master Input Source & Input Mode options available will depend on the
configuration of the individual system:
• mojo3D / Touch: the on screen coverage mapping is activated by touching the
Master Record button on the screen.
• mojo3D / Master Input: the on screen coverage mapping is activated by
sensing a voltage connected to the Master wire on the mojo3D power cable.
• Leica AS400 / Single: the on screen coverage mapping is activated by sensing
a voltage connected to the Master wire on the Leica AS400 controller port.
This is only available with specific rate controller cables.
• Leica AS400 / Dipole Switch: the on screen coverage mapping is activated
by sensing a pair of switching wires. This is only available with specific rate
controller cables.
3. Tap to continue.
Section control
setup,
step-by-step
1. The section control setup screen initially shows one section, as a single blue bar
near the top of the screen. To set the number of sections, tap the number of
sections field, enter the number of sections, and tap .
2. The blue bar will be divided showing the number of sections set. To set the width
of the first section, tap the section width field, enter the width measurement