Moving internal drives from an original controller
If your original controller is one of the supported models, during the process of upgrading by moving storage
you can move the controller's internal SATA drives or SSDs to a drive shelf that is attached to the new
controller in the same cluster. You cannot transfer SAS drives to a drive shelf attached to the new controllers.
Before you begin
• You must have reviewed “Considerations for upgrading controller hardware” on page 87 about moving
internal drives. You should contact technical support if you need guidance specific to your configuration.
• The SATA or SSD drive carriers from the original controller must be compatible with the new drive shelf.
• A compatible drive shelf must already be attached to the new controller.
• The drive shelf must have enough free bays to accommodate the SATA or SSD drive carriers from the
original controller.
Step 1. Gently remove the bezel from the front of the system.
Step 2. Press the release button on the left side of the drive carrier.The following illustration shows a drive
with the release button located on the left of the carrier face:
The cam handle on the carrier partially springs open, and the carrier releases from the midplane.
Step 3. Pull the cam handle to its fully open position to unseat the carrier from the midplane, and then
gently slide the carrier out of the drive shelf.
Attention: Always use two hands when removing, installing, or carrying a drive. However, do not
place your hands on the drive boards exposed on the underside of the carrier.
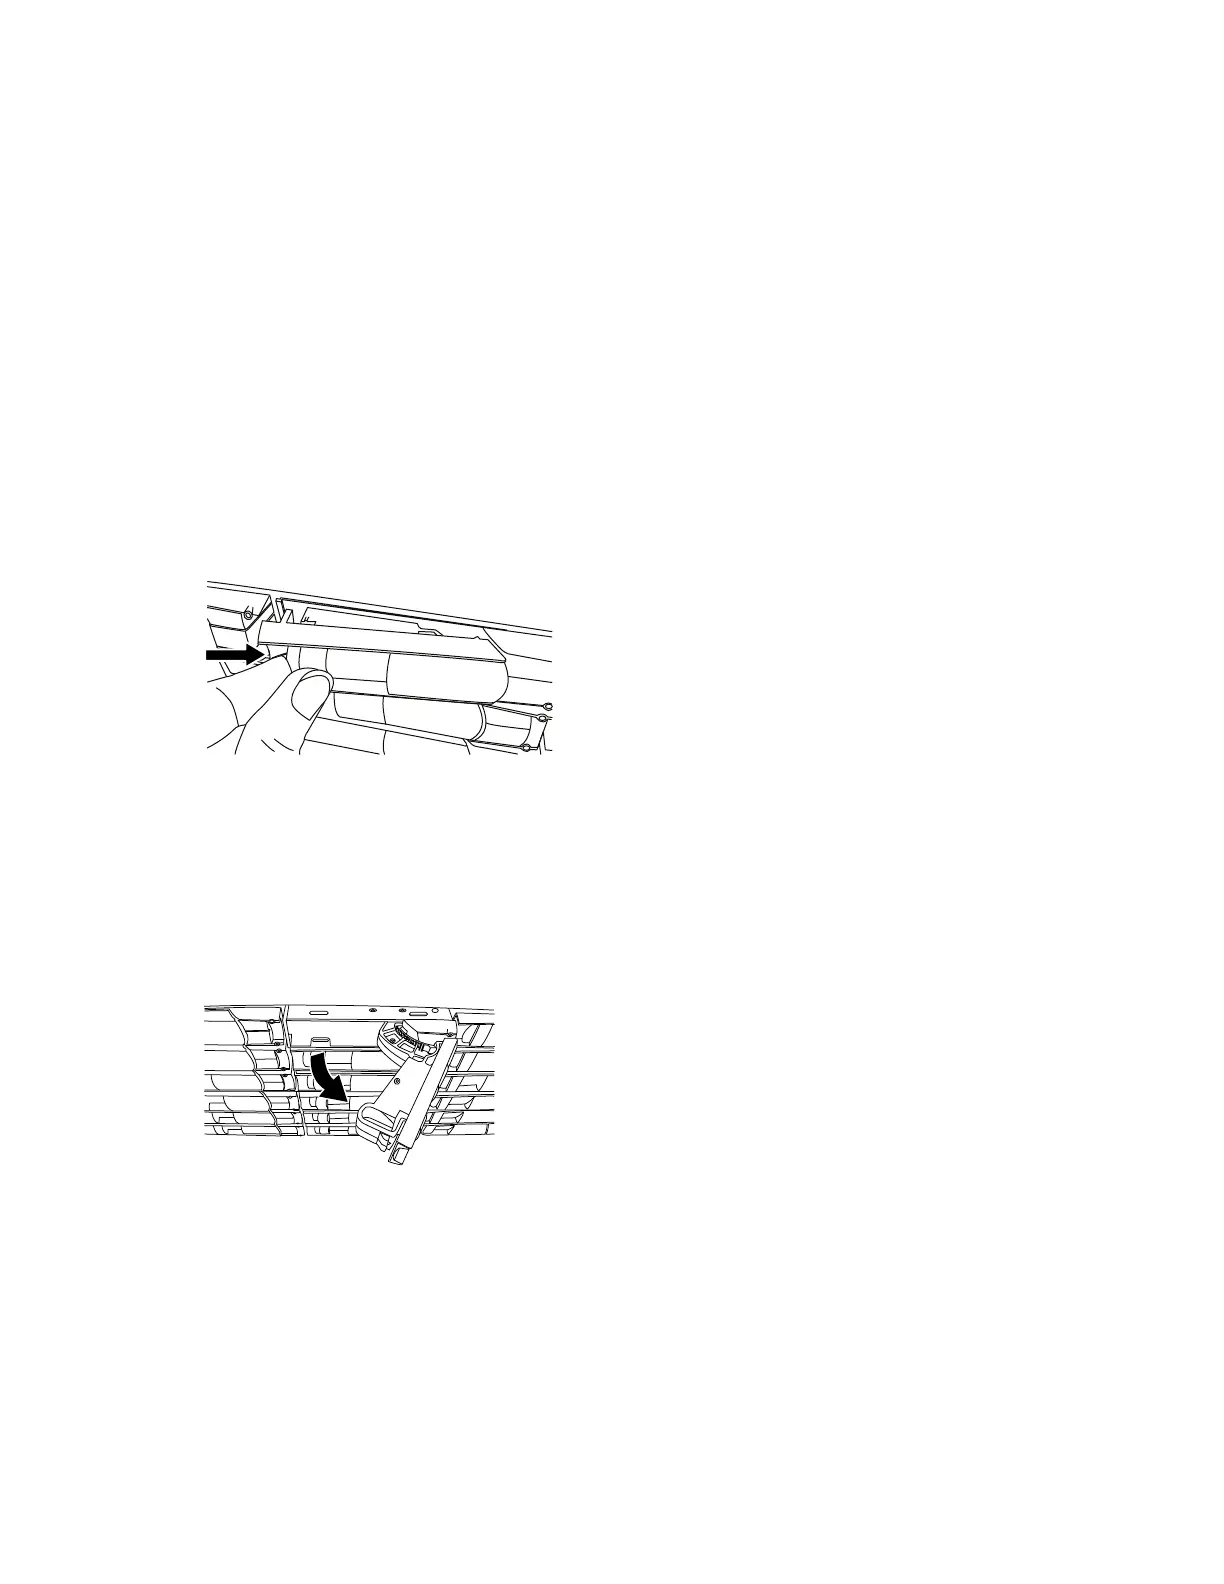
The following illustration shows a carrier with the cam handle in its fully open position:
Step 4. With the cam handle in the open position, insert the carrier into a slot in the new drive shelf, firmly
pushing until the carrier stops.
Attention: Use two hands when inserting the carrier.
Step 5. Close the cam handle so that the carrier is fully seated in the midplane and the handle clicks into
place.You should close the handle slowly so that it aligns correctly with the face of the carrier.
Step 6. Repeat Step 2 through Step 5 for all of the drives that you are moving to the new system.
96 ThinkSystem DM3000x and DM5000x Hardware Installation and Maintenance Guide
 Loading...


