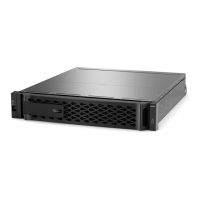
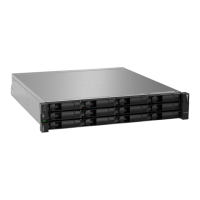
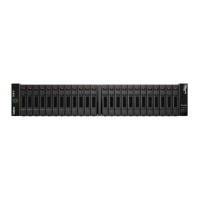
Converting an original controller to a drive shelf
If your original controller is one of the supported models, during the process of upgrading by moving storage
you can convert the controller to a drive shelf and then attach it to the new controllers in the same cluster.
Before you begin
You must have reviewed “Considerations for upgrading controller hardware” on page 87 about converting a
controller to a drive shelf. You should contact technical support if you need guidance specific to your
configuration.
Step 1. Replace the controller modules in the controller you are converting with appropriate IOM modules.
Lenovo Press
Step 2. Set the drive shelf ID.
Each drive shelf, including the chassis, requires a unique ID.
Step 3. Reset other drive shelf IDs as needed.
Step 4. Turn off power to any drive shelves connected to the new controllers, and then turn off power to the
new controllers.
Step 5. Cable the converted drive shelf to a SAS port on the new system, and, if you are using out-of-band
ACP cabling, to the ACP port on the new controller.
Step 6. Turn on the power to the converted drive shelf and any other drive shelves attached to the new
controllers.
Step 7. Turn on the power to the new controllers, and then interrupt the boot process on each controller by
pressing Ctrl-C to access the boot environment prompt.
Reassigning disks to the new controllers
You must reassign the disks that belonged to the original controllers to the new controllers.
You perform the steps in this section on both new controllers, completing each step on one controller and
then the other controller before going on to the next step.
Step 1. From the new controller's boot environment prompt (LOADER prompt), switch to Maintenance
mode: boot_primary maint
Step 2. If the new controller has a root aggregate:
a. Take the root aggregate of the new controller offline: aggr offline aggr0
b. Destroy the root aggregate: aggr destroy aggr0
Step 3. Display the new controller's system ID: disk show -v
Example
*> disk show -v
Local System ID: 101268854
...
You should record the new controller's system ID for later reference.
Step 4. Reassign the controller's spare disks, disks belonging to the root aggregate, and any SFO
aggregates: disk reassign -s original_sysid -d new_sysid -p partner_sysID
The original_sysid value is what you recorded in Step 14 on page 92.
You specify -p partner_sysID when shared disks are present.
The system displays a message similar to the following:
Partner node must not be in Takeover mode during disk reassignment from maintenance mode.
Serious problems could result!!
Chapter 6
. Upgrading controller hardware 97

 Loading...
