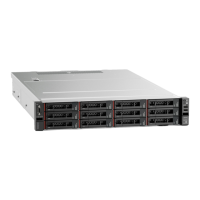
Install the front I/O assembly
Use this information to install the front I/O assembly.
“Read the
installation
Guidelines” on
page 45
“Power off
the server
for this task”
on page 14
“ATTENTION:
Static Sensitive Device
Ground package before opening”
on page 48
Before installing the front I/O assembly, touch the static-protective package that contains the new front I/O
assembly to any unpainted surface on the outside of the server. Then, take new the front I/O assembly out of
the package and place it on a static-protective surface.
To install the front I/O assembly, complete the following steps:
Watch the procedure. A video of the installation process is available:
• YouTube:
https://www.youtube.com/playlist?list=PLYV5R7hVcs-AQrHuDWK6L3KtHWc6maY_O
• Youku: http://list.youku.com/albumlist/show/id_50437162
Table 12. Front I/O assembly installation
Figure 42. Server models with 2.5-inch drive bays
Figure 43. Server models with 3.5-inch drive bays
Step 1. Insert the front I/O assembly into the assembly bay.
Step 2. Install the screws to secure the front I/O assembly in place.
Step 3. Connect the cables of the front I/O assembly to the system board. See “Internal cable routing” on
page 32.
After installing the front I/O assembly, complete the parts replacement. See “Complete the parts
replacement” on page 144.
Chapter 3. Hardware replacement procedures 71

 Loading...


