http://sysmgt.lenovofiles.com/help/topic/LXPM/RAID_setup.html
Simple-swap drive replacement
Use this information to remove and install a simple-swap drive.
Notes:
• The term “simple-swap drive” refers to all the supported types of simple-swap hard disk drives (HDDs)
and simple-swap solid-state drives (SSDs).
• You must power off the server before installing or replacing a simple-swap drive.
• Use any documentation that comes with the drive and follow those instructions in addition to the
instructions in this topic. Ensure that you have all the cables and other equipment that are specified in the
documentation that comes with the drive.
• The electromagnetic interference (EMI) integrity and cooling of the server are protected by having all drive
bays covered or occupied. The vacant bays are either covered by an EMI-protective panel or occupied by
drive fillers. When installing a drive, save the removed drive filler in case that you later remove the drive
and need the drive filler to cover the place.
• To avoid damage to the drive connectors, ensure that the top cover is in place and fully closed whenever
you install or remove a drive.
Remove a simple-swap drive
Use this information to remove a simple-swap drive.
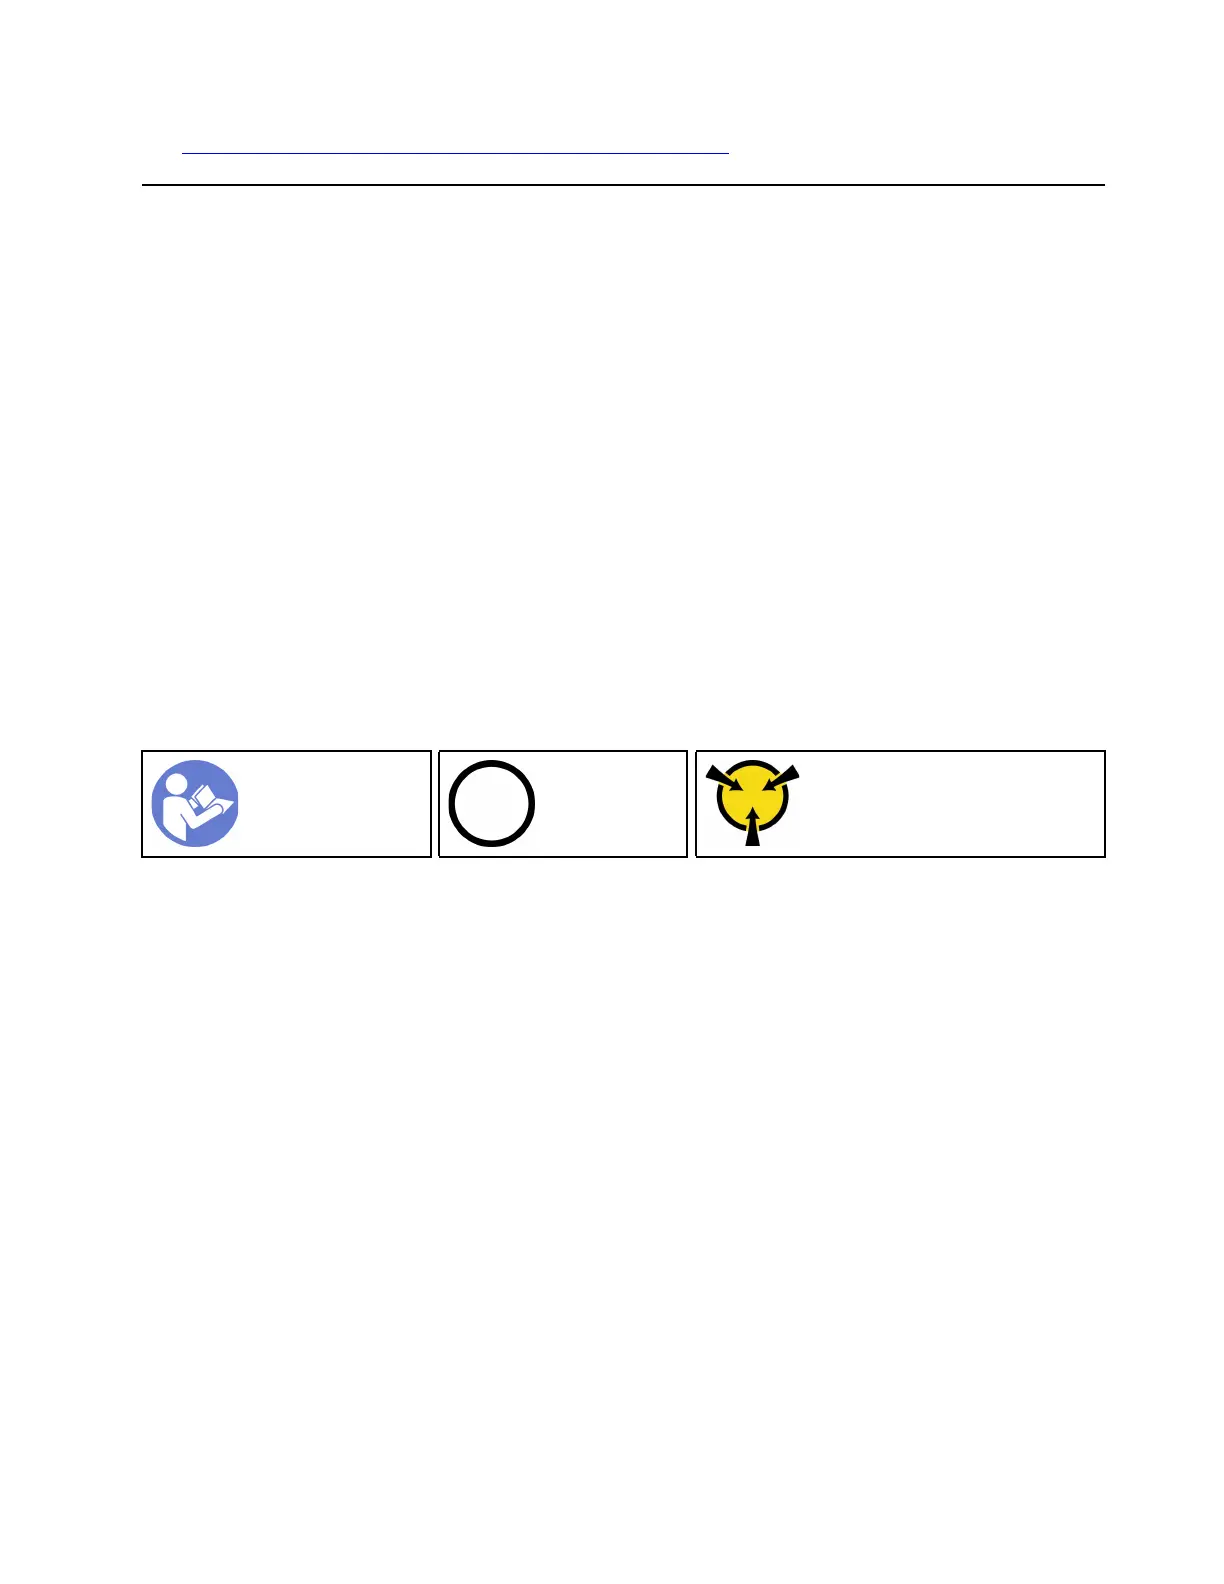
“Read the
installation
Guidelines” on
page 45
“Power off
the server
for this task”
on page 14
“ATTENTION:
Static Sensitive Device
Ground package before opening”
on page 48
Before removing a simple-swap drive:
1. Ensure that you have back up data on your drive, especially if it is part of a RAID array.
• Before you make changes to drives, drive controllers, drive backplanes, or drive cables, back up all
important data that is stored on the drives.
• Before you remove any component of a RAID array, back up all RAID configuration information.
2. Remove the security bezel. See “Remove the security bezel” on page 53.
Attention: To make sure that there is adequate system cooling, do not operate the server for more than two
minutes without either a drive or a drive filler installed in each bay.
To remove a simple-swap drive, complete the following steps:
Chapter 3. Hardware replacement procedures 81

 Loading...


