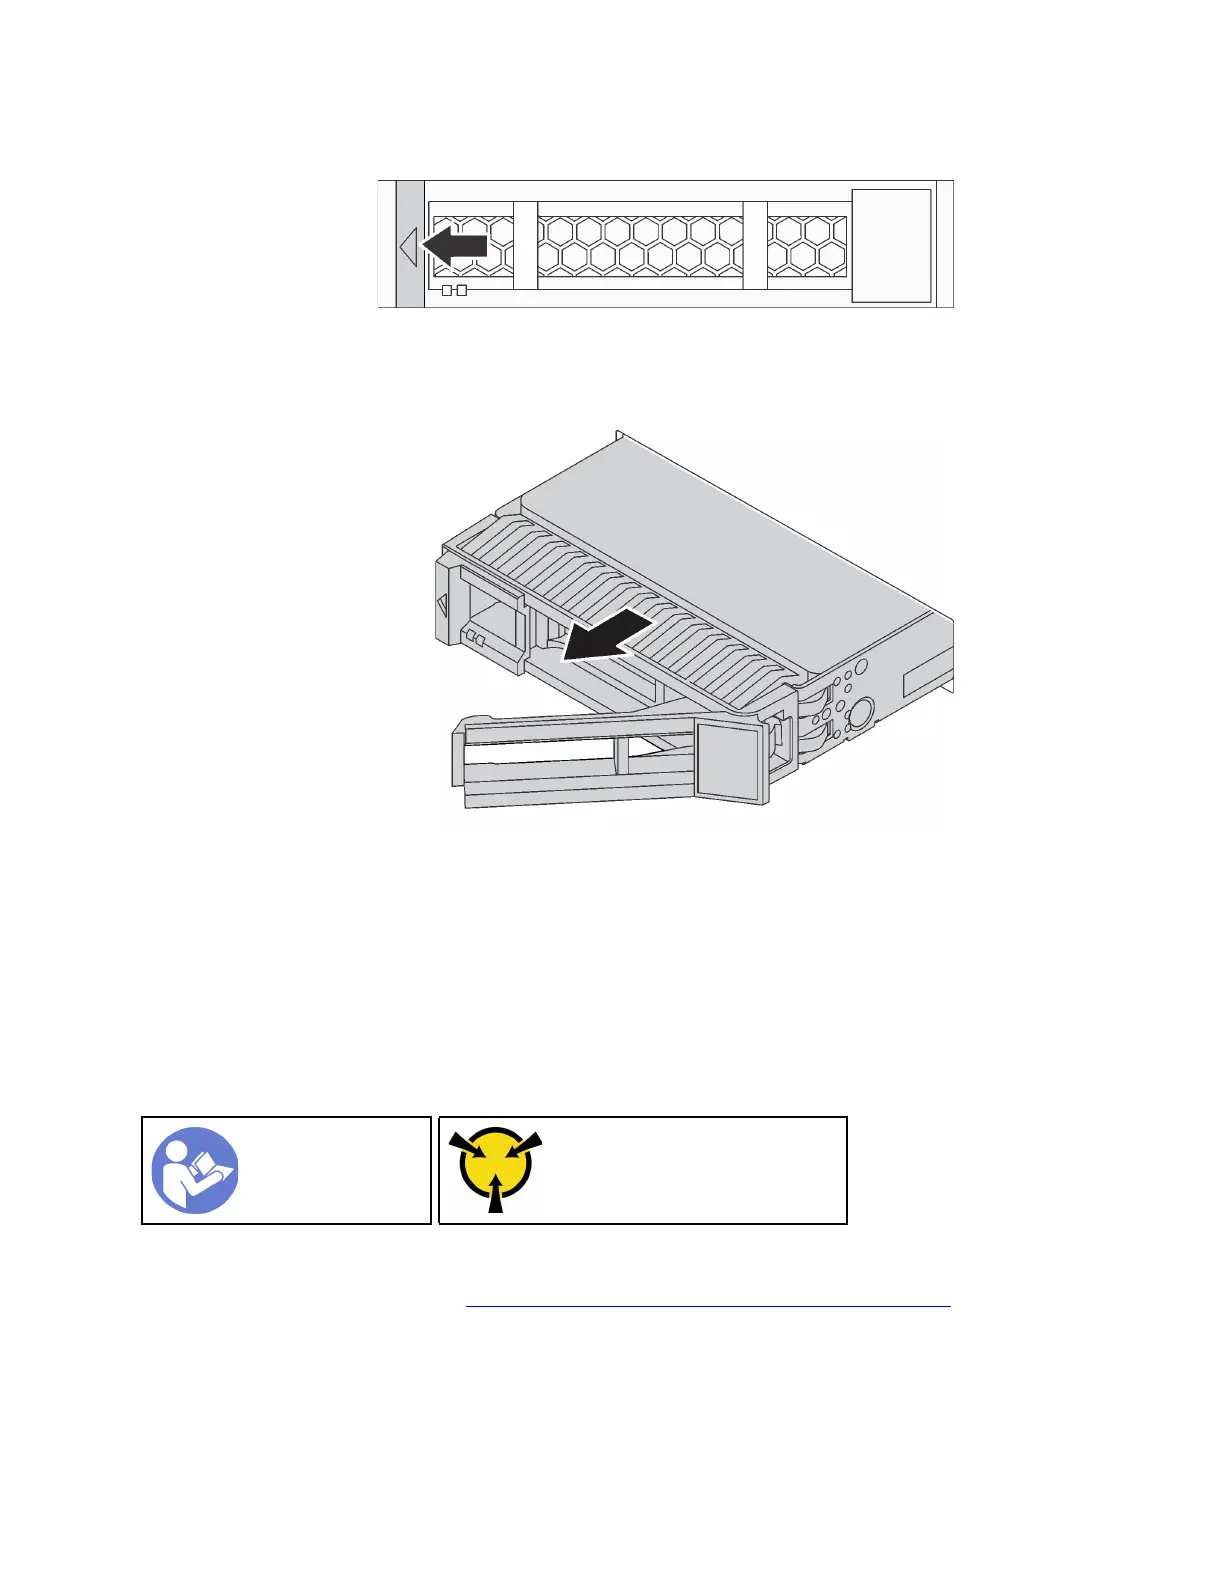
Step 1. Slide the release latch to the left to open the drive tray handle.
Figure 50. Opening the drive tray handle
Step 2. Grasp the handle and slide the drive out of the drive bay.
Figure 51. Sliding the drive out of the drive bay
Step 3. Install a drive filler or a new drive to cover the drive bay.
If you are instructed to return the old drive, follow all packaging instructions and use any packaging materials
that are provided.
Install a hot-swap drive
Use this information to install a hot-swap drive.
“Read the
installation
Guidelines” on
page 45
“ATTENTION:
Static Sensitive Device
Ground package before opening”
on page 48
Notes:
• For a list of supported drives, see https://static.lenovo.com/us/en/serverproven/index.shtml.
• The drive bays are numbered to indicate the installation order (starting from number “0”). Follow the
installation order when you install a drive. See “Front view” on page 17.
• You can mix drives of different types and different capacities in one system, but not in one RAID array.
The following order is recommended when installing the drives:
Chapter 3. Hardware replacement procedures 79

 Loading...


