LUMIPro 2017
17
Light Control
LUMIPro has always made it possible to adjust your model’s lights: by clicking in the direction you wanted them to move, you could position the lights to shine exactly where needed.
While this was a good solution, it still required the photographer to leave the set-up scene, and zoom in on the model — which prevented seeing how the lighting would look in context.
New with LUMIPro 2017, you can now adjust the lights directly from the HUD, without leaving your scene and without zooming in on the model. It’s all managed in a way you already
are familiar with: using the Joystick.
NEW!
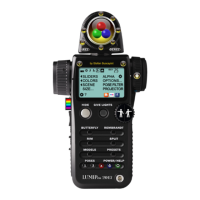
Use the arrow buttons at 3:00 and 9:00 to
move the selected light to the le or right.
Clicking anywhere from the center of the
Joystick area up towards the arrow button
at 12:00 position will move the selected
light in an arc up and over the model’s head.
Clicking from the center down will move
the selected light in an arc downwards.
Use the Side Arrows to move the selected
light towards or away from the model.
Use the arrow buttons at 12:00 and 6:00 to
move the selected light vertically, up and
down along the Z axis.
Clicking from the center out towards the 3:00
or 9:00 arrow buttons will rotate the selected
light around the photographer.
Clicking anywhere inside the Joystick area
will move the selected light in that direc-
tion—up/le, up/right, bottom/le, or bot-
tom/right. Also, the closer to the center you
click, the ner the adjustments in position
you’ll be able to make.
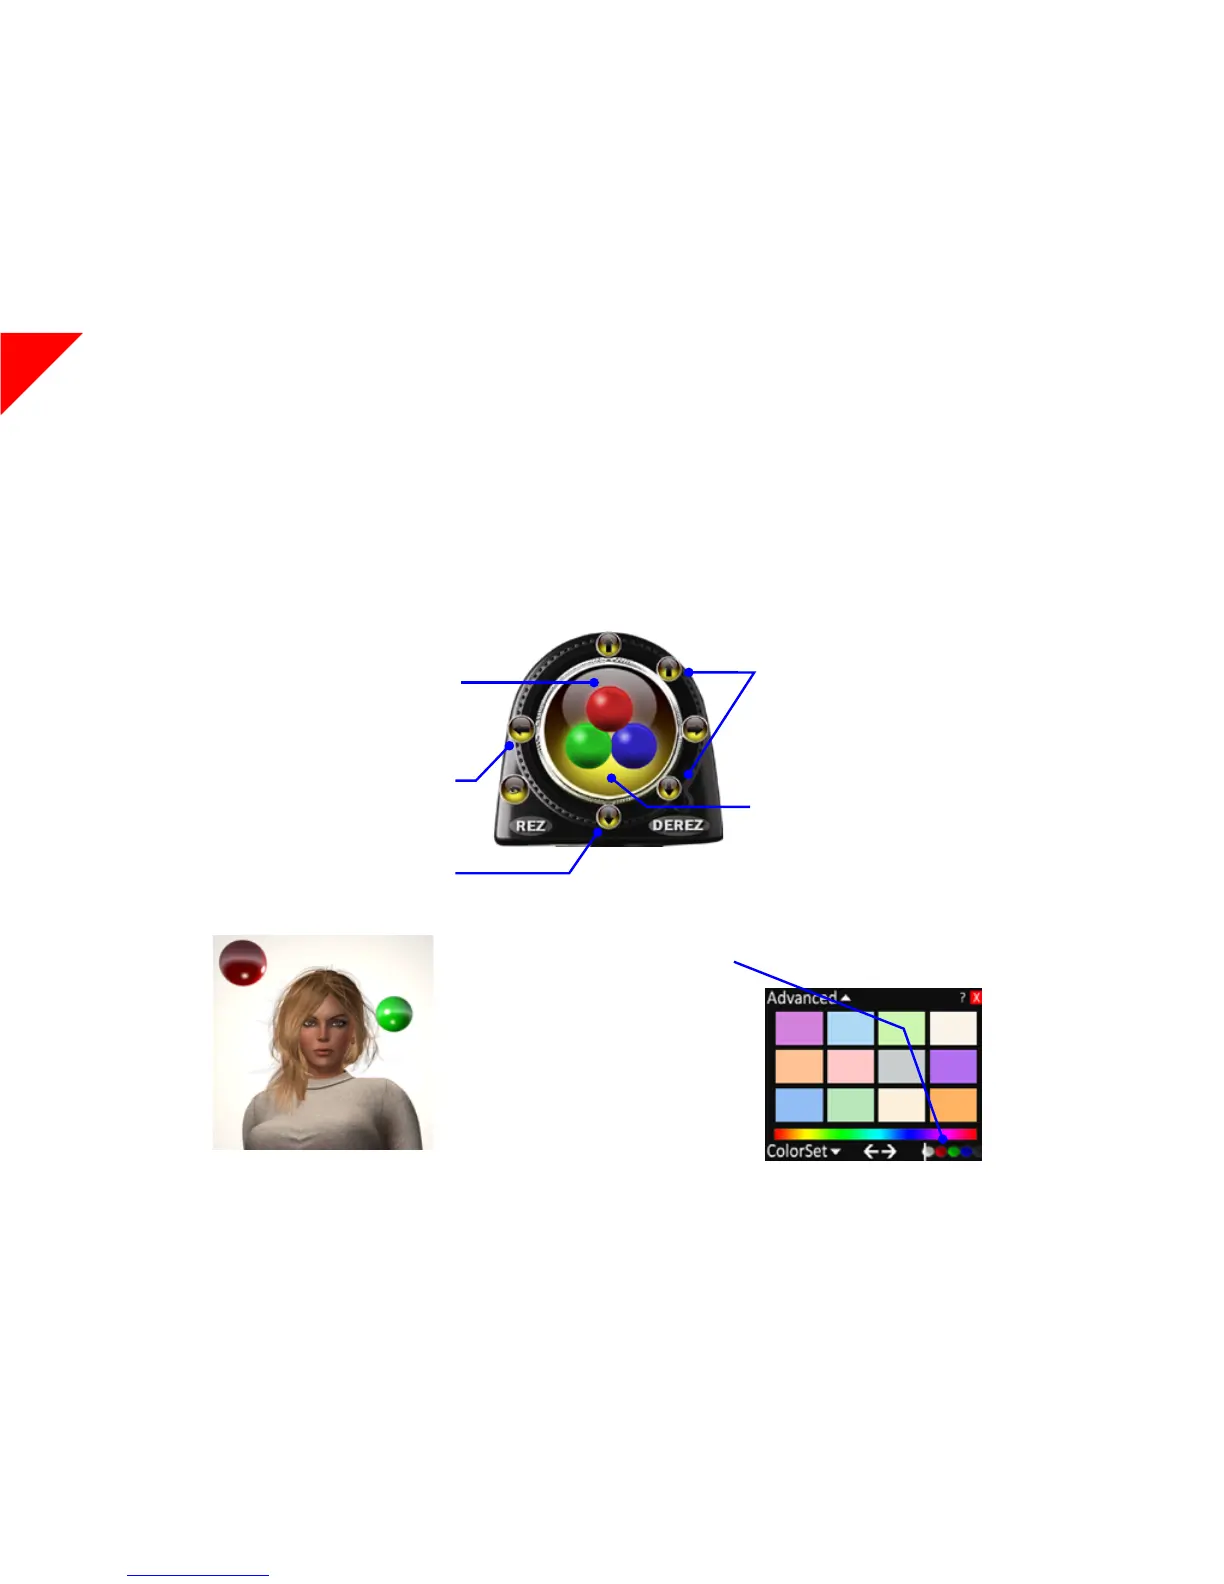
Selecting the active light. In most cases,
you’ll want to select individual lights to move.
is is done the same way adjusting colors
is done: rst select which light you want to
move, then use the Joystick to move that
light. Click one of the buttons at the bottom
of the Colors popout panel: white, for all
lights; red, green, or blue for the red, green,
or blue light balls. Alternately, you can just
click on the desired light ball to automatically
select it (and the model wearing it)!
e Light Control