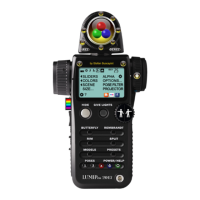
LUMIPro 2017
5
e Toolbox
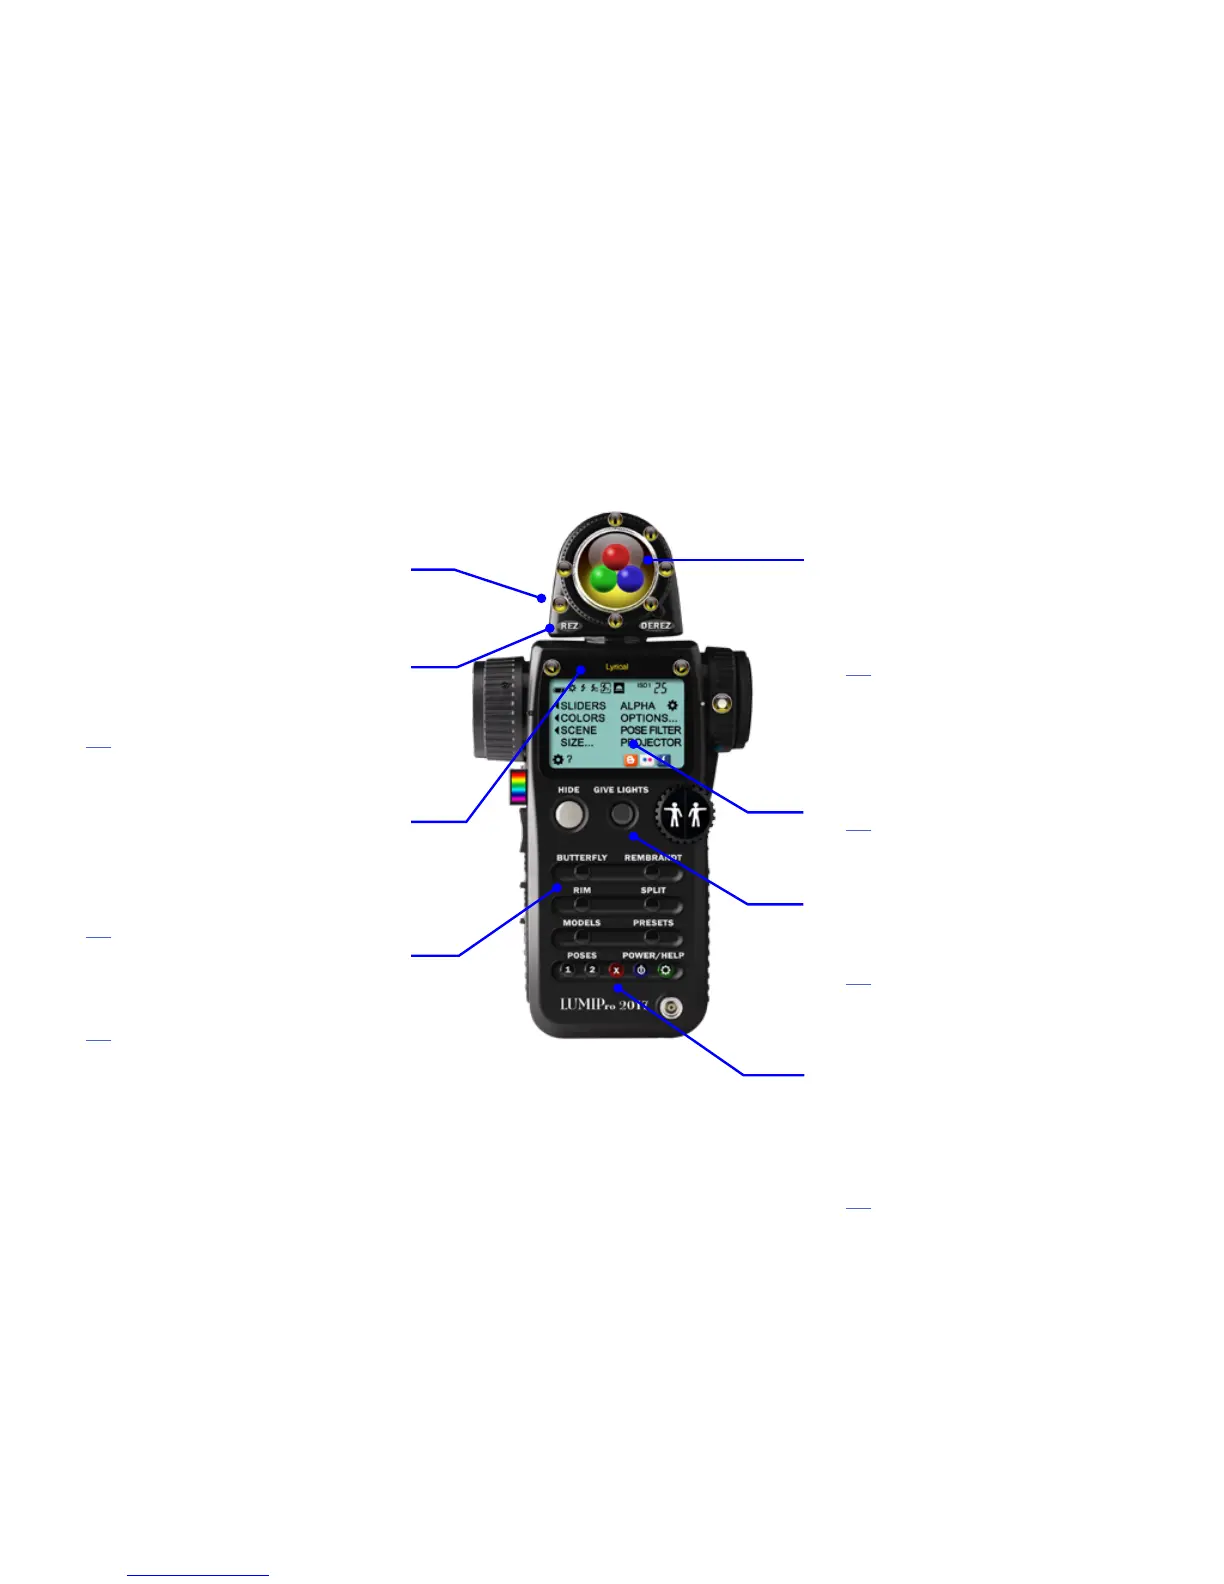
Sitting on top of the HUD is the Toolbox, where you’ll nd
four very important tools: the Ball Movement controller
(shown), High Resolution Eye Gazer, a sit-ball controller, and
a projector controller. Clicking the Flipper will rotate between
them.
Use the Rez button to get rezzable tools such as projectors,
sitballs, backup servers, and eye gazers. e Derez button on
the opposite side will remove all unlocked rezzables
Click here to jump to the Toolbox section to learn more.
e Model
Sitting directly below the Toolbox is the model controller. e
currently-selected model’s Username is shown in yellow, with
arrows on either side to select from up to 10 models (includ-
ing yourself). Change or add models by clicking the yellow
text (or the Model button) to get a menu of all models within
20m. All functions on the HUD will apply to the currently
selected model, so all your lighting and pose setups for one
model won’t be aected by what you do with another model.
Click here to jump to the Models section to learn more.
e Lighting Presets
e main body of the HUD features four buttons—Buttery,
Rembrandt, Rim, and Split—that are classic lighting setups,
giving you great lighting right out of the box!
Click here for more info in the Lighting Presets section.
e Joystick
In the center of the Toolbox sits the Joystick area (where the
Ball Movement icon is showing here). Clicking inside this area
will move the selected tool relative to the center of the Joystick.
For example, with the Eye Gazer selected, clicking in the upper
le quadrant will move the model’s gaze up and le. Clicking
close to the center moves them a little, clicking at the edge
moves them a lot. Each tool moves in ways that make sense.
Click here to jump to the Joystick section to learn more.
LCD Control Panel
e LCD Control Panel gives you access to customizing lights
and colors, saving, loading, and managing all the rezzable
items inside LUMIPro. ere are two dierent LCD Control
Panel options; the Modern view is shown, and a click on the
gear icon ips the display to the legacy LCD panel for those
that prefer the old view.
Click here to jump to the LCD Panel section to learn more.
Hide, Give Lights, and the Wheelies
Topping the body section are the Hide button, which scoots
everything but the Hide button and the Wheelies o the
screen, and hides all rezzed items in-world. Give Lights sends
a set of lights and a projector to the current model that they
can wear, and you can control. e Wheelies step sequentially
through every pose stored in your HUD. Treat them kindly.
Click here to jump to the Hide, Give LIghts, and Pose section
to learn more.
e Power Strip
e bottom ve buttons do the following: Poses 1 and 2 give
you access to two groups of poses. You might assign group 1 to
female poses and group 2 to male poses, or maybe group 1 has
all standing poses while group 2 has all sitting poses. e red
X button stops all animation. e blue Power button icks the
switch on your wearable lights, turning them o, or back on
to exactly where they were set when you turned them o. e
green Help button opens the Help and Options menu for more
settings and controls.
Click here to jump to the Power Strip section.
Main HUD Overview