LUMIPro 2017
29
Managing Models
Once you have all your models loaded into the
HUD, you can select among them using these
forward and back arrows. As each model is
displayed, the HUD controls apply to that model
only. Also, anything you rez, whether it’s a Sit
Ball, a Projector, or an Eye Gazer, will be as-
signed to that model. is oers the professional
photographer a great amount of exibility and
control.
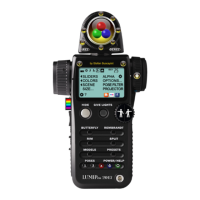
e second method is the old way, which is to
click the MODELS button on the HUD. Which-
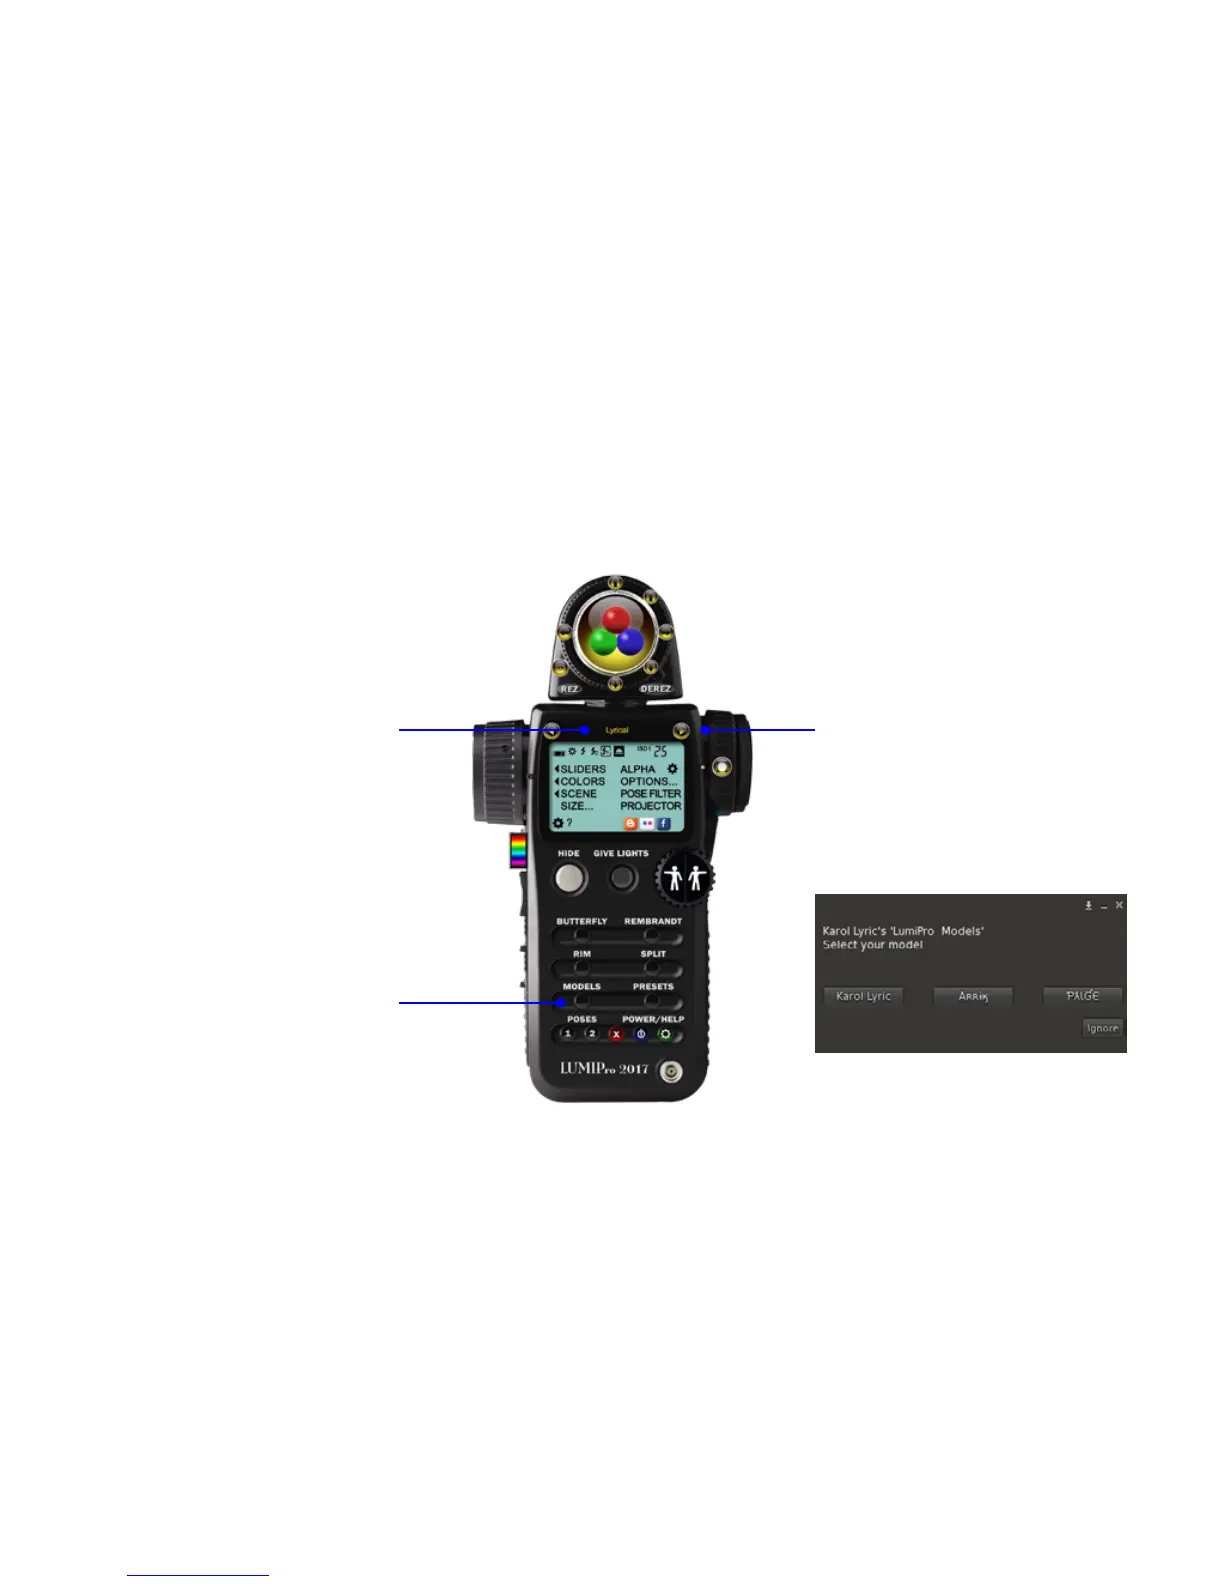
ever method you use, you’ll be given a menu
that lets you choose from among the nearby
avatars (see example, right). NOTE: the dia-
log shows avatars’ user name, not their display
name. In many cases, these will be dierent.
When you attach a LUMIPro 2017 HUD, you are automatically selected as the default model. If you only take seles, you can skip right over this section. If you ever work with models,
though, you’ll be happy to know that you can manage up to 10 models (including yourself) at once (insert joke about herding cats here). at might be a lot to manage, but LUMIPro
2017 makes easy work of it; every control on the HUD applies to the currently selected model, so you always know who you’re lighting and posing and scooting across the set. Here’s how
to select them:
ere are two ways to add models to the HUD,
and both do exactly the same thing, though
we recommend using the rst method: click
the current model’s display name (as shown,
Lyrical).
Select Models menu