Published 3-30-2018, CTRL 636-05 6-19
CD15 OPERATOR MANUAL MAINTENANCE
Replace the Crankcase Oil and Filter
Change the engine oil more frequently if operating under
difficult conditions, for example in high or low temperatures,
dusty surroundings or frequent starting and stopping.
NOTE: If it is necessary to climb under the crane to change
the engine oil and replace the engine oil filter, be
sure engine is shut off, the ignition key is removed
and chock blocks are in place before climbing
under the crane.
Drain the engine oil only when it is hot and the
contaminants are in suspension.
Hot oils can cause personal injury.
1. Operate the engine until the water temperature reaches
140° F (60° C).
2. Stop the engine
3. Place a suitable container under the engine drain plug.
Remove the oil drain plug (see Figure 6-31).
4. Clean the area around the engine oil filter head.
5. Remove the filter and clean the gasket surface of the
filter head.
NOTE: The O-ring can stick on the filter head. Make sure it
is removed before installing the new filter.
6. Fill the new filter with clean recommended lubricating oil
(See engine operator’s manual furnished with the
crane).
7. Apply a small amount of clean engine oil to the gasket of
the new oil filter. Turn the filter clockwise to tighten it until
the gasket makes contact. Then, tighten the filter 1/2 to
3/4 turn to get correct seal.
8. Fill the engine crankcase with clean recommended
lubricating oil to the proper mark on the dipstick (see
Figure 6-8).
9. Operate the engine at idle and inspect for leaks at the
filter and drain plug.
Torque Critical Bolts
NOTE: Maintain correct torque on all bolts. Failure to do so
may result in severe damage to the machine.
Hoist Gearbox Mounting Bolts
See Figure 6-20.
Apply medium strength thread locking compound to all
threads.
• Torque the M16 mounting bolts to 247 Nm.
• Torque the M20 mounting bolts to 483 Nm.
Swing Gearbox Mounting Bolts
Apply medium strength thread locking compound to all
threads.
Torque the 3/4 in swing gearbox mounting bolts
(Figure 6-19) to 202±5 lb-ft. If the bolts are loose, check gear
backlash.
Mast Mounting Bolts
Because of the cyclic loading on the mast bolts, it is
important that these bolts be checked at regular intervals.
Refer to the Service Manual for the proper bolt torque
procedure.
Make a record of any loose bolts. If any bolt does not hold to
correct torque after the second check, remove and replace
the bolt. A loose bolt indicates possible failure of the bolt.
The correct torque on each mast bolt (inner and outer) is be
727±29 Nm.
NOTE: Use only M20 x 2.5 Class 12.9 (black finish)
replacement bolts. Order the bolts from your
dealer. See your parts manual.
If a broken bolt is found, replace the bolt and also
replace the bolt on each side of the broken bolt.
The proper bolt torque will not be obtained without
the hardened steel washers under the bolt heads.
Front Axle Mounting Bolts
Torque the 1 in front axle mounting bolts to 689±17 lb-ft. See
Figure 6-21.
Rear Axle Mounting Bolts
Torque the M20 rear axle mounting bolts to 339±8 Nm (drive
and non-drive axle). See Figure 6-21.
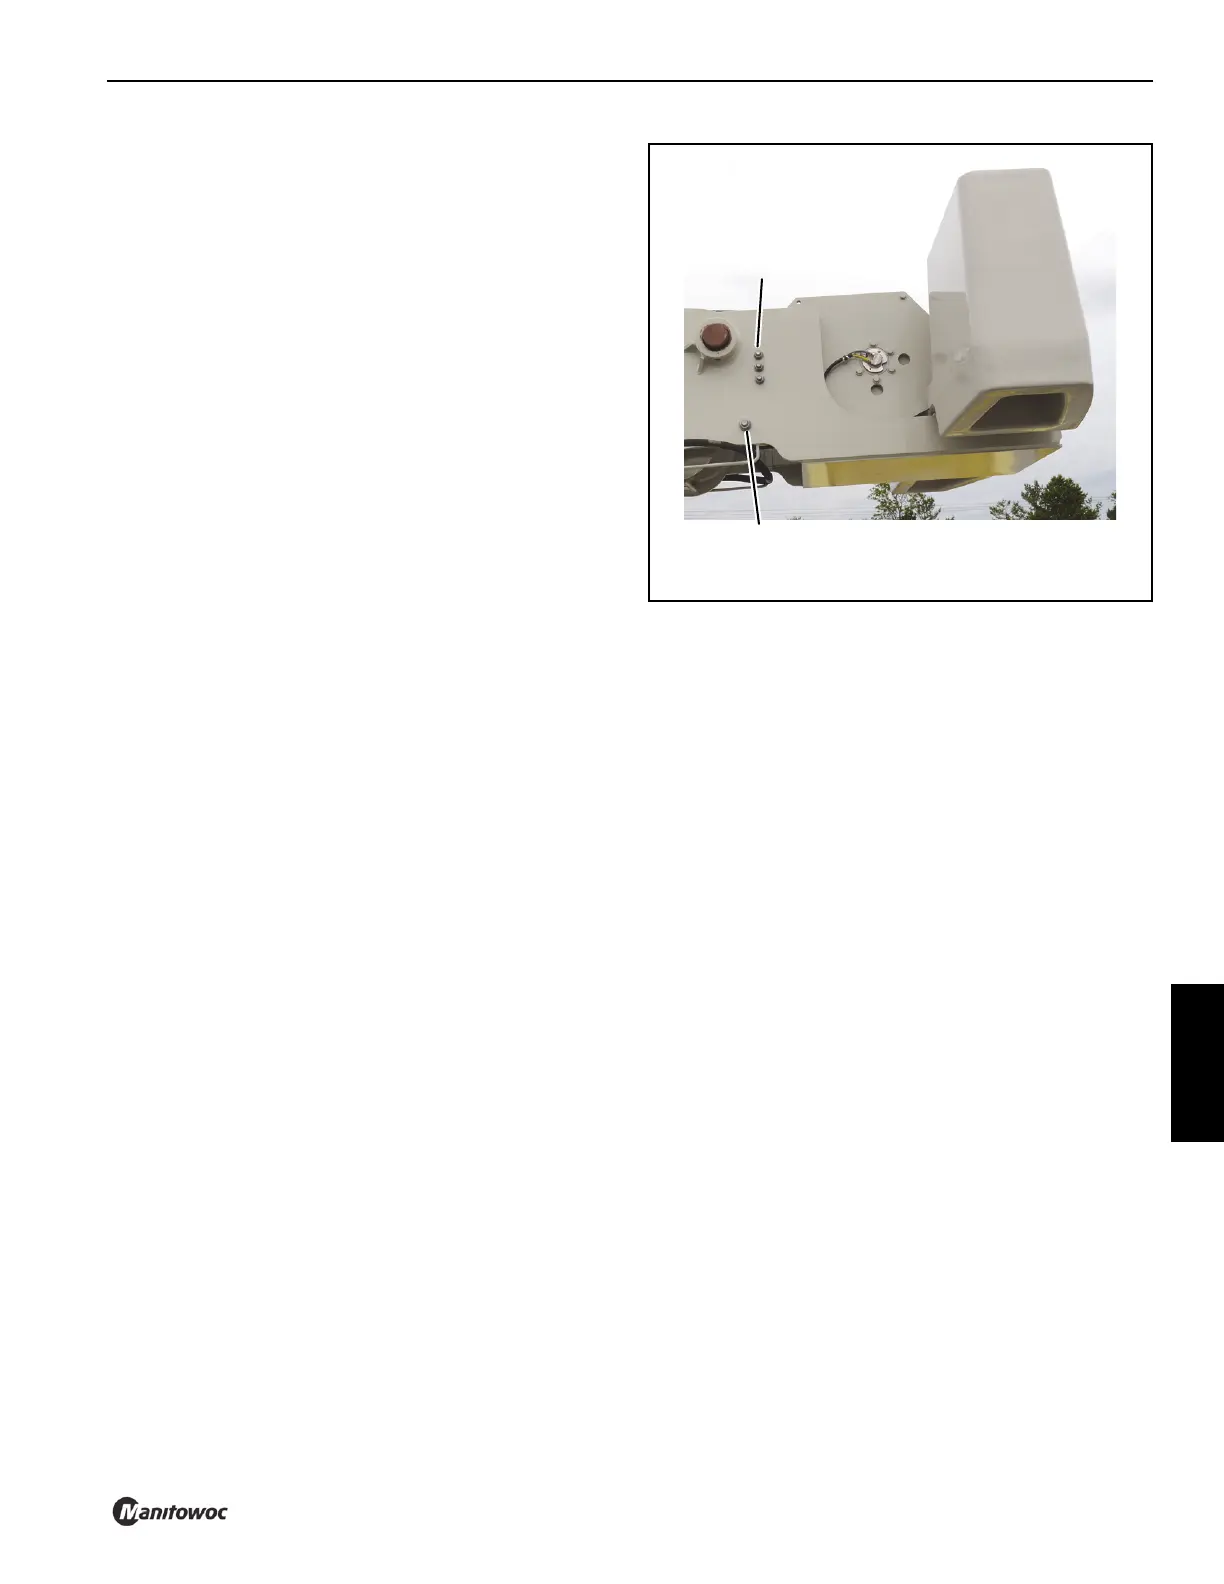
FIGURE 6-20
8943
Hoist Gearbox M16
Mounting Bolts (qty 6)
Hoist Gearbox M20
Mounting Bolts (qty 2)