Stork Vitals+ Basic Setup and Use of Stork
Masimo Corporation 24 www.masimo.com
A B C
2. Follow the app instructions to pair the camera. Hold your smart phone near the
camera during setup. When pairing is complete, the Bluetooth Pairing is Successful
screen appears.
Note: If multiple devices are found, follow the app instructions to select the correct
camera from a list.
Note: If the Bluetooth connection fails, hold the smart phone closer to the camera
and try to reconnect. If the camera cannot connect, see Troubleshooting on page 41.
3. Next, connect to your Wi-Fi by selecting Setup Wi-Fi and follow the app instructions.
Note: If requested to Share Wi-Fi Settings, select Allow.
4. Select the wireless Network and enter the Password. Select Continue.
Note: To view available Wi-Fi networks within range of the camera, click the Network
field and select from the displayed list
5. Once the Wi-Fi connection is made, the Success! screen appears.
Note: If the camera cannot connect, follow the app instructions to verify the network
and try again or view Troubleshooting on page 41.
Choosing a Location for the Stork Camera
The Stork Camera has two mounting options: tabletop and wall mount. For tabletop
mounting, pick a a flat surface such as a changing table or dresser, in a location where
communication is not muffled and notification sounds can be heard. Ensure it is located at
least 3 feet from baby and is high enough to capture a full view of the crib. Keep cables
where babies cannot reach them.
For wall mounting (preferred), pick a spot on the wall near the crib that is 4 to 5 feet above
the mattress (A). At this height, the camera will be safely out of baby's reach while also
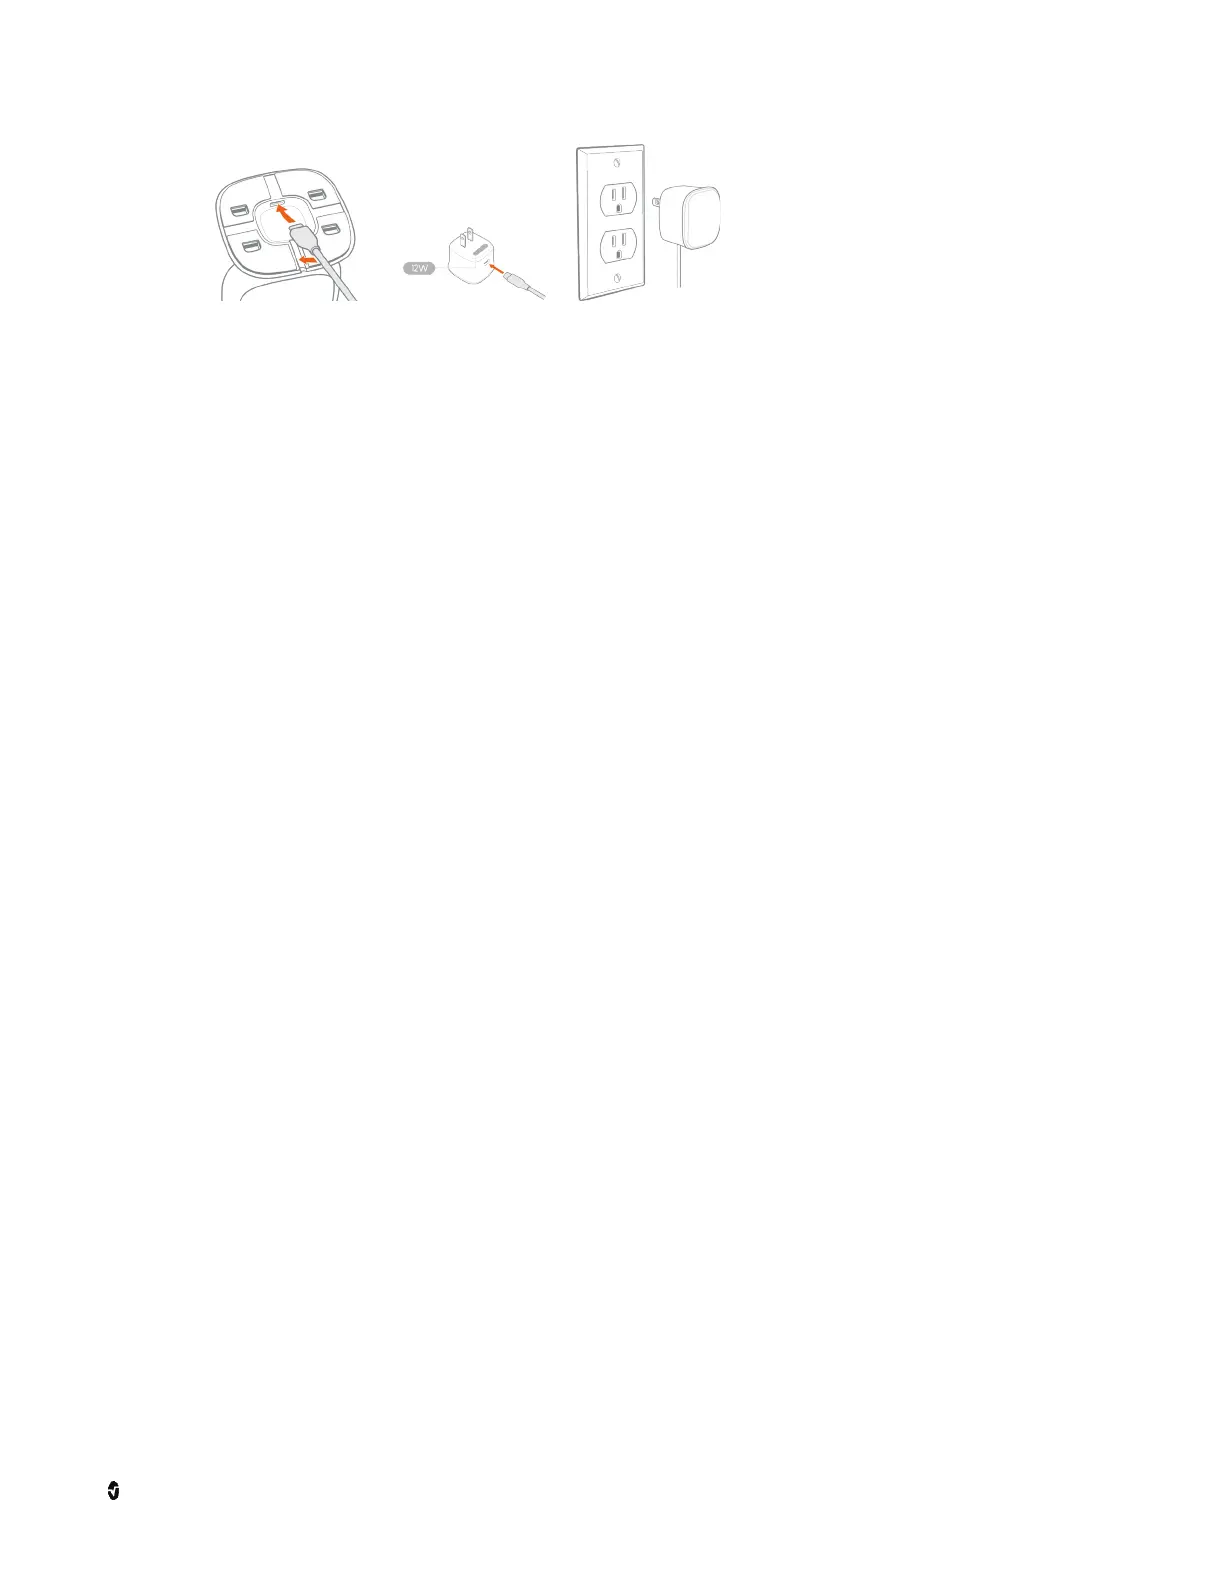
capturing the whole crib. The camera needs to be located within reach of a wall outlet using
the included power cable. We recommend you leave a 1-2 ft gap between crib side and wall
on which the camera is mounted.
No matter the camera location, the camera can be adjusted for the perfect view of the
baby.