50
Chapter 4, Using the VS4Recorder Pro Application
This selection makes the time-of-day, as interpreted by the machine, the
recording starting value, and the time-based timecode increments in the control
window once the recording starts. When not recording, with this option selected,
the previous session's timecode is displayed.
¦NoteWhen using VS4Control, this option will only be available on the Master.
Drop-frame timecode
VS4Recorder Pro gives you the option to use a drop-frame or non-drop-frame
timecode in your recording session. Select the
Drop-frame option button to
embed your timecode in the drop-frame format.
For NTSC video, timecode is normally produced by a generator that counts at 30
frames per second. NTSC color signals, however, actually have a display
frequency close to 29.97 frames per second. Drop-frame timecode compensates
for this time difference by dropping two frames from the count every minute
except for every tenth minute so that the timecode matches clock time.
Remarks
• A drop-frame timecode is formatted and will display as: HH:MM:SS;FF
• A non drop-frame timecode is formatted and will display as: HH:MM:SS:FF
VU meters
VS4Recorder Pro includes VU meters in each of the source windows (see
“Source window” on page 19) that allow you to visually monitor the audio levels
of up to eight audio channels per source. The VU meters can display two, four,
six, or eight channels depending on the number of audio channels to record, and
show the VU peak per channel. The VU meters can also be set to remain on
screen, or auto-hide after a period of mouse inactivity. The following sections
detail how to display and customize the VU meters.
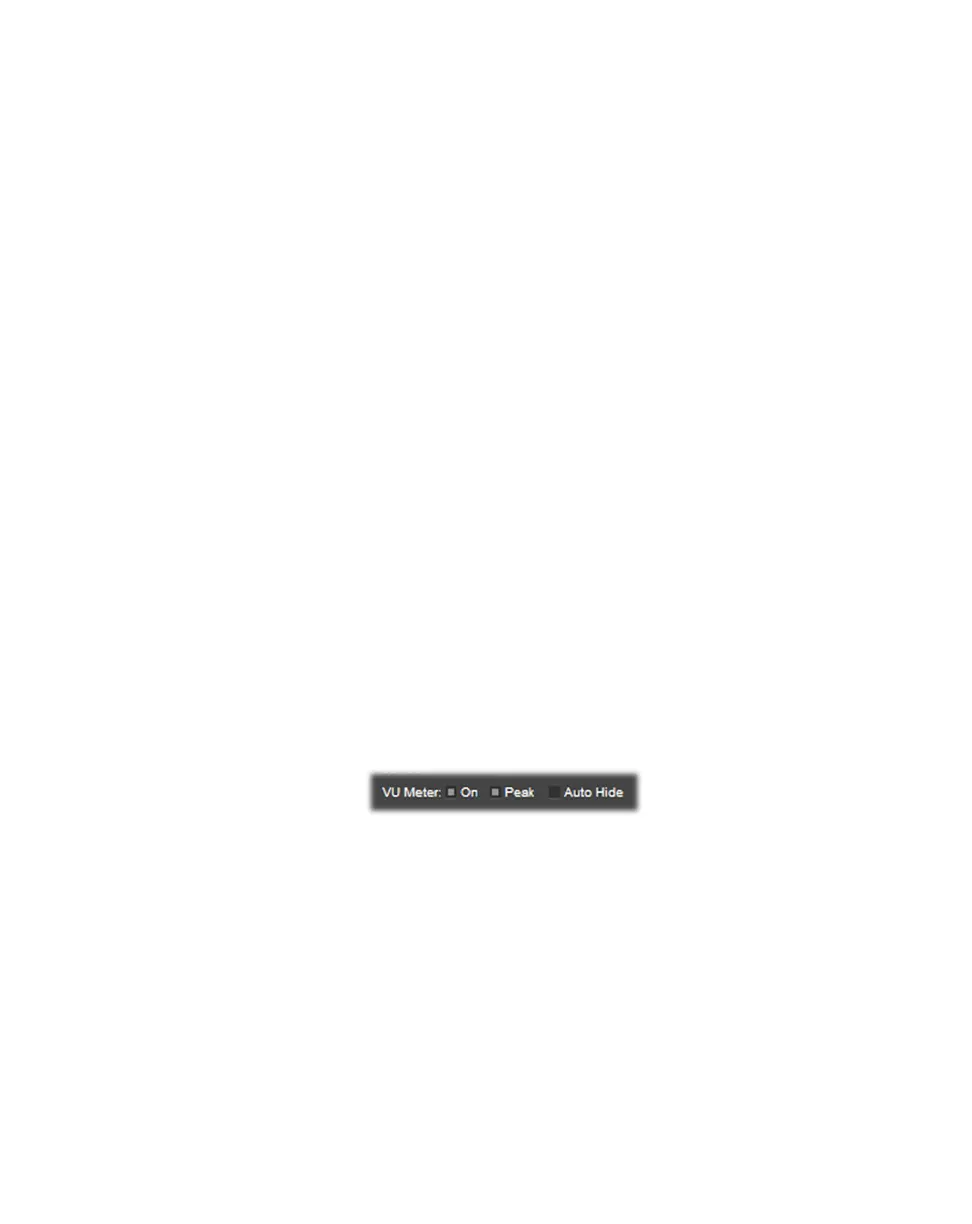
Enabling VU meters
To display the VU meters, you must enable the
VU Meter option in the Settings
window by selecting
ON. The number of audio channels that are visible in a
source’s VU meter depends on the number of audio channels that are being
recorded for that source. If a source’s audio is disabled for recording, the source’s
VU meter will not appear (see “Enabling audio and selecting audio channels” on
page 45).
Show VU peak
When
Peak is selected, the VU meters indicate the highest audio level (peak) that
is reached for each channel during a source recording. If at any point the audio
level for a given channel goes above 0 dBFS, the peak LED illuminates and
remains illuminated for the duration of the source recording.