5C-44 - MID-SECTION 90-830234R3 DECEMBER 1997
Pressure Operated Assembly
Installation
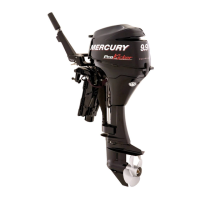
IMPORTANT: Inspect poppet assembly for debris
in the area shown. If debris is found on poppet re-
place poppet.
a
b
a - Debris Under Valve Tip
b - Rubber Seat
1. Lubricate O-rings.
2. Install spool, seat with O-ring, check valve/pop-
pet, spring and plug with O-ring into pump. Re-
peat for other side. Torque plugs to 120 lb. in.
(13.6 N⋅m).
a
a
b
d
c
c
d
e
b
a - Plug (2) Torque to 120 lb. in. (13.6 N⋅m)
b - Spring (2)
c - Check Valve/Poppet (2)
d - Seat (2)
e - Spool
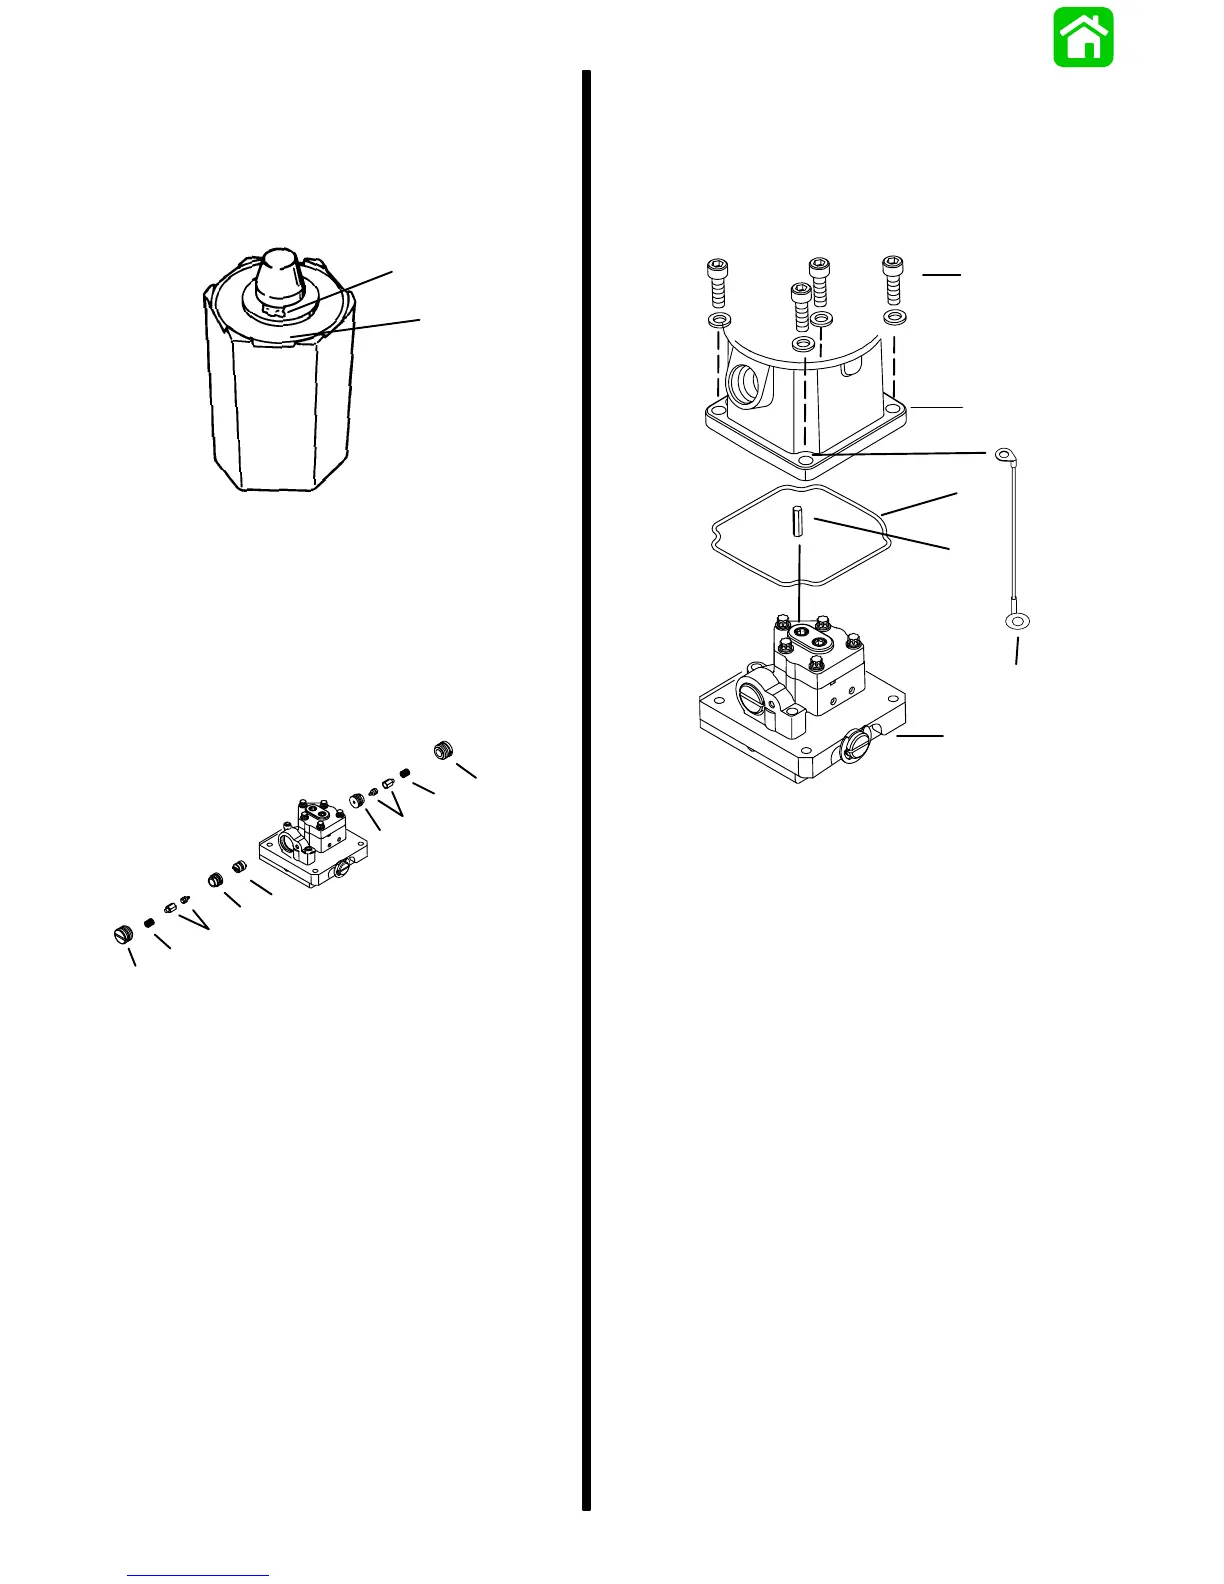
Reservoir/Motor Installation
1. Install coupler into top of pump. Make sure reser-
voir seal is in the reservoir groove and place res-
ervoir onto pump/manifold assembly. Install
ground strap under screw shown. Torque screws
to 80 lb. in. (9.0 N⋅m).
b
d
e
a
c
f
a - Screw (4) Torque to 80 lb. in. (9.0 N⋅m)
b - Reservoir
c - Reservoir Seal
d - Coupler
e - Manifold Assembly
f - Ground Strap
2. Fill reservoir to bottom of fill hole using Quicksil-
ver Power Trim Fluid (92-901000A12). If not
available, use automotive (ATF) automatic trans-
mission fluid.